
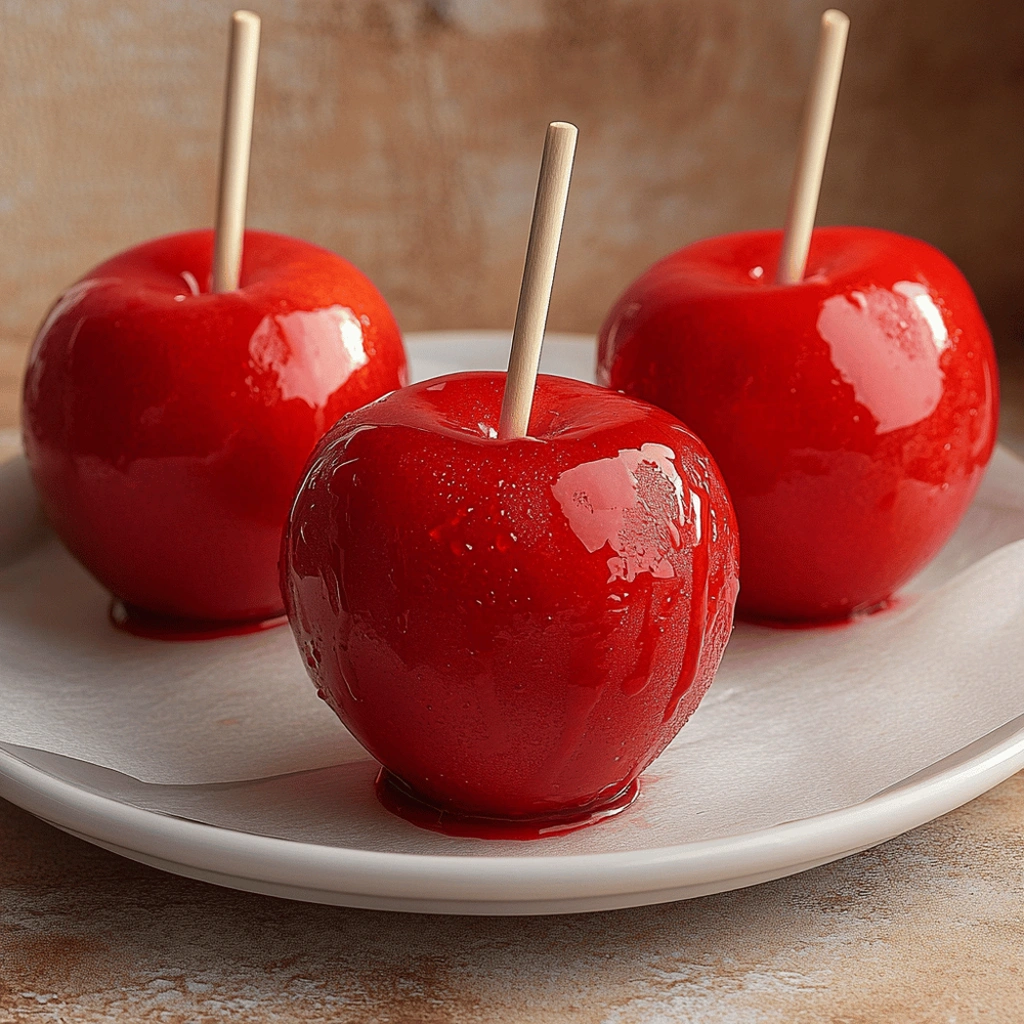
There’s a special kind of magic in biting into a perfectly made candy apple, the satisfying crack of the glossy, ruby-red shell giving way to the crisp, sweet apple within. This classic treat brings a delightful crunch and a burst of pure joy, making it a beloved favorite for celebrations and simple autumn afternoons alike. The vibrant, hard candy coating is truly a work of art.
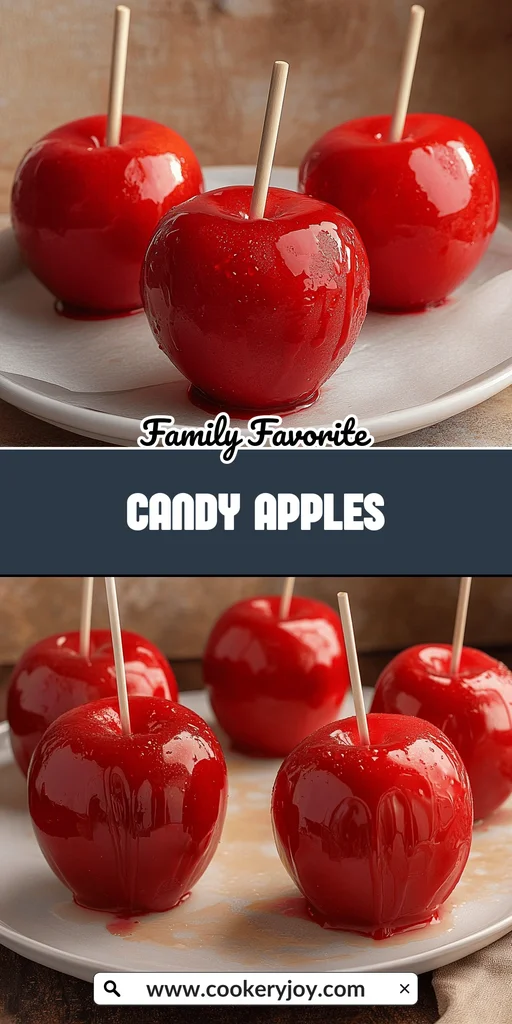
I love making these candy apples for my family during the fall season, and they are always a huge hit at parties. They store beautifully, retaining their wonderful texture, which means you can prepare them a little ahead of time for any gathering.
Why I Love This Recipe
These candy apples are a go-to for me. They’re surprisingly easy to make. Plus, they impress everyone without a lot of effort. You can whip them up quickly. They’re perfect for a last-minute party treat. Kids and adults adore them. They really are a versatile treat.
- Effortlessly Impressive: These candy apples look stunning with minimal fuss.
- Quick & Easy: Perfect for busy schedules, ready in under an hour.
- Crowd-Pleaser: A nostalgic treat that brings smiles to all ages.
- Versatile Fun: Great for parties, holidays, or just a special treat.
Candy Apples Ingredients
Gathering the simple ingredients for these classic candy apples is the first step to creating a truly magical treat. The combination of fresh apples and a perfectly cooked sugar syrup creates a delightful contrast in textures and flavors. You’ll find all the exact quantities in the printable recipe card below, but let’s talk about why each item is so important for making perfect candy apples.
- Apples: These are the star, of course! I love using crisp varieties like Fuji, Gala, or Honeycrisp. They hold up beautifully to the candy coating and offer a wonderful sweet-tart crunch.
- Lollipop or Popsicle Sticks: These are essential for dipping and holding your beautiful creations.
- Sugar: This is the main ingredient for that signature hard candy shell. It needs to be granulated white sugar for the best results.
- Light Corn Syrup: This little helper is key! It prevents the sugar from crystallizing too early, ensuring a smooth, glossy, and beautifully hard coating on your candy apples.
- Water: Just plain water forms the liquid base for our sweet, glassy candy.
- Red Food Coloring: This gives our candy apples that iconic, eye-catching vibrant hue everyone loves.
Substitutions and Tips
Need a little tweak or extra flavor? I’ve got you covered!
- For a delightful twist, try adding a tiny splash of vanilla extract or a pinch of cinnamon to the syrup after you take it off the heat. It adds a lovely warmth.
- If you don’t have light corn syrup, golden syrup or even a simple syrup can work as a substitute, though the final candy texture might be a bit different.
- Drying your apples completely is crucial. Any moisture can mess with how the candy adheres, leading to a less-than-perfect coating on your candy apples.
- Want a deeper red color? Add a few extra drops of food coloring, but do it carefully when the syrup is off the heat.
How to Make Candy Apples
Now for the fun part: transforming those crisp apples into dazzling treats! Making candy apples is a straightforward process. I always prepare my apples first. Then I set up my dipping station. It’s important to have everything ready before the sugar mixture starts cooking. This ensures smooth sailing.
Step 1: Prepare the Apples
Start with your apples. Make sure they are clean. You also want them perfectly dry. Some apples have a waxy coating. A quick dip in boiling water works wonders. Add a tablespoon of white vinegar to the boiling water. Dip apples for just five seconds. Then, dry them completely. Firmly push a lollipop stick into the stem end of each apple. Push it about halfway in. This secures the stick well.
Step 2: Prepare Your Workspace
Line a baking sheet with wax paper. Lightly grease the paper with cooking spray. This is crucial. It stops the hot candy from sticking. Cleanup will be a breeze later. Place your prepared apples near your stovetop. They need to be standing upright. They’re ready for their sweet transformation.
Step 3: Cook the Candy Syrup
Grab a heavy-bottomed saucepan. Put in your sugar, corn syrup, and water. Cook this over medium heat. Stir until the sugar dissolves completely. Bring the mixture to a rolling boil. Keep cooking it without stirring. Use a candy thermometer. You want it to reach 300°F. This temperature is the hard crack stage. It’s vital for a firm candy.
Step 4: Add Color and Dip
Carefully remove the saucepan from the heat. Stand back a bit. Stir in the red food coloring. Be cautious; the mixture might bubble and splash. Dip each apple into the hot candy syrup. Rotate the apple slowly. Coat it evenly on all sides. Lift the apple. Let excess syrup drip back into the pan. Do this for a few seconds.
Step 5: Cool and Set
Place the coated apples onto your prepared baking sheet. They should be on the greased wax paper. Let them cool completely. They need to cool at room temperature. Wait until the candy shell hardens fully. This usually takes about 15 to 20 minutes. It depends on your room’s temperature.
Step 6: Enjoy or Store
Once the candy coating is hard, your delicious candy apples are ready! You can enjoy them right away. If you aren’t eating them immediately, there’s a simple storage trick. Wrap each apple tightly in cellophane. This keeps them fresh for later enjoyment.
How to Store Candy Apples
Keep your delightful candy apples fresh for days. Wrap each one securely in cellophane or plastic wrap. This protects the shiny candy coating. It stops moisture from making it sticky. Store them at cool room temperature. Avoid direct sun or heat. Don’t put them in the refrigerator. Condensation can make the coating soft and gooey.
Tips for Success
Here are a few of my best tips for truly amazing candy apples.
- Always use a candy thermometer. It ensures the perfect temperature.
- Dry your apples very well before dipping. This is key for nice candy adhesion.
- Work fast once the candy syrup is ready. It starts to harden quickly.
- Be super careful with hot sugar! It can cause serious burns.
- Have all your supplies prepped and ready. Do this before you start cooking the syrup.
Kitchen Tools You’ll Need
To make these delightful candy apples, you’ll need a few key kitchen tools. Having them ready makes the process much smoother. Here are the essentials:
- A sturdy, heavy-bottomed saucepan is a must.
- A reliable candy thermometer ensures perfect syrup consistency.
- A baking sheet for cooling your creations.
- Wax paper to prevent sticking.
- Cooking spray for greasing the wax paper.
- Popsicle or lollipop sticks for easy handling.
- A heat-resistant spatula or spoon for stirring.
Serving Suggestions
These festive candy apples are wonderful on their own. But they also pair perfectly with a few fall favorites. Here are some ideas I love:
- Serve alongside a warm mug of apple cider. It’s a classic fall combination.
- Offer a variety of toppings. Think festive sprinkles or even chopped nuts. This lets everyone customize their treat.
- Present them on a pretty platter for parties. They look so inviting.
- Pair a candy apple with a scoop of simple vanilla ice cream. The contrast is delightful.
Frequently Asked Questions
Got questions about making perfect candy apples? I’ve got answers!
Can I make candy apples ahead of time?
Yes, you can certainly make these delicious candy apples a day ahead. Once they are fully cooled and the candy coating feels hard, wrap each one individually. Use cellophane or plastic wrap. This protects them from moisture. Keep them at cool room temperature until ready to serve.
Why is my candy apple coating soft and sticky?
This usually happens if the sugar syrup didn’t reach the correct temperature, which is 300°F (150°C). It could also be because the apples weren’t completely dry before dipping. High humidity in the air might also affect how well the candy hardens.
Can I use different colored food coloring for my candy apples?
Absolutely! Feel free to get creative with colors. Green or blue food coloring works wonderfully for a different look. Just remember to be careful when adding it. Stir it in after you take the hot syrup off the stove. The hot sugar can splash, so stand back!
What kind of apples are best for making candy apples?
Crisp, firm apples are definitely the best choice for making candy apples. Varieties like Fuji, Gala, Honeycrisp, or Granny Smith hold their shape really well. They offer a lovely contrast to the sweet, hard candy shell. Try to avoid apples that are softer, as they can become mushy.
Print
Candy Apples
- Prep Time: 15 minutes
- Cook Time: 20 minutes
- Total Time: 35 minutes
- Yield: 12 candy apples
- Category: Desserts
- Method: Stovetop
- Cuisine: American
- Diet: Vegetarian
Description
A classic treat, candy apples are made by coating crisp apples in a vibrant, hard candy shell.
Ingredients
- 12 small red or green apples (any variety)
- 12 lollipop or popsicle sticks
- 3 cups sugar
- ½ cup light corn syrup
- 1 cup water
- ½ teaspoon red food coloring
- 6 cups water (for wax removal)
- 1 tablespoon white vinegar (for wax removal)
Instructions
- To remove wax from apples, boil 6 cups water with 1 tablespoon white vinegar. Quickly dip the apples in the boiling mixture for 5 seconds then thoroughly dry them.
- Wash and thoroughly dry the apples.
- Insert the lollipop sticks or popsicle sticks so that they are firmly positioned in the apples.
- Set the apples aside on a cookie sheet lined with wax paper coated with cooking spray.
- Combine the sugar, corn syrup and water in a heavy-bottomed saucepan over medium heat.
- Bring it to a boil and cook the mixture until a candy thermometer reaches 300ºF (the hard crack stage).
- Remove the candy mixture from the heat and carefully stir in the red food coloring. (It may splash, so stand back).
- Carefully dip each apple into the candy mixture, turning to coat evenly.
- Allow excess syrup to drip into the pan, then place on the prepared cookie sheet.
- Allow candy coating to cool completely to room temperature.
- Remove from cookie sheet and enjoy, or wrap in cellophane to enjoy later.
Notes
- Ensure apples are thoroughly dry before coating for best results.
- Be cautious when working with hot sugar syrup as it can cause severe burns.
- The hard crack stage (300-310°F) is crucial for the candy coating to harden properly.
- Apples can be stored wrapped in cellophane at room temperature for a few days.


