

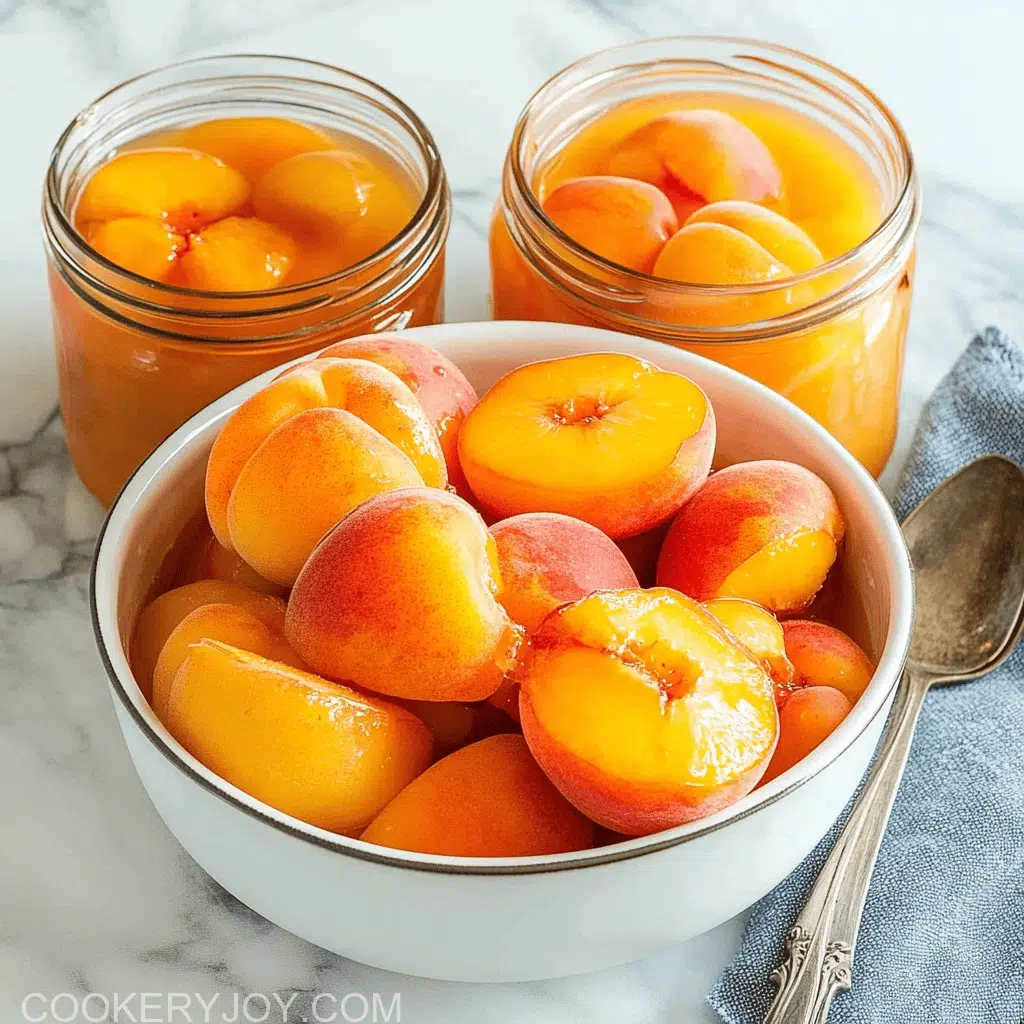
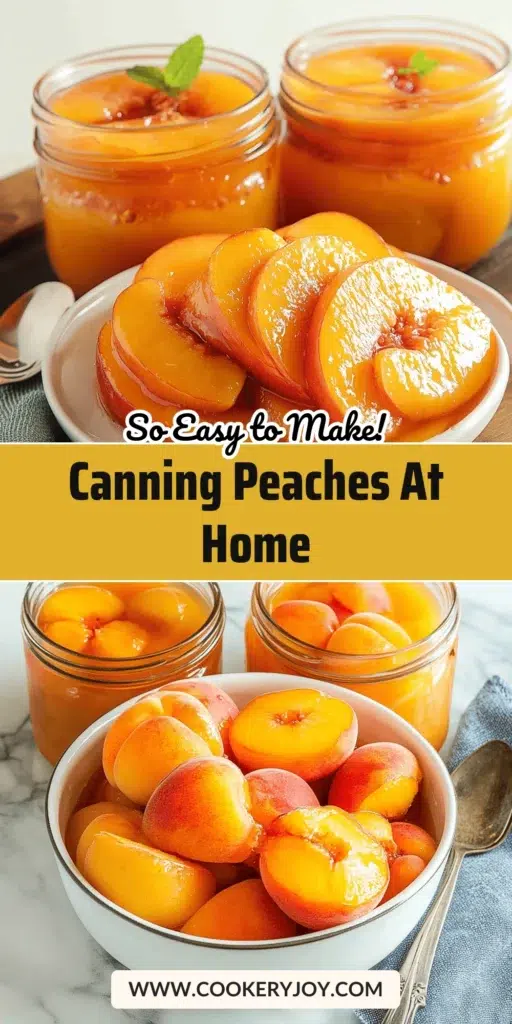
There’s nothing quite like biting into a sweet, sun-kissed peach, especially when it’s picked at its peak. This recipe for Canning Peaches at Home captures that perfect summer sweetness for months. It’s a burst of sunshine in every jar, truly.
I often open a jar on dreary winter days; it’s a bright reminder of warmer times. My granddaughters love these peaches straight from the jar, a quick and delicious treat.
Why I Love This Recipe
Oh, let me tell you, this recipe for Canning Peaches at Home is pure magic! It fills my pantry with gorgeous, golden fruit. I adore knowing exactly what goes into our food. Plus, these canned peaches make quick desserts a breeze. They’re amazing over ice cream or as a side with breakfast. It’s truly a taste of summer, all year round!
Canning Peaches at Home Ingredients
Gathering your ingredients for Canning Peaches at Home is like collecting sunshine in a basket. Each item plays a key role, creating that perfect blend of sweetness and a little tang.
- Ripe Peaches: These are the stars, of course! Choose firm, fragrant peaches bursting with natural sweetness.
- Lemon Juice: A splash of this brightens the flavor and helps prevent browning, keeping your peaches looking lovely.
- Water: The base for our lovely syrup, simple yet essential.
- Sugar: This creates the sweet syrup for preserving and enhances the peaches’ natural taste.
- Fruit-Fresh: This secret weapon helps maintain the vibrant color and freshness of your beautiful fruit.
Substitutions and Tips
For sparkling white peaches, adding an extra teaspoon of lemon juice to each jar really helps maintain their delicate color. You’ll find all the specific measurements in the handy recipe card below. Happy canning!
How to Make Canning Peaches at Home
Making delicious Canning Peaches at Home is simpler than you think. Just follow these steps. You’ll have a pantry full of peachy goodness in no time!
Prepare for Canning
First, get your jars ready. I run mine through the dishwasher for sterilization. While they’re cleaning, grab a large saucepan. Pop your canning lids in there. Simmer them gently in hot water on the stove. Next, find a big pot; this one’s for boiling peaches. Fill it with water and bring it to a rolling boil. Also, set up an ice bath. You can fill a big bowl with ice water. Or, just use your sink; it works perfectly. In a separate large pot, combine 12 cups of water and 6 cups of sugar. Stir this until the sugar melts away. Bring it to a boil, then take it off the heat. Stir in the Fruit-Fresh then set this sweet syrup aside. You are now truly ready for Canning Peaches at Home.
Prepare the Peaches
Now, let’s get those lovely peaches ready. Carefully place a few peaches into that boiling water. Make sure they are totally covered. Set a timer for just one minute. This is a quick dip! After a minute, pull them out. Plunge them right into your cold water bath. Repeat this for all your peaches. Next, add a quart of cold water to a large bowl. Stir in half a cup of lemon juice. This lemon bath prevents browning. The skins should slip right off easily now. Peel each peach. Then, cut them in half. Or, slice them if you prefer. Remove those pits, of course. Drop the peeled and cut peaches into your lemon water. This keeps them looking beautiful and fresh. They will be perfect for Canning Peaches at Home.
Canning the Peaches
Okay, it’s time to fill those jars! Place your sterilized jars upright. A large cookie sheet works great for this. If you’re using white peaches, add one teaspoon of extra lemon juice to each jar beforehand. Next, pour a cup of that light syrup into each jar. Now, start filling with your peach halves or slices. I use a slotted spoon for this part. Be gentle with the fruit. Make sure to leave about half an inch of space at the top. This is called headspace. Add more syrup to fill any empty spots. Ensure the fruit is fully covered. Still, keep that half-inch headspace. Now, get a clean knife. Slide it down the inside of each jar. This releases any trapped air bubbles. Air bubbles can ruin your seal. Wipe the jar rims with a clean towel. This step is super important. Grab a magnetic lid wand, or a fork will do. Carefully take a canning lid from the simmering water. Place it right on top of the jar. Finally, tighten the screw bands firmly. Your peaches are almost ready for Canning Peaches at Home.
Processing the Peaches
Next, we process our jars. Fill your water bath canner halfway with warm water. Place the filled jars on the wire rack. Gently lower them into the canner. Add more water to the canner. The water should cover the jars by at least one inch. Put the lid on the canner. Bring the water to a boil. Once it’s boiling, reduce the heat to medium-high. Keep that boil going steadily. Now, for the processing time. This depends on your elevation. Quart jars need 25 minutes if you’re 0-1,000 feet above sea level. For 1,001-3,000 feet, process for 30 minutes. If you are at 3,001-6,000 feet, it’s 35 minutes. And for over 6,000 feet, process for 40 minutes. When the time is up, carefully remove the jars. Let them cool on your counter. Choose a spot that’s not drafty. Once cooled, check the seals. Store your sealed jars in a cool, dark place. Enjoy your homemade Canning Peaches at Home!
How to Store Canning Peaches at Home
Once your jars of Canning Peaches at Home have cooled, make sure they’re completely sealed. You’ll hear a satisfying “pop” as they cool. The lid should be concave, curved inwards. If a lid isn’t sealed, you can re-process it. Just use a new lid. Or, store that jar in the fridge. Properly sealed jars will keep for a year. Store them in a cool, dark place. A pantry or cellar works wonderfully. Avoid extreme temperature changes. This helps maintain quality. They’ll be ready whenever you crave that special taste of summer.
Tips for Success
- Choose super ripe, firm peaches for the best flavor.
- Don’t skip the ice bath; it makes peeling so much easier.
- Use fresh lemon juice for brightness and color protection.
- Always check for air bubbles; they can stop a good seal.
- Wipe jar rims clean for a perfect seal every time.
- Process promptly after filling to keep everything fresh.
- Let jars cool undisturbed for a strong, lasting seal.
Kitchen Tools You’ll Need
- A large stockpot: Essential for boiling peaches and for the water bath canner. Use your biggest pot.
- Canning jars with lids and bands: Make sure they are specifically for canning.
- Jar lifter: This special tool grips jars securely. Tongs can work in a pinch.
- Canning funnel: Keeps your jar rims clean when filling. A wide-mouth funnel is great.
- Bubble remover/headspace tool: A plastic knife or chopstick works well too.
Serving Suggestions
- Serve warm peaches over vanilla bean ice cream.
- Stir them into oatmeal for a sweet breakfast.
- Top your pancakes or waffles with these delightful peaches.
- Use them in a cobbler or pie for a quick dessert.
- Enjoy them plain, straight from the jar, chilled.
Canning Peaches at Home
- Prep Time: Not specified
- Cook Time: Not specified
- Total Time: Not specified
- Yield: Not specified
- Category: Canning
- Method: Water Bath Canning
- Cuisine: Not specified
- Diet: Vegetarian
Description
A comprehensive guide to canning fresh peaches at home, ensuring a delicious and long-lasting treat for any time of year.
Ingredients
- 30 large ripe peaches
- 1/2 cup lemon juice
- 12 cups water
- 6 cups sugar
- 1/4 cup Fruit-Fresh
Instructions
- Prepare for Canning: Sterilize canning jars in a dishwasher. Place canning lids in a large saucepan of hot water and simmer. Bring a large pot of water to a boil. Prepare a large bowl of ice water or fill a sink with cold water. In another large pot, combine 12 cups water and 6 cups sugar, stir to dissolve, bring to a boil, remove from heat, and add 1/4 cup Fruit-Fresh. Set aside.
- Prepare the Peaches: Carefully place several peaches in the large pot of boiling water, ensuring they are fully covered. Set a timer for one minute. Remove peaches and place them in the cold water bath. Repeat for all peaches.
- Add 1 quart of cold water and 1/2 cup of lemon juice to a large bowl. Peel the peaches (skins should slide off easily after boiling and chilling). Cut peaches in half or slice them and remove pits. Place halved or sliced peaches in the lemon water to prevent discoloration.
- Canning the Peaches: Place sterilized jars right side up on a large cookie sheet. (Note: For white peaches, add 1 teaspoon of additional lemon juice to each jar.) Pour 1 cup of the light syrup into each jar. Fill each jar with halved or sliced peaches, using a slotted spoon or ladle. Leave 1/2 inch headspace at the top of each jar.
- Add more syrup to fill empty spaces and cover the fruit, maintaining 1/2 inch headspace. Release trapped air bubbles by sliding a clean knife down the inside of the jar in several places. Clean jar rims with a clean towel.
- Using a magnetic lid wand or fork, carefully remove a canning lid from the simmering water and place it directly on top of the jar. Tighten the screw bands firmly on each jar.
- Processing the Peaches: Fill a water bath canner 1/2 full with warm water. Place jars on the wire rack and lower them into the canner. Add more water to cover the jars with 1 inch of water above them.
- Cover with a lid and bring to a boil. Once boiling, reduce to a medium to medium-high heat, maintaining a boil.
- Process quart jars for the following times based on elevation: 0-1,000 feet = 25 min, 1,001-3,000 feet = 30 min, 3,001-6,000 feet = 35 min, 6,000+ feet = 40 min.
- When time is up, remove jars from the canner and let them cool on a counter in a non-drafty area.
- Once cooled, ensure jars have sealed properly and store them in a cool, dark place.
Notes
- If using white peaches, add 1 teaspoon of additional lemon juice to each jar to help balance out the acidity.
- It’s important to get all of the trapped air bubbles out of the jar before it seals.
- Do not dry or touch the canning lids with your bare hands after removing them from hot water to avoid contamination.
Frequently Asked Questions
Can I use different types of peaches for Canning Peaches at Home?
Yes, absolutely! While freestone peaches are often easier to work with, clingstone or semi-freestone varieties work too. Just make sure they are ripe and blemish-free for the best flavor and texture after canning.
How do I know if my jars have sealed properly?
Once your jars cool completely, check the lids. They should be concave, meaning they dip inward. You can also press on the center of the lid; if it doesn’t give, it’s sealed. If it pops up and down, it hasn’t sealed, and that jar needs refrigeration.
What if I don’t have a water bath canner for Canning Peaches at Home?
No canner? No problem! You can use any large pot with a lid. Just make sure it’s deep enough to cover your jars by at least an inch of water. You’ll also need a rack at the bottom to keep jars off direct heat and allow water to circulate.
Conclusion
There’s something incredibly satisfying about opening a jar of homemade Canning Peaches at Home. It’s a testament to simple planning and a little kitchen magic. Each sweet, juicy bite brings back memories of sunny days. It also promises comforting warmth during colder months. This process truly transforms fresh peaches into golden treasures. I love knowing I can reach for a jar. It instantly elevates any meal or snack. It feels like bottling sunshine, a little bit of summer kept just for me. It’s a wonderful way to enjoy nature’s bounty.


