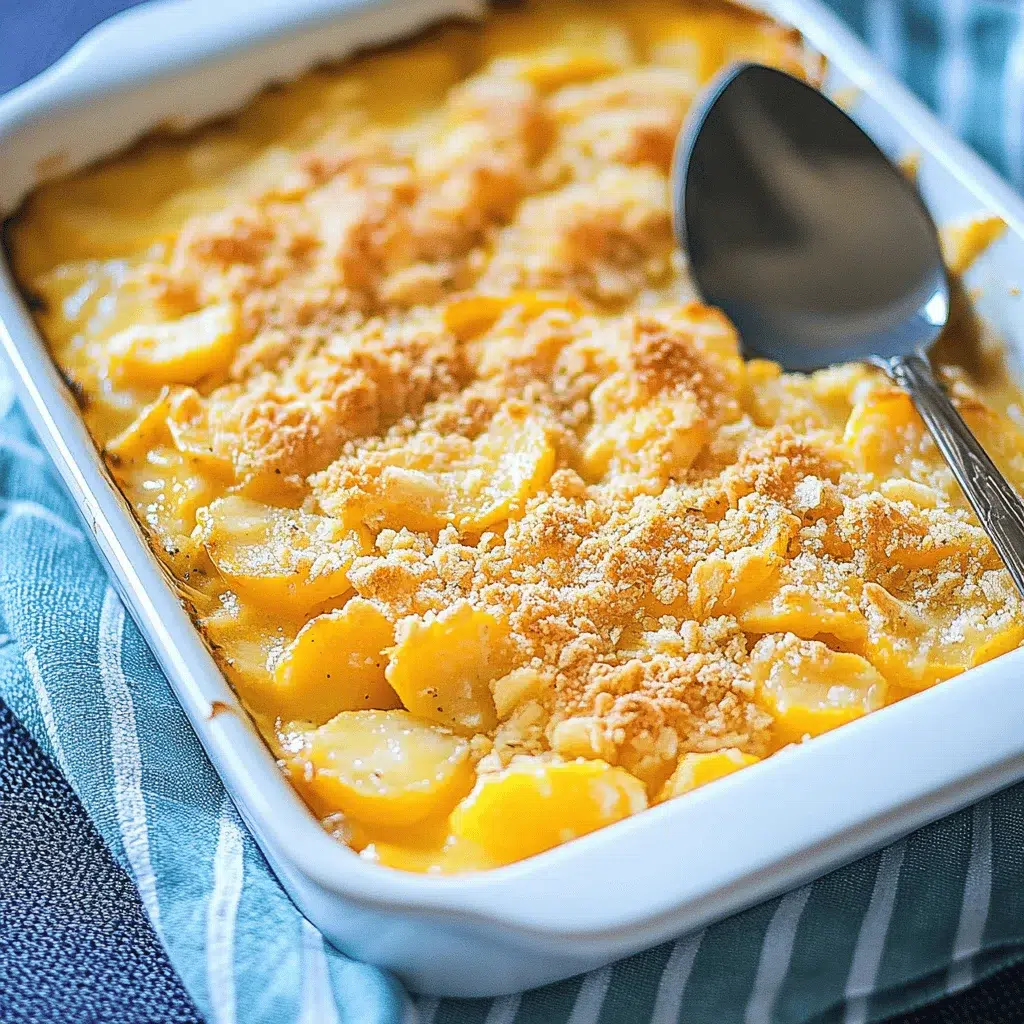
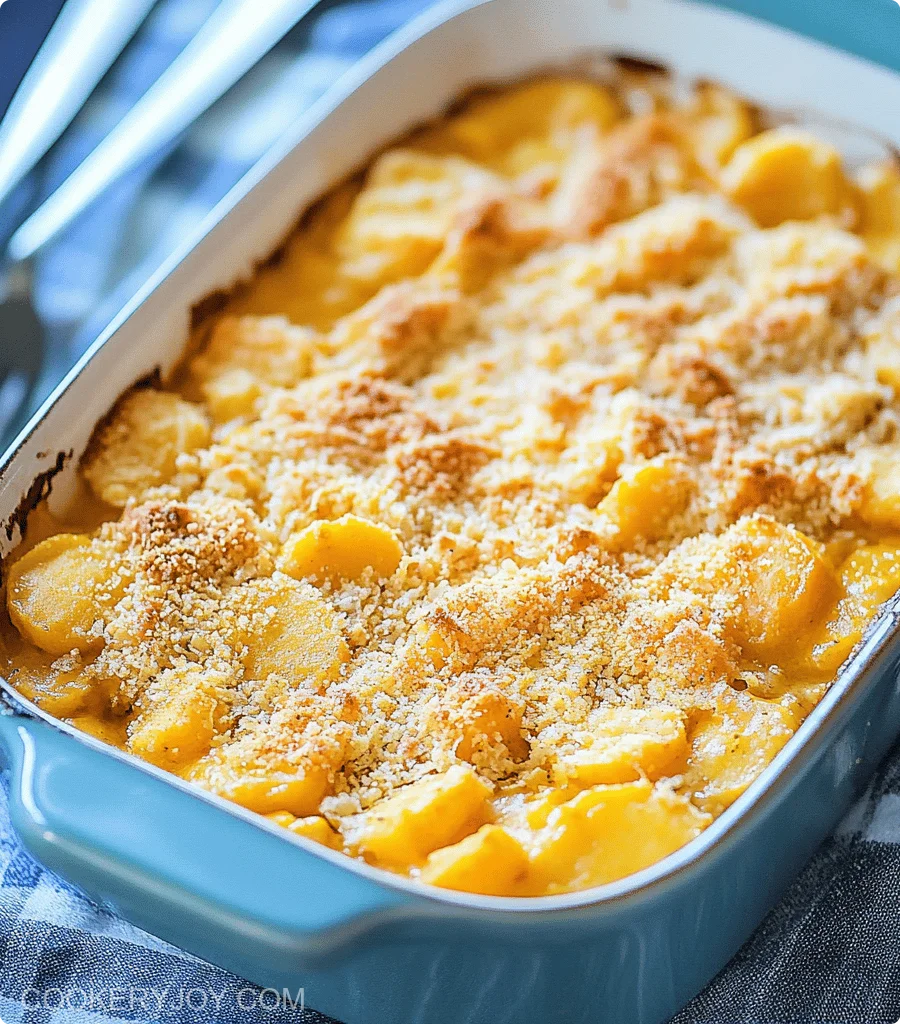
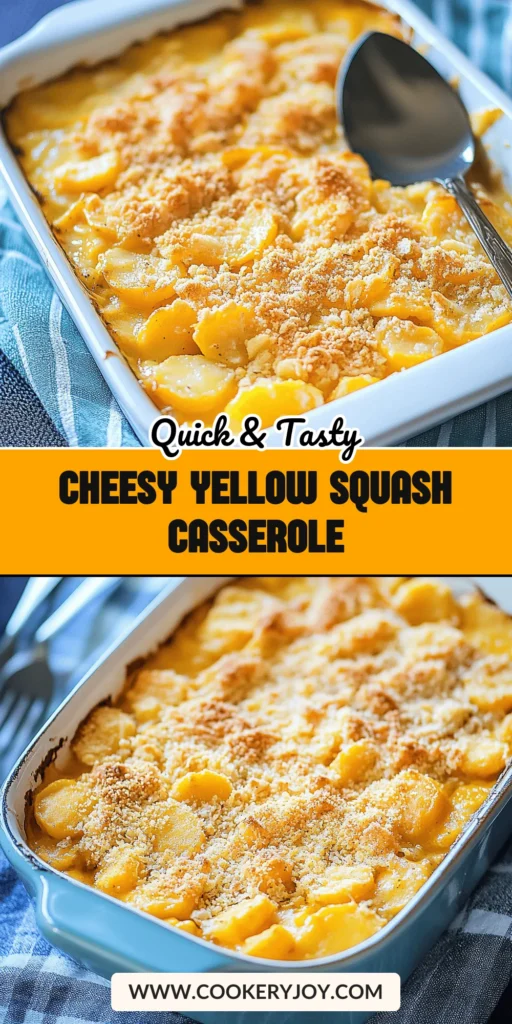
There’s something truly comforting about a warm, creamy side dish. This Cheesy Yellow Squash Casserole delivers just that. It’s packed with tender yellow squash and a rich, cheesy blend. The golden, crunchy topping seals the deal.
I love bringing this to potlucks. It’s always a crowd-pleaser. Plus, it uses up garden squash beautifully. It truly makes any meal feel a bit more special, even on a busy weeknight.
Why I Love This Recipe
This Cheesy Yellow Squash Casserole is a weeknight hero! It’s incredibly simple. You can have it from prep to table fast. The flavor is pure comfort food. It pairs wonderfully with almost anything. It’s also a fantastic way to use up summer squash. This dish always disappears quickly!
Cheesy Yellow Squash Casserole Ingredients
The magic starts with simple, fresh ingredients. They come together to create a harmonious blend of creamy and cheesy goodness. This yellow squash recipe is a testament to how humble produce can shine. It’s truly summer on a plate, elevated with a little dairy decadence.
The Stars of the Show:
- Yellow Squash: The base of our casserole. Thinly sliced for tenderness.
- Cheddar & Monterey Jack Cheese: Creates that irresistible, gooey, cheesy texture.
- Mayonnaise: Adds a luxurious creaminess and richness.
- Onion: Offers a subtle savory depth.
- Breadcrumbs: For that delightful crunchy topping.
- Butter: Melts beautifully with breadcrumbs for a golden crust.
- Salt & Pepper: Essential seasonings to enhance all the flavors.
Substitutions and Tips
Want a little more crunch? Toss in some grated Parmesan with the breadcrumbs. Don’t love raw onion? Sauté it first for a milder taste. For a thinner casserole, ensure your squash slices are truly thin. You can also try a Greek yogurt swap for mayo. It’s a lighter, tangier option. Exact amounts are in the recipe card below!
How to Make Cheesy Yellow Squash Casserole
Let’s get this delicious side dish started! Making this cheesy yellow squash casserole is a breeze. Follow these simple steps. They’ll guide you to a wonderful meal. We’ll cover everything from prep to that perfect golden bake.
Preheat Your Oven and Prepare the Dish
First things first. Preheat your oven to 375°F. That’s 190°C. Now, grab a 9×13 inch baking dish. Make sure it’s greased. A little spray or butter works well. This prevents sticking.
Combine the Creamy, Cheesy Base
Grab a large bowl. Slice your two pounds of yellow squash thinly. Add the squash to the bowl. Now, toss in your cheeses. That’s the cheddar and Monterey Jack. Spoon in the mayonnaise. Add the chopped onion, salt, and pepper. Give everything a good stir. Mix until the squash is well coated.
Assemble the Casserole
Your squash mixture is ready. Pour it all into the prepared baking dish. Spread it out evenly. Make sure it covers the bottom of the dish. This forms the heart of our yellow squash recipe.
Create the Perfect Topping
Let’s make that amazing crunchy topping. Get a small bowl. Mix the breadcrumbs and melted butter together. You want them moistened. Sprinkle this mixture evenly over the squash. This adds a wonderful texture contrast.
Bake to Golden Perfection
Now, into the oven it goes. Bake for 25 to 30 minutes. Watch for it bubbling. Look for a lovely golden brown color on top. The smell will be amazing! Let it stand for about 5 minutes. This lets the casserole set.
Print
Cheesy Yellow Squash Casserole
- Prep Time: 15 minutes
- Cook Time: 30 minutes
- Total Time: 45 minutes
- Yield: 6-8 servings
- Category: Side Dish
- Method: Baking
- Cuisine: American
- Diet: Vegetarian
Description
A creamy and cheesy casserole made with yellow squash, perfect as a side dish for any meal.
Ingredients
- 2 pounds yellow squash, thinly sliced
- 1 cup shredded cheddar cheese
- 1/2 cup shredded Monterey Jack cheese
- 1/2 cup mayonnaise
- 1/4 cup chopped onion
- 1/4 cup breadcrumbs
- 2 tablespoons butter, melted
- 1/4 teaspoon salt
- 1/8 teaspoon black pepper
Instructions
- Preheat oven to 375°F (190°C).
- In a large bowl, combine sliced yellow squash, cheddar cheese, Monterey Jack cheese, mayonnaise, chopped onion, salt, and pepper.
- Pour the mixture into a greased 9×13 inch baking dish.
- In a small bowl, combine breadcrumbs and melted butter. Sprinkle evenly over the squash mixture.
- Bake for 25-30 minutes, or until bubbly and golden brown on top.
- Let stand for 5 minutes before serving.
Notes
- For a crispier topping, you can add a sprinkle of Parmesan cheese along with the breadcrumbs.
- If you prefer a milder onion flavor, you can sauté the onion before adding it to the mixture.
- Ensure the squash is sliced thinly for even cooking.
How to Store Cheesy Yellow Squash Casserole
I know life gets busy! That’s why knowing how to store this delightful cheesy yellow squash casserole is a lifesaver. Whether you have leftovers or want to prep ahead, these tips help.
Refrigeration
Got leftovers? Cool the casserole completely. Then, seal it in an airtight container. It should keep well in the fridge for about 3 to 4 days. Reheat gently in the oven or microwave. This squash casserole is still delicious the next day.
Freezing
Want to freeze this yellow squash recipe? Bake and cool it first. Then, cover it tightly. Foil works well, followed by plastic wrap. It can be frozen for up to 2 months. Thaw overnight in the refrigerator. Then, reheat as usual. Your cheesy yellow squash casserole will be almost like fresh.
Tips for Success
- Slice the yellow squash very thinly. This helps it cook evenly.
- Don’t skip the resting time! It lets everything meld together.
- For extra flavor, try adding a pinch of garlic powder.
- A little Parmesan mixed with breadcrumbs adds nutty depth.
- Taste your squash mixture before baking. Adjust salt and pepper as needed.
Kitchen Tools You’ll Need
- Baking Dish: A 9×13 inch dish is perfect. Any similar oven-safe dish works.
- Mixing Bowls: One large and one small bowl are needed.
- Knife & Cutting Board: For nicely slicing the squash.
- Measuring Cups & Spoons: For accurate ingredient amounts.
- Spatula: For mixing and spreading the casserole.
Serving Suggestions
- Pairs beautifully with grilled chicken or baked fish.
- A light side salad complements its richness.
- Serve this cheesy yellow squash casserole with cornbread.
- It’s also a great addition to holiday meals.
- A glass of iced tea or lemonade is a perfect drink.
Frequently Asked Questions
Can I make this Cheesy Yellow Squash Casserole ahead of time?
Yes, absolutely! You can assemble this yellow squash recipe a day in advance. Cover the unbaked casserole tightly and refrigerate. You might need to add a few extra minutes to the baking time. Just ensure that creamy, cheesy goodness gets heated through.
What can I substitute for mayonnaise in this squash casserole?
No mayo? No problem! Greek yogurt makes a wonderful substitute for mayonnaise in this squash casserole. It adds creaminess and a slight tang. Sour cream is another good option for a similar texture. Both work beautifully in making this a fantastic vegetarian casserole.
How do I ensure my Cheesy Yellow Squash Casserole isn’t watery?
To avoid a watery texture, slicing the yellow squash thinly is key. Overcrowding the dish can also cause excess moisture. Make sure your squash is evenly distributed in the baking dish. This helps the liquid evaporate nicely during baking.
Can I add other vegetables to this Cheesy Yellow Squash Casserole?
Definitely! This yellow squash recipe is quite versatile. You can add finely chopped bell peppers or zucchini. Sautéing them first with the onion can enhance their flavor. This makes your cheesy casserole even more flavorful and satisfying. It’s a great way to add more nutrients!