
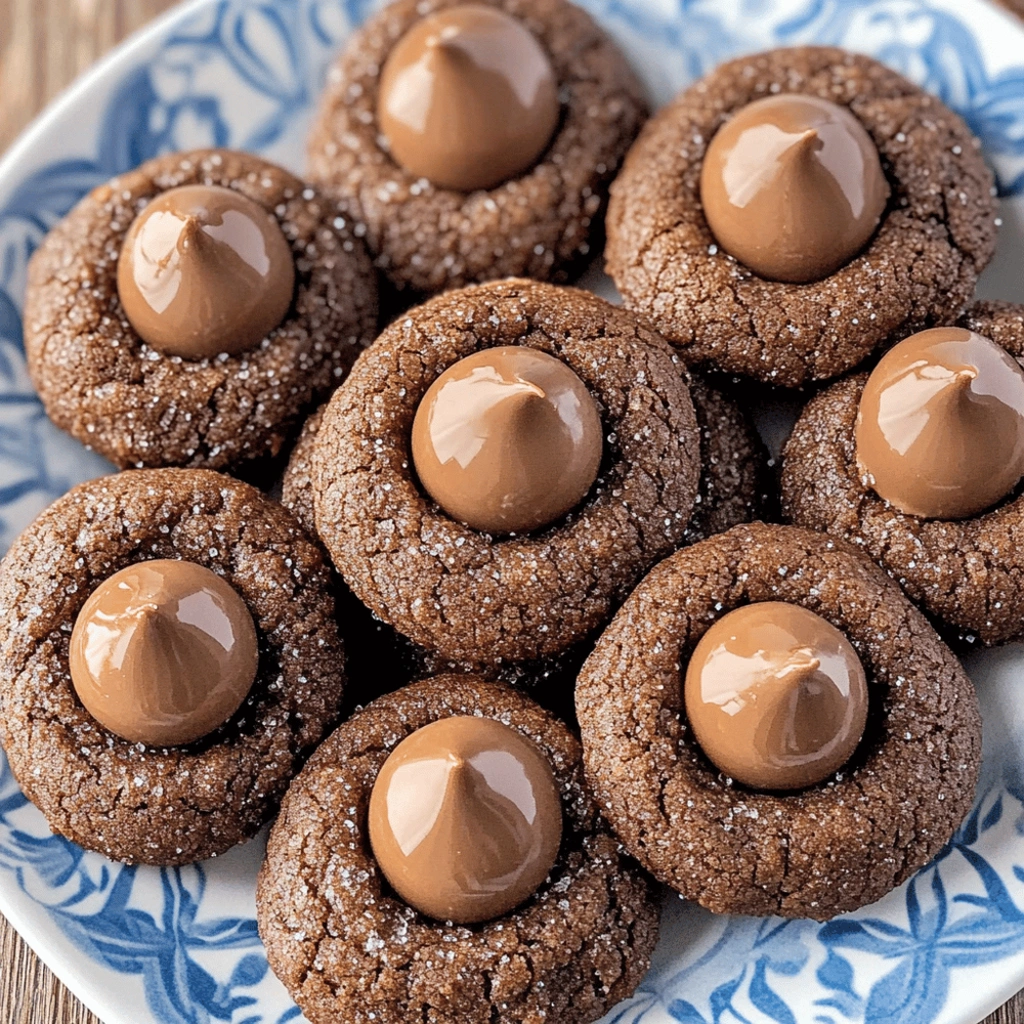
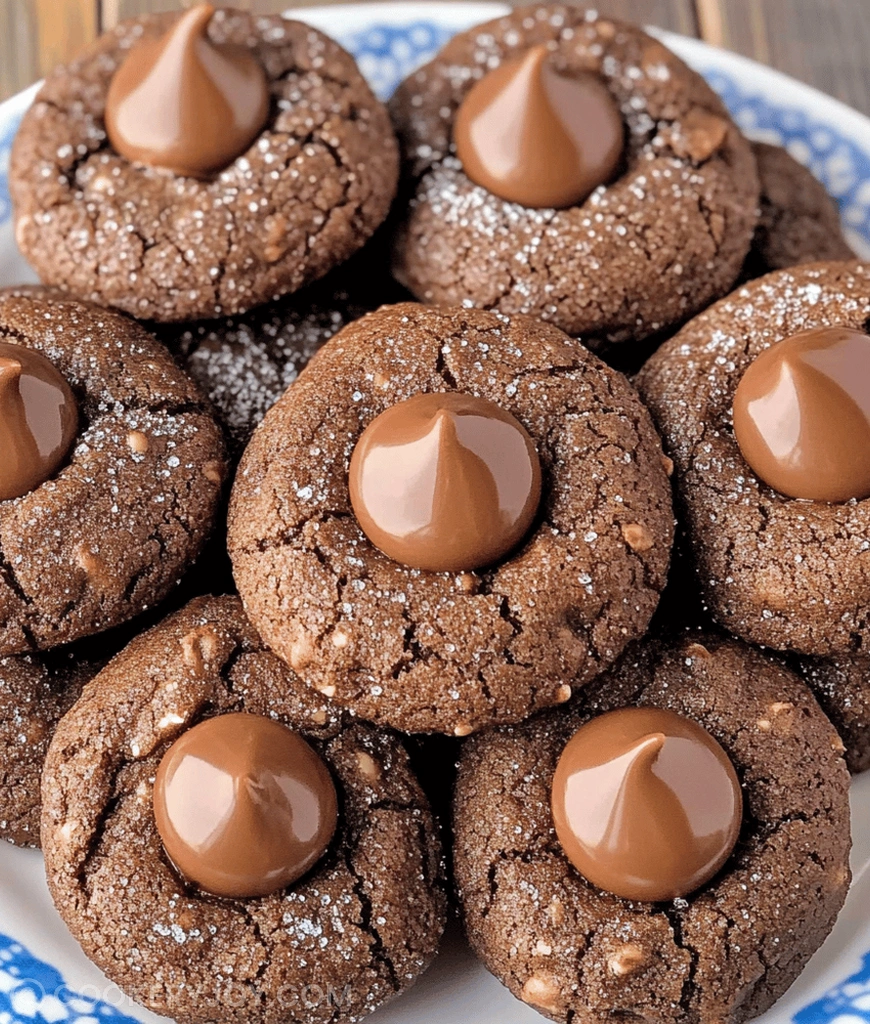
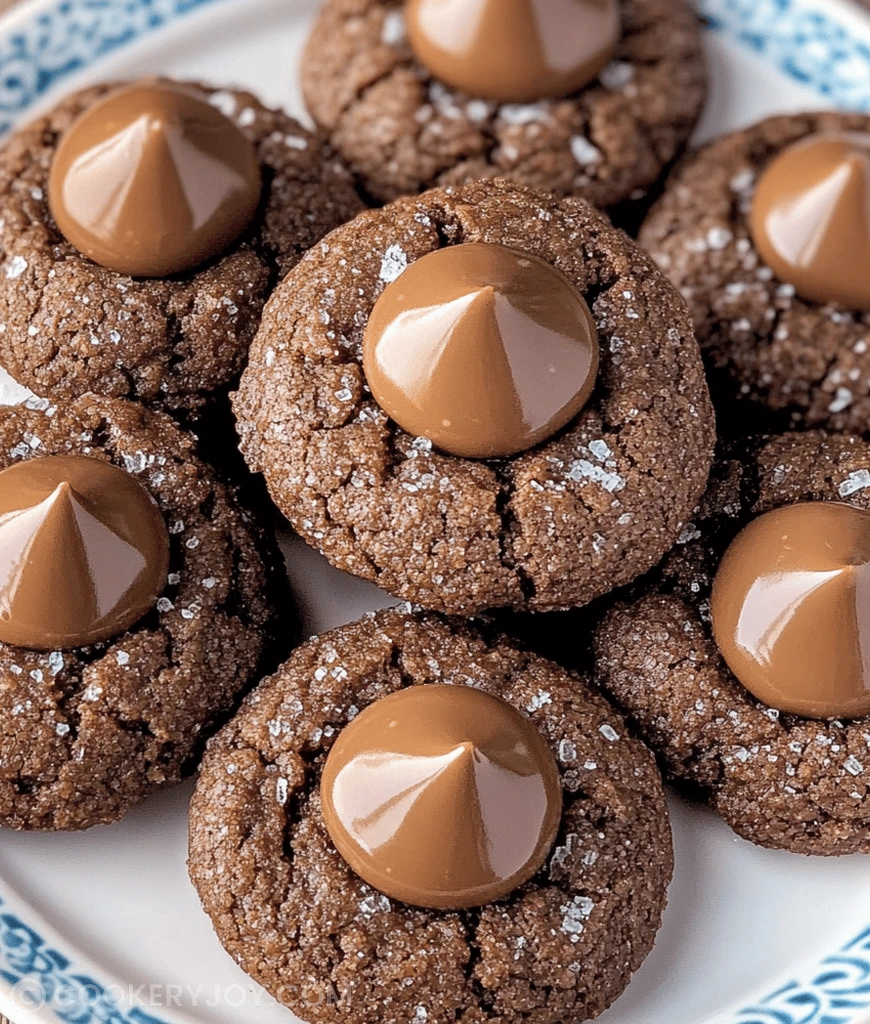
There are some cookies that just feel like home to me. Truly, these fudgy, tender Chocolate blossom cookies offer such deep, dark cocoa flavor. They are an absolute classic for a reason, my friends. That little melted Hershey’s Kiss on top makes them unforgettable.
I often bake a batch when the weather turns crisp outside. Believe me, they disappear fast around here. Storing them is usually not a problem I have to solve. This recipe is simply foolproof for busy weeknights.
Why I Love This Recipe
This specific recipe is my go-to choice.
- Speed is spectacular. You move from bowl to oven so quickly.
- Fudgy texture wins every time. They stay wonderfully soft.
- Nostalgia factor cannot be beat. Everyone recognizes these sweet treats.
Chocolate blossom cookies Ingredients
Gathering these simple ingredients feels like unlocking a happy memory. We are creating pure comfort here with basic pantry staples. The magic happens when simple butter, sugar, and rich cocoa meet heat. That signature chocolate melt seals the deal on every cookie.
Substitutions and Tips
If you cannot find that specific sugar, just use a touch more granulated sugar. Some folks use peanut butter kiss cookies by substituting peanut butter dough. I prefer this pure chocolate version, though. For a flavor boost, add one teaspoon of instant coffee granules to the dry mix. This deepens the cocoa wonderfully. Store leftover dough tightly wrapped. That keeps your next batch tasting fresh and ready.
Kitchen Tools You’ll Need
- Electric mixer: A hand mixer works fine too.
- Mixing bowls: Need two sizes for wet and dry ingredients.
- Baking sheets: Use heavy-duty ones for even baking.
- Parchment paper: Essential for easy cleanup, trust me on this.
- Small cookie scoop: Helps keep your Chocolate blossom cookies uniform.
How to Make Chocolate blossom cookies
Making these tender little gems is actually very straightforward. Follow these steps closely for perfect results every single time. We want that signature crackle on top.
Preparing the Oven and Pans
First, turn your oven up to 375 degrees Fahrenheit. Line those sturdy baking sheets with parchment paper. This little step saves so much scrubbing later. It truly helps prevent sticking too.
Mixing the Wet Ingredients
In a large bowl, cream that softened butter first. Add both granulated and brown sugars next. Beat them until the mixture looks fluffy and light. Then, beat in your single egg. Pour in the vanilla extract now too. Mix until everything combines well together.
Combining Dry Components
Grab your second, separate bowl now. Whisk your flour and cocoa powder together well. Add the baking soda and salt to this mix. Whisking distributes the leavening agents evenly. This step prevents dense spots in your final cookie.
Forming the Chocolate Dough
Slowly introduce the dry elements to the wet mixture. Mix only until the flour disappears mostly. Stop mixing when a soft dough just starts forming. Do not overdevelop that gluten, please. Overmixing leads to tougher baked goods.
Rolling and Sugar Coating
Measure out your extra granulated sugar now. Place it in a shallow dish for rolling. Roll the dark dough into small, one-inch balls precisely. Roll each ball thoroughly in that sugar coating. Make sure every surface gets covered up nicely.
Baking the Cookie Base
Space the sugar balls two inches apart on paper. Bake these cookies for 8 to 10 quick minutes. Watch them closely near the end of baking. The edges should set firmly. The tops should show slight cracking, but stay soft.
Adding the Signature Topping
This step is extremely important for the best Chocolate blossom cookies. Take the hot sheets from the oven right away. Immediately press one unwrapped Kiss into each cookie center. Use a light, firm touch to push it down. The residual heat melts the chocolate base perfectly.
Cooling Properly
Leave the cookies on the warm baking sheet first. Let them sit for about five minutes there. Then, carefully move them to a wire rack. Allow them to cool completely on the rack. This cooling lets the chocolate Kiss set up nicely.
How to Store Chocolate blossom cookies
These lovely cookies store beautifully for quick snacking. Keep them in an airtight container at room temperature. They will last about four days this way easily. For longer storage, freeze them unadorned. Wait to add the Kisses until after thawing and briefly warming. They remain perfectly delicious for future enjoyment.
Tips for Success
- Use room temperature butter. Cold butter will not cream correctly at all.
- Do not overbake the dough base. Soft cookies hide that melted Kiss best.
- Work quickly applying the Kisses. Speed is your best friend right out of the oven.
- Measure cocoa powder carefully. Too much makes the dough dry quickly.
- Chill dough if necessary. If your kitchen is warm, chill the balls briefly.
Serving Suggestions
- These dark chocolate treats rock with cold milk.
- Pair them with a strong cup of brewed coffee.
- Serve them warm alongside vanilla ice cream scoops.
- Arrange them artfully on festive holiday platters.
- They make wonderful, easy after-school snacks too.

Chocolate blossom cookies
- Prep Time: 15 minutes
- Cook Time: 8-10 minutes
- Total Time: Approx. 30 minutes (plus cooling)
- Yield: Approx. 40 cookies
- Category: Dessert
- Method: Baking
- Cuisine: American
- Diet: Vegetarian
Description
A classic and beloved recipe for chocolate cookies topped with a Hershey’s Kiss, often referred to as Chocolate Blossom Cookies.
Ingredients
- 1/2 cup (1 stick) unsalted butter, softened
- 1/2 cup granulated sugar
- 1/2 cup packed light brown sugar
- 1 large egg
- 1 teaspoon vanilla extract
- 1 3/4 cups all-purpose flour
- 1/2 cup unsweetened cocoa powder
- 1 teaspoon baking soda
- 1/4 teaspoon salt
- Approx. 1/2 cup granulated sugar (for rolling)
- Approx. 40 Hershey’s Kisses, unwrapped
Instructions
- Preheat oven to 375°F (190°C). Line baking sheets with parchment paper.
- In a large bowl, cream together the softened butter, granulated sugar, and brown sugar until light and fluffy.
- Beat in the egg and vanilla extract until well combined.
- In a separate bowl, whisk together the flour, cocoa powder, baking soda, and salt.
- Gradually add the dry ingredients to the wet ingredients, mixing until just combined and a soft dough forms.
- Place the remaining 1/2 cup of granulated sugar in a shallow bowl.
- Roll dough into 1-inch balls, then roll each ball in the granulated sugar to coat.
- Place the sugar-coated balls about 2 inches apart on the prepared baking sheets.
- Bake for 8-10 minutes, or until the edges are set and the tops are slightly cracked (do not overbake).
- Immediately upon removing from the oven, press one unwrapped Hershey’s Kiss into the center of each hot cookie.
- Let the cookies cool on the baking sheets for 5 minutes before transferring to a wire rack to cool completely. The chocolate will soften, then set.
Notes
- Do not overbake the cookies; they should be slightly cracked but still soft when the Kiss is added.
- The chocolate Kiss is pressed into the cookie immediately out of the oven so the heat melts the bottom slightly, allowing it to adhere as it cools.


