
The scent of chocolate baking is a universal signal for comfort, and for me, it’s often the precursor to a batch of my famous chocolate brownies. I remember my grandmother, apron dusted with cocoa, pulling a pan of these dark, glistening squares from the oven, the aroma instantly drawing everyone to the kitchen. It’s more than just a dessert; it’s a moment of pure, unadulterated joy.
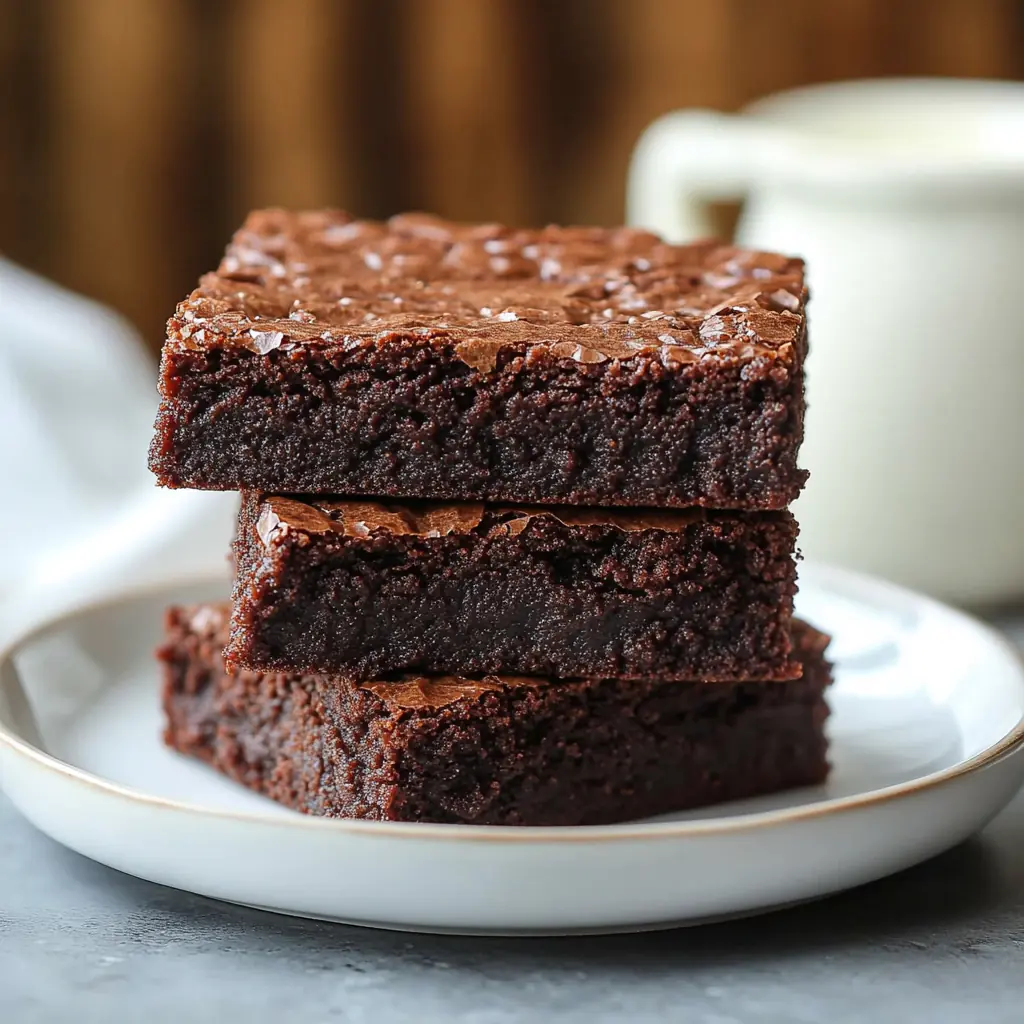
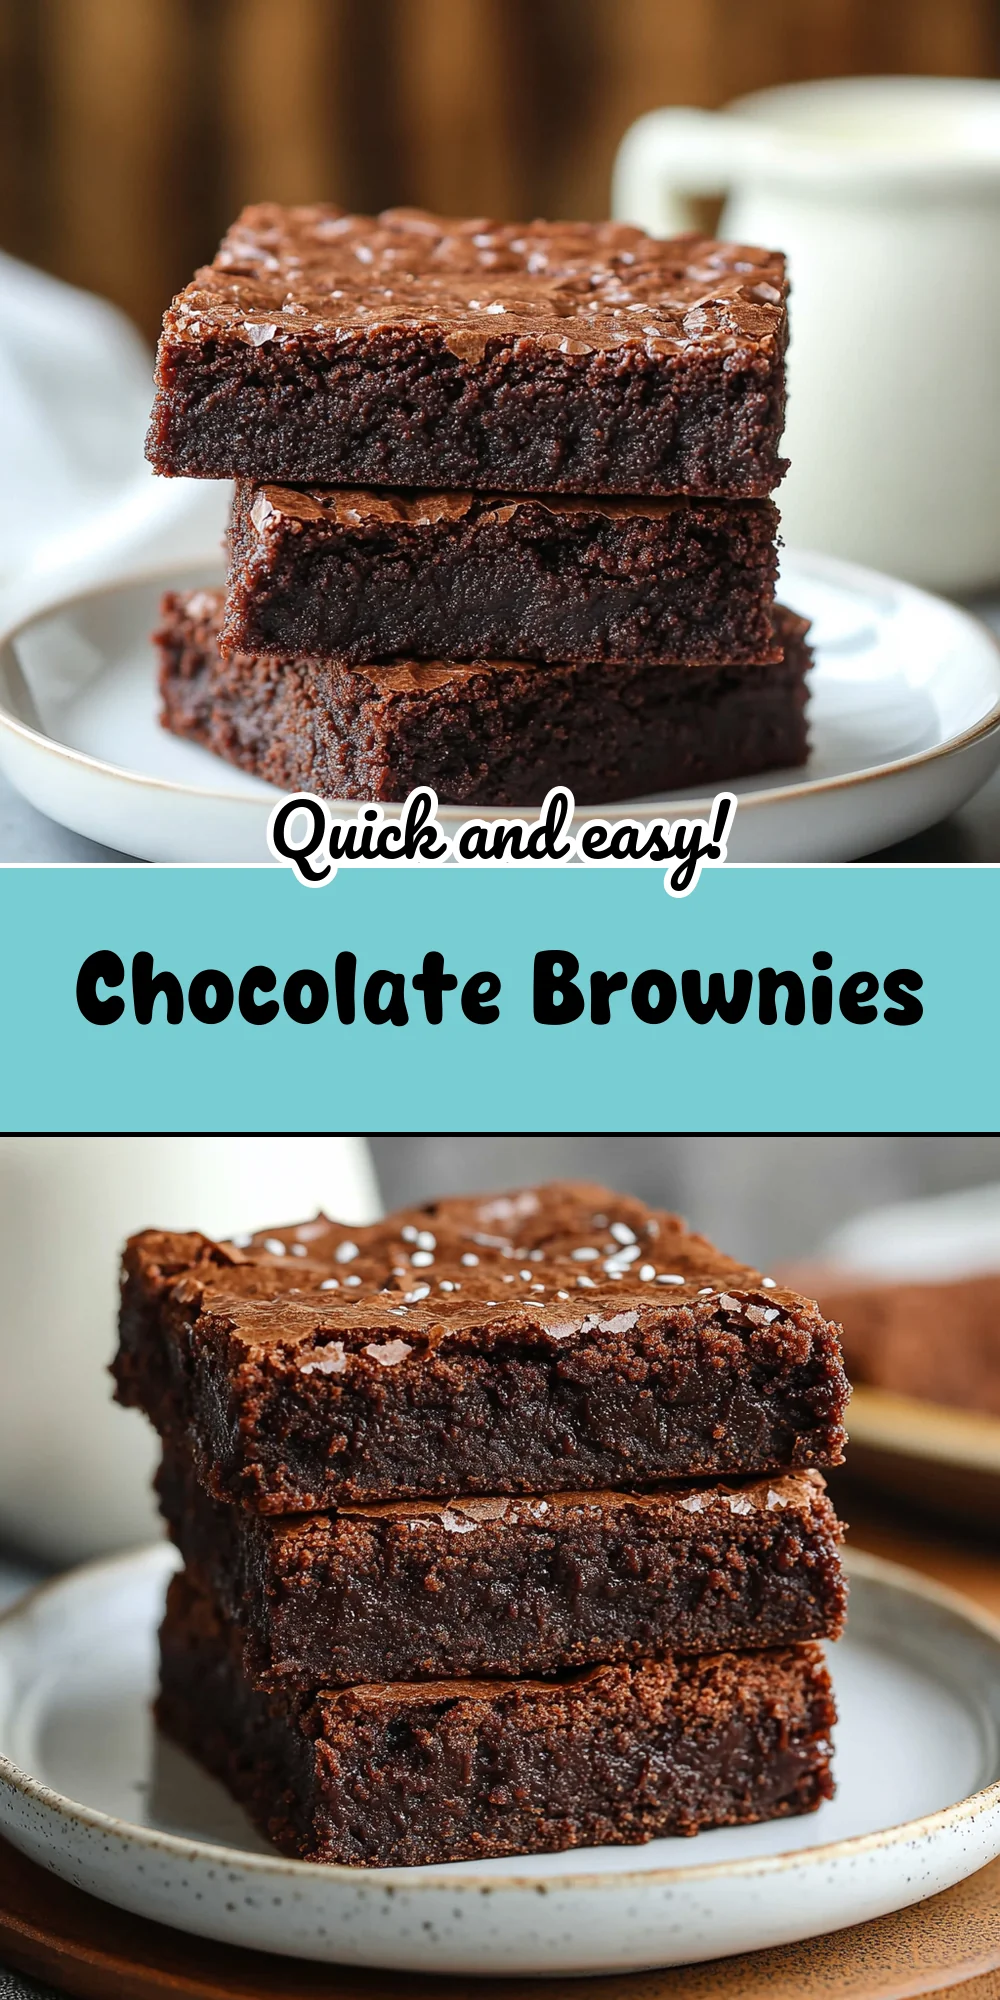
These chocolate brownies are the epitome of simple perfection – a deep, rich chocolate flavor with that incredibly satisfying fudgy chew. Whether you’re looking for a comforting treat on a chilly evening, a crowd-pleasing dessert for a potluck, or a sweet pick-me-up just because, this recipe is your trusty companion. They’re a classic for a reason, and this particular version will have everyone asking for your secret.
Why You’ll Love This Recipe
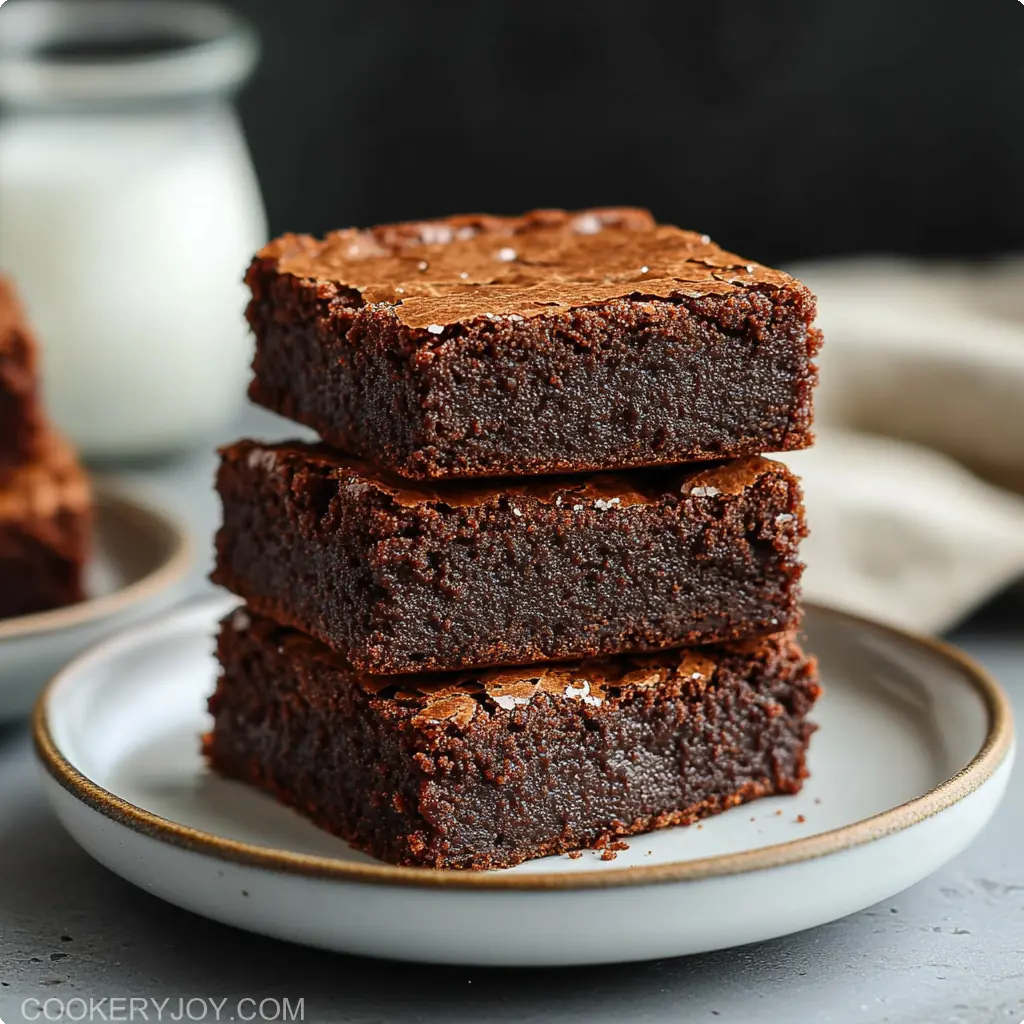
- Intensely Chocolatey: We’re not skimping on the cocoa here! These chocolate brownies boast a deep, rich chocolate flavor that true chocoholics will adore.
- Perfectly Fudgy Texture: Say goodbye to cakey brownies! This recipe is engineered for that dense, moist, and wonderfully fudgy interior that makes a brownie truly special.
- Surprisingly Simple: Don’t let the incredible taste fool you; these chocolate brownies are incredibly easy to whip up, making them perfect for bakers of all skill levels.
- Versatile Delight: Enjoy them warm with a scoop of ice cream, pack them in lunchboxes, or serve them as an elegant dessert with a dusting of powdered sugar. They fit every occasion.
- Crowd-Pleaser Guaranteed: Take these chocolate brownies to any gathering, and watch them disappear! They are universally loved by kids and adults alike.
Ingredients for Chocolate Brownies
Here’s what you’ll need to create these irresistible chocolate brownies.
Core Ingredients
For the Brownies:
- 1 cup oil (or combination of butter and oil): I often use a light vegetable oil for a super moist brownie, but melted butter (or a combo) adds a lovely richness.
- 2 cups granulated sugar: Provides sweetness and contributes to that classic brownie crust.
- 4 large eggs: These are crucial for structure and richness. Make sure they’re at room temperature for best incorporation.
- 6 tablespoons unsweetened cocoa powder: This is where the deep chocolate flavor comes from. Use a good quality one for the best results.
- 1 teaspoon salt: Balances the sweetness and enhances the chocolate flavor. Don’t skip it!
- 1 1/2 cups all-purpose flour: Provides the structure. Be sure to measure it correctly – spoon and level, don’t scoop!
- 1 tablespoon vanilla extract: Rounds out the flavors beautifully.
For the Chocolate Frosting (Optional, but highly recommended!):
- 1/2 cup butter (room temperature): For a creamy, rich frosting.
- 1/2 cup unsweetened cocoa powder: More chocolatey goodness!
- Pinch of salt: Again, to balance the sweetness.
- 2–3 cups powdered sugar: Sift it to avoid lumps and achieve a smooth frosting. Adjust to your desired sweetness and consistency.
- 1 teaspoon vanilla extract: Enhances the overall flavor.
- 5–6 tablespoons milk (or half-and-half/cream): To achieve the perfect spreading consistency. Start with less and add more as needed.
Substitutions and Tips
- For a deeper chocolate flavor: You can add a teaspoon of instant espresso powder along with the cocoa powder. It won’t make the brownies taste like coffee but will intensify the chocolate.
- Oil vs. Butter: Using all oil will generally result in a fudgier, moister brownie, while all butter will give a richer, slightly cakier (but still delicious) result. A combination offers a lovely balance.
- Gluten-Free Option: You can substitute the all-purpose flour with a good quality 1:1 gluten-free baking flour blend. Results may vary slightly in texture.
- Dairy-Free Frosting: Use a dairy-free butter alternative and a plant-based milk for the frosting. The brownies themselves can be made dairy-free by using only oil (no butter).
- Add-Ins: Feel free to stir in up to 1 cup of chocolate chips (milk, semi-sweet, or dark), chopped nuts (walnuts or pecans are classic), or even peanut butter chips into the batter before baking.
Best Type of Cocoa Powder to Use
For the most intense and satisfying chocolate brownies, the type of cocoa powder you choose matters.
- Unsweetened Natural Cocoa Powder: This is the most common type found in supermarkets (like Hershey’s). It has a strong, straightforward chocolate flavor and a lighter color. It will produce delicious chocolate brownies.
- Dutch-Processed Cocoa Powder: This cocoa has been treated with an alkali to neutralize its acidity. This results in a darker color, a milder, less bitter flavor, and it dissolves more easily. Many bakers prefer Dutch-processed cocoa for its smoother taste and rich appearance in baked goods like chocolate brownies.
For this recipe, either natural unsweetened or Dutch-processed cocoa powder will work beautifully. If you have Dutch-processed on hand and love a really dark, rich brownie, go for it! The key is to use a brand you trust for quality. Avoid hot cocoa mix, as it contains sugar and milk solids that will alter the recipe.
Kitchen Tools You’ll Need
You don’t need any fancy equipment to make fantastic chocolate brownies.
Must-Have Tools
- 9×13 inch baking pan: This is the standard size for this recipe. Glass or light-colored metal pans are best for even baking. If using a dark metal pan, you might need to reduce the baking time slightly.
- Large mixing bowl: For combining the brownie batter.
- Medium mixing bowl: If you’re making the frosting.
- Whisk: For combining wet ingredients and dry ingredients separately.
- Rubber spatula or wooden spoon: For folding the ingredients together.
- Measuring cups and spoons: Accuracy is key in baking!
Nice-to-Have Extras
- Parchment paper: Lining the pan with parchment paper, leaving an overhang on two sides, makes it incredibly easy to lift the chocolate brownies out of the pan for cutting. It also makes cleanup a breeze.
- Electric hand mixer or stand mixer: While not essential (these can be made by hand!), a mixer can make combining the frosting ingredients easier and quicker.
- Offset spatula: For spreading the frosting smoothly.
How to Make Chocolate Brownies
Get ready to create the most amazing chocolate brownies!
Step 1: Prep the Pan and Preheat
Preheat your oven to 350°F (175°C). Grease and flour your 9×13 inch baking pan, or line it with parchment paper, leaving an overhang on two sides for easy removal. This little trick is a game-changer for neat squares!
Step 2: Combine Wet Ingredients
In a large mixing bowl, whisk together the oil (or melted butter/oil combination) and granulated sugar until well combined. Add the eggs one at a time, whisking well after each addition. Stir in the vanilla extract. The mixture should look glossy.
Step 3: Add Dry Ingredients
In a separate medium bowl, whisk together the flour, unsweetened cocoa powder, and salt. Gradually add the dry ingredients to the wet ingredients, mixing with a rubber spatula or wooden spoon until just combined. Be careful not to overmix! Overmixing develops the gluten in the flour too much, leading to tougher chocolate brownies instead of fudgy ones.
Step 4: Bake the Brownies
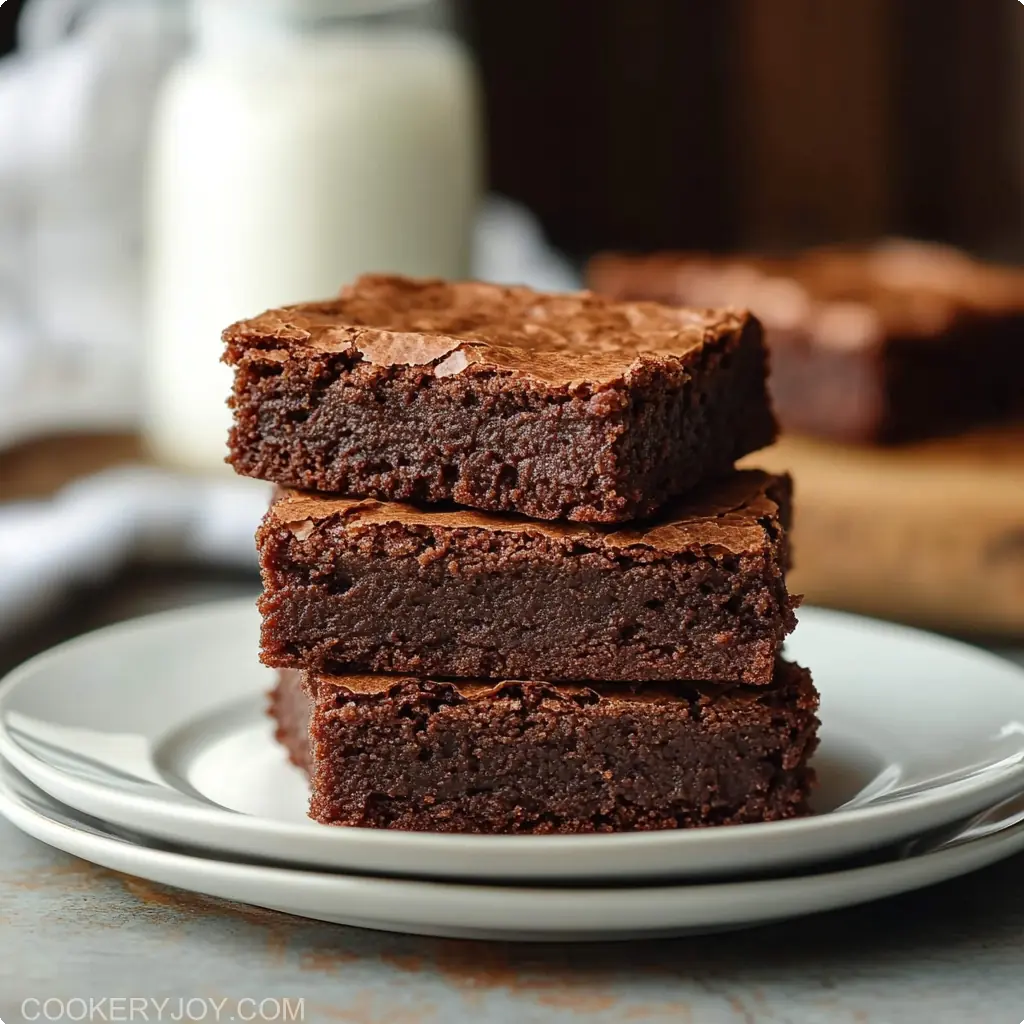
Pour the batter into your prepared baking pan and spread it evenly. Bake for 25-30 minutes, or until a wooden skewer or toothpick inserted into the center comes out with moist crumbs attached, but not wet batter. The edges should look set. You want them slightly underbaked for maximum fudginess.
Step 5: Cool Completely
Let the chocolate brownies cool completely in the pan on a wire rack before frosting or cutting. This is probably the hardest part – waiting! But cooling is essential for clean cuts and a truly fudgy texture. If you try to cut them warm, they can be gooey and fall apart (though still delicious!).
Step 6: Make the Chocolate Frosting (Optional)
While the brownies are cooling, prepare the frosting if using. In a medium bowl, beat the room temperature butter with an electric mixer until creamy. Add the cocoa powder and salt, and beat until combined. Gradually add the powdered sugar, alternating with the milk (or cream) and vanilla extract, beating until smooth and spreadable. Add more powdered sugar for a thicker frosting or more milk for a thinner consistency.
Step 7: Frost and Serve
Once the chocolate brownies are completely cool, spread the frosting evenly over the top. Let the frosting set for a bit before cutting into squares. Enjoy your homemade chocolate brownies!
Tips for Success
- Do Not Overbake: This is the golden rule for fudgy chocolate brownies. It’s better to err on the side of slightly underbaking. The brownies will continue to cook a bit as they cool in the hot pan.
- Use Room Temperature Eggs: Room temperature eggs incorporate more easily into the batter, leading to a smoother, more uniform texture. To quickly bring eggs to room temperature, place them in a bowl of warm (not hot) water for 5-10 minutes.
- Measure Flour Correctly: Scooping flour directly from the bag with your measuring cup can pack it in, resulting in too much flour and dry brownies. Instead, fluff the flour in its container, then lightly spoon it into your measuring cup and level off the excess with a straight edge.
- Quality Cocoa Matters: Since cocoa is the star flavor, using a good quality unsweetened cocoa powder will make a noticeable difference in your chocolate brownies.
- Cool Completely Before Cutting: I know it’s tempting, but for those perfectly neat squares and the best fudgy texture, allow your chocolate brownies to cool completely. For extra clean cuts, you can chill them slightly in the refrigerator before slicing.
How to Store Chocolate Brownies
Proper storage will keep your chocolate brownies fresh and delicious.
- Room Temperature: Unfrosted chocolate brownies can be stored in an airtight container at room temperature for up to 3-4 days. If frosted with a buttercream-style frosting (like the one in this recipe), they are also generally fine at room temperature for 2-3 days, unless your kitchen is very warm. If it is, opt for the fridge.
- In the Refrigerator: For longer storage, or if your home is warm, store the chocolate brownies (frosted or unfrosted) in an airtight container in the refrigerator for up to a week. Chilled brownies will be firmer; you might want to let them come to room temperature for about 15-20 minutes before serving, or gently warm individual servings in the microwave for a few seconds.
- Freezing Tips: Chocolate brownies freeze beautifully!
- Unfrosted: Wrap the completely cooled, uncut slab of brownies (or individual squares) tightly in plastic wrap, then in a layer of aluminum foil, or place them in a freezer-safe airtight container or zip-top bag. They can be frozen for up to 3 months.
- Frosted: It’s best to flash-freeze frosted brownies. Place the cut squares on a baking sheet and freeze until the frosting is firm (about 1-2 hours). Then, wrap them individually in plastic wrap and transfer to a freezer-safe container or bag.
- Thawing: Thaw frozen chocolate brownies at room temperature or overnight in the refrigerator.
FAQs
Can I make these chocolate brownies ahead of time?
Absolutely! Chocolate brownies are a great make-ahead dessert. You can bake them a day or two in advance and store them in an airtight container at room temperature or in the refrigerator. The flavor often deepens and improves by the next day.
What if I don’t have parchment paper?
If you don’t have parchment paper, make sure to grease your baking pan thoroughly with butter or shortening, and then lightly flour it. Tap out any excess flour. This will help prevent the chocolate brownies from sticking.
Can I use a different size pan for these chocolate brownies?
Yes, but you’ll need to adjust the baking time. A smaller pan (like an 8×8 inch or 9×9 inch) will result in thicker brownies and will require a longer baking time. A larger pan will yield thinner brownies that bake more quickly. Keep an eye on them and use the toothpick test.
My chocolate brownies turned out cakey, what did I do wrong?
Cakey chocolate brownies are often a result of overmixing the batter after adding the flour (which develops too much gluten) or overbaking. Be sure to mix only until the ingredients are just combined, and pull them from the oven when a toothpick shows moist crumbs. Using all butter instead of oil can also lead to a slightly cakier texture.
Can I double this chocolate brownies recipe?
Yes, you can double the recipe. Bake it in a larger pan (like a 10×15 inch jelly roll pan or two 9×13 inch pans), and adjust the baking time accordingly. Start checking for doneness around the original bake time and add more as needed.
Conclusion
There you have it – a recipe for truly exceptional chocolate brownies that are as easy to make as they are to devour. The rich, fudgy texture and deep chocolate flavor make these chocolate brownies a standout treat for any occasion. Whether you’re baking for family, friends, or just yourself, this recipe is a keeper that will bring smiles and satisfy those chocolate cravings every single time. Happy baking!


