Skip to content

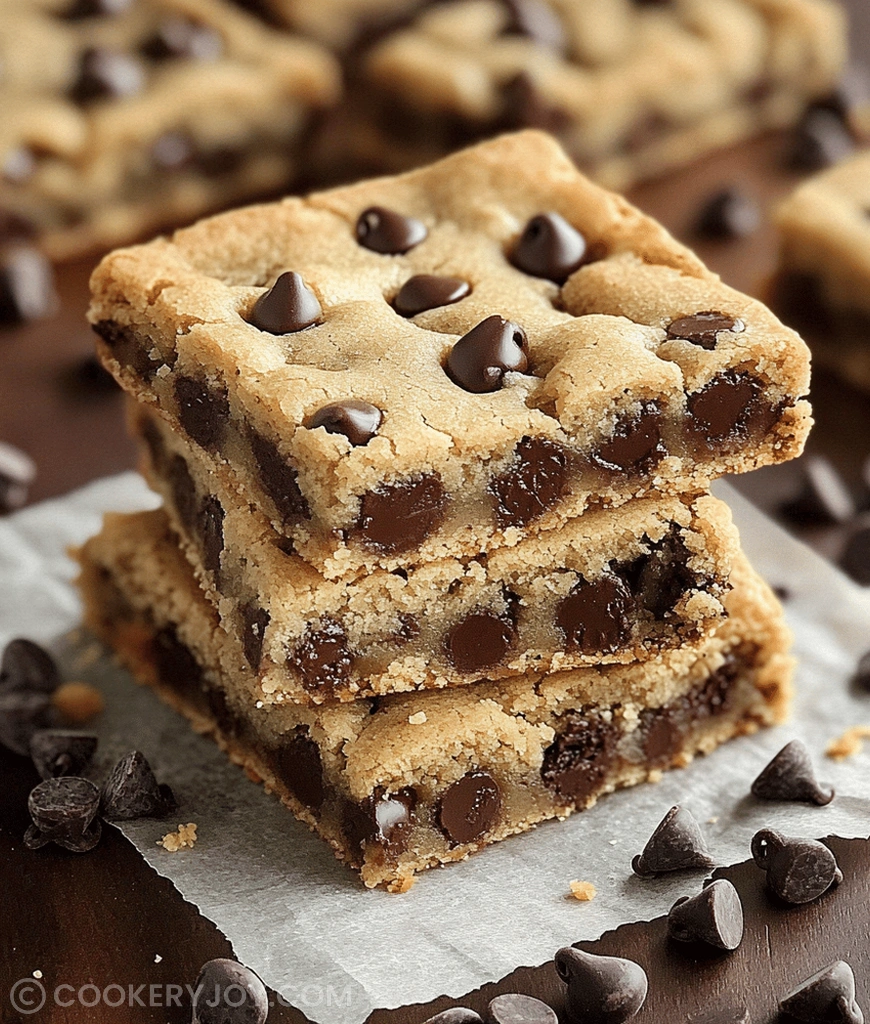
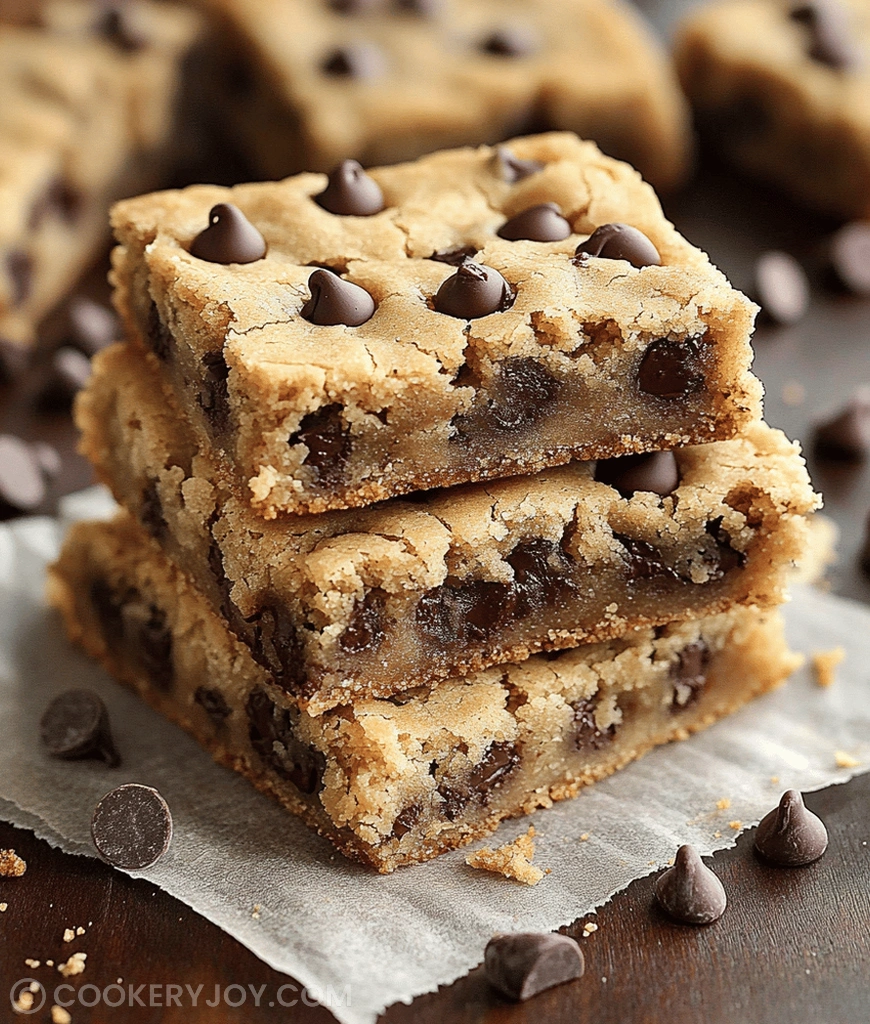
There’s something magical about pulling a pan of warm chocolate chip cookie bars out of the oven. The smell alone feels like a hug after a long day. Golden edges, gooey centers, and chunks of melty chocolate, these bars are pure joy in square form. They strike the perfect balance between chewy and soft, buttery and sweet.
I’ve baked these countless times—on slow Sunday afternoons, during late-night cravings, and even as a last-minute gift. They never disappoint. You’ll love how easily they come together and how long they stay fresh. Every bite feels like home, familiar yet irresistible.
Why I Love This Recipe
Honestly, this chocolate chip cookie bar recipe is a lifesaver. It’s quick, easy, and always delivers. Here’s what makes it such a repeat favorite in my kitchen:
- Fuss-Free Prep: No fancy mixers or chilling needed.
- Quick Bake Time: Ideal for spontaneous sweet cravings.
- A True Crowd-Pleaser: Everyone lights up at the first bite.
- Endlessly Adaptable: Dress them up or keep them classic—your choice.
Chocolate Chip Cookie Bars Ingredients
The real charm of these chocolate chip cookie bars is how simple ingredients create such indulgent results. Each one plays its part perfectly:
- Butter: Soft but not melted—this gives the dough its rich, melt-in-your-mouth texture.
- Granulated and Brown Sugar: The dream duo for sweetness and chewy depth.
- Egg: Adds structure and a touch of richness.
- Vanilla Extract: A cozy, familiar flavor that ties it all together.
- All-Purpose Flour: Gives the bars their perfect bite and texture.
- Baking Soda: Helps the bars rise and stay soft.
- Salt: Balances the sweetness and enhances the flavors.
- Chocolate Chips: The stars! Semi-sweet or milk chocolate both shine here.
Substitutions and Tips
You can easily make these bars your own:
- Mix milk and dark chocolate chips for flavor variety.
- Add chopped walnuts or pecans for crunch.
- Substitute coconut oil or vegan butter to make them dairy-free.
- A pinch of cinnamon adds a warm, cozy touch.
Check the recipe card below for precise measurements and instructions!
How to Make Chocolate Chip Cookie Bars
These bars come together in minutes and bake up beautifully golden and chewy. Here’s exactly how to make them:
Step 1: Prepare the Pan and Oven
Preheat your oven to 350°F (175°C). Grease and flour an 8×8-inch baking pan, or line it with parchment paper for easy removal later.
Step 2: Cream the Wet Ingredients
In a large bowl, beat the softened butter with the granulated and brown sugars until light and fluffy. Add the egg and vanilla extract, mixing until smooth and creamy.
Step 3: Combine the Dry Ingredients
In a separate bowl, whisk together the flour, baking soda, and salt. This keeps everything evenly distributed and prevents clumps.
Step 4: Mix Wet and Dry Mixtures
Gradually add the dry ingredients to the butter mixture. Mix until just combined—overmixing can make the bars tough instead of soft and chewy.
Step 5: Fold in Chocolate Chips
Using a spatula, gently fold the chocolate chips into the dough. Make sure they’re evenly spread so each bar has plenty of chocolate in every bite.
Step 6: Press the Dough into the Pan
Press the dough evenly into your prepared pan. Smooth the top with a spatula for a uniform bake. Even thickness ensures perfectly chewy bars.
Step 7: Bake to Perfection
Bake for 25–30 minutes, or until the edges turn golden brown and a toothpick inserted near the center comes out with moist crumbs. Watch closely—slightly underbaked is best for chewy texture.
Step 8: Cool Before Cutting
Cool the bars completely in the pan on a wire rack. This lets them set and makes clean slicing easier. It’s tough to wait, but I promise—it’s worth it!
How to Store Chocolate Chip Cookie Bars
Once the bars are completely cool, store them in an airtight container at room temperature for up to 3 days. For longer storage, wrap them tightly and freeze for up to 2 months. They thaw beautifully at room temperature.
Tips for Success
- Soften, Don’t Melt: Soft butter creates the perfect chewy texture—never use melted.
- No Overmixing: Stop mixing as soon as the dough comes together.
- Patience Pays Off: Cool completely before cutting for smooth, even edges.
- Use Quality Chocolate: It truly makes a difference.
- Room Temp Egg: Blends better and creates a uniform dough.
Kitchen Tools You’ll Need
Having the right tools makes baking effortless:
- 8×8-inch baking pan
- Two mixing bowls (one large, one medium)
- Electric mixer or sturdy whisk
- Measuring cups and spoons
- Rubber spatula
- Wire rack for cooling
Serving Suggestions
Serve these chocolate chip cookie bars warm, at room temperature, or chilled for a firmer bite. They shine in any setting.
- Pair with a scoop of vanilla or coffee ice cream.
- Enjoy with a glass of milk for old-fashioned comfort.
- Serve with espresso for a sweet pick-me-up.
- Cut into bite-sized pieces for parties or lunches.
Frequently Asked Questions
Can I make these cookie bars ahead of time?
Absolutely! Bake and cool them fully, then store in an airtight container at room temperature for up to three days. Perfect for busy nights or party prep.
What if I don’t have an 8×8-inch pan?
Use a 9×13-inch pan for thinner bars (reduce bake time) or a 7×7-inch pan for thicker ones (extend bake time slightly).
Can I use different types of chocolate chips?
Of course! Mix milk, dark, or white chocolate chips—or all three—for irresistible variety. Even butterscotch or peanut butter chips add fun twists.
How do I make them extra chewy?
Underbake them slightly. Pull them out when edges are set but the center still looks a little soft. They’ll firm up as they cool and stay chewy inside.
Print
Chocolate Chip Cookie Bars
- Prep Time: 15 minutes
- Cook Time: 25-30 minutes
- Total Time: 40-45 minutes (plus cooling time)
- Yield: 16-20 bars
- Category: Dessert, Baked Goods
- Method: Baking
- Cuisine: American
- Diet: Vegetarian
Description
A simple and delicious recipe for classic chocolate chip cookie bars, perfect for any occasion.
Ingredients
- 1/2 cup (1 stick) unsalted butter, softened
- 1/2 cup granulated sugar
- 1/2 cup packed light brown sugar
- 1 large egg
- 1 teaspoon vanilla extract
- 1 1/2 cups all-purpose flour
- 1/2 teaspoon baking soda
- 1/4 teaspoon salt
- 1 cup chocolate chips (semi-sweet or milk chocolate)
Instructions
- Preheat oven to 350°F (175°C). Grease and flour an 8×8 inch baking pan, or line with parchment paper leaving an overhang on the sides.
- In a large bowl, cream together the softened butter, granulated sugar, and brown sugar with an electric mixer until light and fluffy.
- Beat in the egg and vanilla extract until well combined.
- In a separate medium bowl, whisk together the flour, baking soda, and salt.
- Gradually add the dry ingredients to the wet ingredients, mixing on low speed until just combined. Do not overmix.
- Stir in the chocolate chips by hand until evenly distributed.
- Press the cookie dough evenly into the prepared baking pan.
- Bake for 25-30 minutes, or until the edges are golden brown and a toothpick inserted into the center comes out with moist crumbs (not wet batter).
- Let the cookie bars cool completely in the pan on a wire rack before cutting into squares. This is important for them to set properly.
Notes
- Allow the bars to cool completely before cutting to ensure they set properly.
- For richer flavor, use a combination of semi-sweet and milk chocolate chips.
- Ensure butter is softened but not melted for best results when creaming.