Skip to content

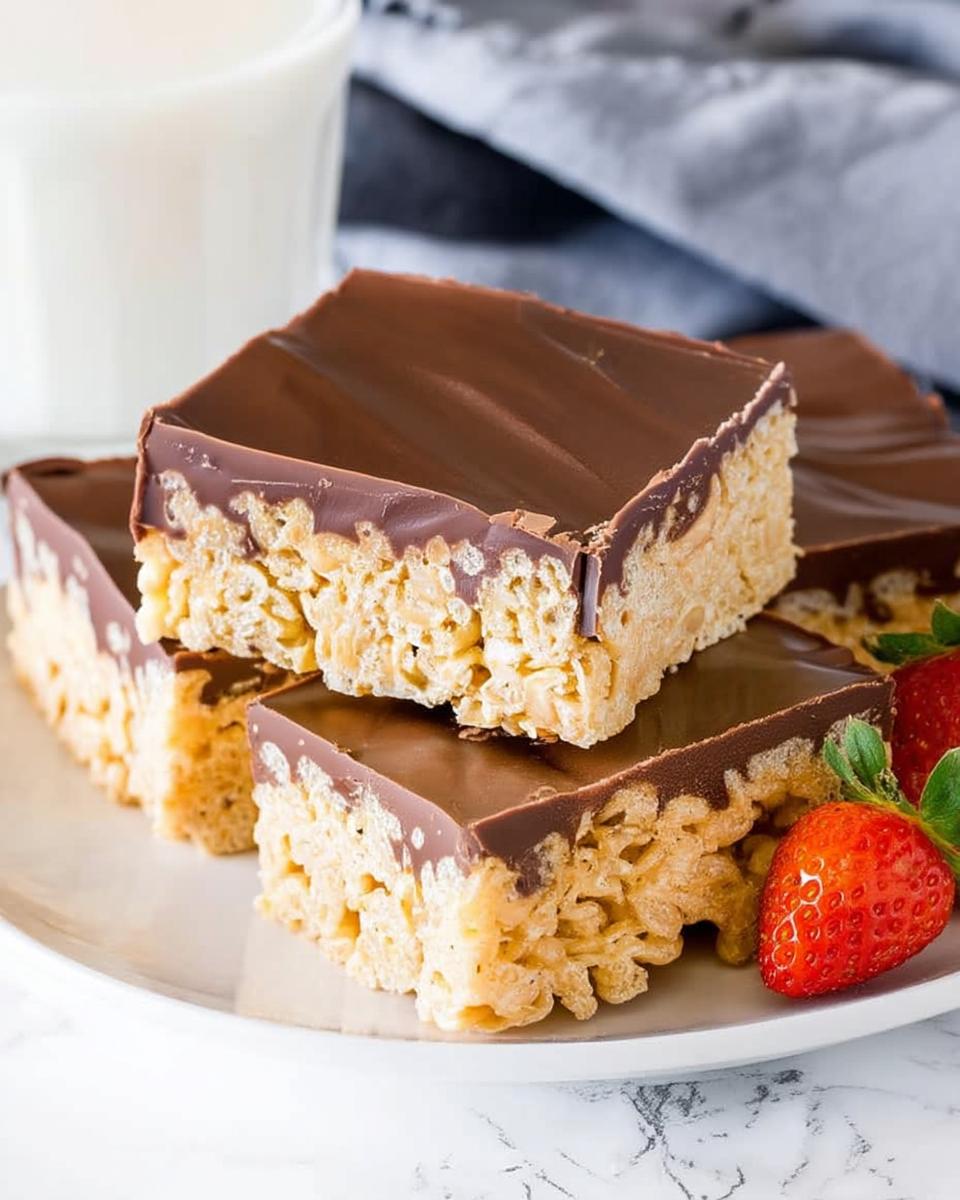
The rich, nutty aroma of peanut butter blends with melted chocolate. It fills my kitchen as I make these treats. They come together effortlessly. Chocolate Peanut Butter Rice Krispies give a satisfying crunch in every bite. I combine sweetness from marshmallows with creamy peanut butter. This creates a dessert that feels indulgent yet simple. The layered texture shines. Crispy cereal sits beneath smooth chocolate. It makes them perfect for quick gatherings.
These no-bake squares fit afternoon snacks well. They also work for post-dinner treats. They reheat minimally if needed. They hold shape at room temperature. As a busy mom, I love how they assemble in under 20 minutes. This leaves more time for family. Peanut butter adds about 2 grams of protein per serving. It gives a small boost with flavors everyone craves.
Why We Love This Recipe
- Quick No-Bake Prep: These treats assemble in just 15 minutes. They suit spontaneous cravings perfectly. No need to heat the oven.
- Irresistible Crunch: Crispy rice cereal contrasts with smooth peanut butter. It also contrasts with chocolate layers. This creates a textured delight.
- Family Favorite Appeal: Kids and adults enjoy the nostalgic twist. It updates classic rice krispie treats. Sharing makes it even better.
- Modest Protein Touch: Each square delivers 2 grams of protein from peanut butter. It adds a subtle nutritional edge. This enhances the sweet snack.
Ingredients to Make Chocolate Peanut Butter Rice Krispies
I love how the ingredients harmonize in Chocolate Peanut Butter Rice Krispies. Peanut butter brings creaminess and protein. Chocolate adds richness for balance. I choose quality semisweet chips. Natural peanut butter enhances taste and texture. It avoids overpowering sweetness. Each serving gives roughly 2 grams of protein from peanut butter.
- ½ cup butter – It provides a smooth base. This melts marshmallows evenly.
- 6 cups miniature marshmallows – They melt into a sticky binder. It holds the cereal together.
- ½ cup peanut butter – It adds nutty flavor and creaminess. Use creamy for best results. Or try crunchy for extra texture.
- 6 cups crispy rice cereal – It delivers signature crunch. Avoid crushed pieces for full crispiness.
- 1 (12 ounce) package semisweet chocolate chips – They form a glossy topping. Substitute dark for less sugar if you like.
Chocolate Peanut Butter Rice Krispies Recipe
- Prep Time: 10 minutes
- Cook Time: 5 minutes
- Total Time: 15 minutes + cooling
- Yield: 24 squares
- Category: Desserts
- Method: No-Bake
- Cuisine: American
- Diet: Vegetarian
Description
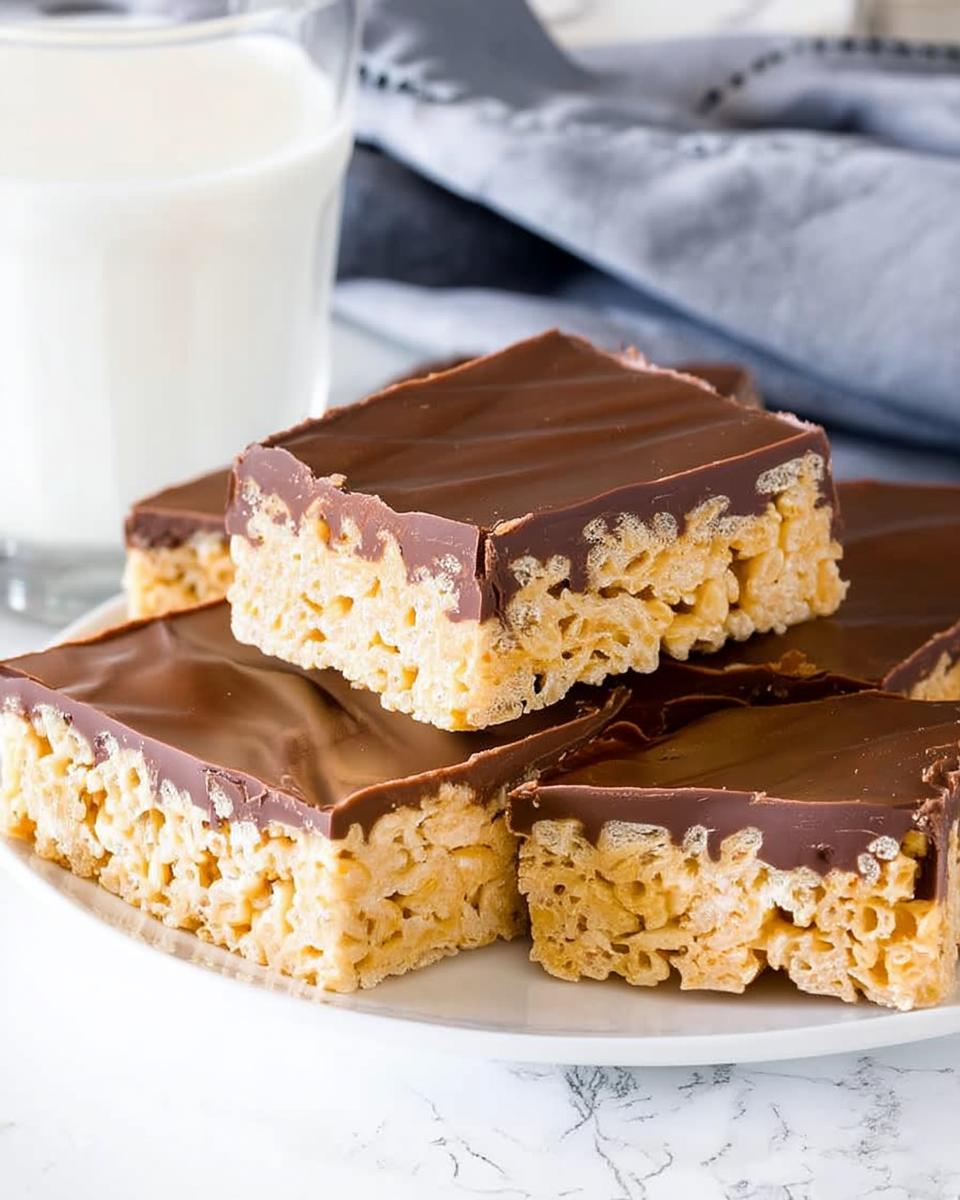
A delicious no-bake treat featuring the classic combination of chocolate and peanut butter mixed with crispy rice cereal, topped with a layer of melted semisweet chocolate.
Ingredients
- ½ cup butter
- 6 cups miniature marshmallows
- ½ cup peanut butter
- 6 cups crispy rice cereal
- 1 (12 ounce) package semisweet chocolate chips
Instructions
- In a large saucepan, melt the butter over medium-low heat.
- Once the butter is melted, add the miniature marshmallows and stir continuously until they are completely melted and smooth.
- Remove the saucepan from the heat. Stir in the peanut butter until it is fully incorporated into the marshmallow mixture.
- Add the crispy rice cereal to the saucepan. Using a rubber spatula, mix until the cereal is evenly coated with the peanut butter marshmallow mixture.
- Lightly butter a 9×13 inch baking dish. Press the cereal mixture evenly into the prepared dish.
- Melt the semisweet chocolate chips. This can be done in a microwave-safe bowl in 30-second intervals, stirring after each, or over a double boiler until smooth.
- Spread the melted chocolate evenly over the top of the pressed rice cereal mixture.
- Allow the treats to cool completely at room temperature or in the refrigerator until the chocolate is set before cutting into squares and serving.
Notes
- Ensure the chocolate is fully melted and smooth to avoid lumps on top.
- For easier cutting, chill the treats in the refrigerator for about 30 minutes.
- Store leftovers in an airtight container at room temperature for up to 3 days.
How to Make Chocolate Peanut Butter Rice Krispies
Step 1: Melt the Base
I melt the butter in a large saucepan. I use medium-low heat until fully liquid. Then, I add miniature marshmallows. I stir continuously until they dissolve. This creates a smooth mixture. It ensures even coating. No scorching happens. It takes about 3-4 minutes. Marshmallows puff slightly first. Then they blend well.
Step 2: Incorporate Peanut Butter
I remove the saucepan from heat. Then, I stir in peanut butter. It fully integrates with warm marshmallow mixture. This creates a uniform base. It’s creamy too. Residual heat helps it melt. So, no clumps form. Flavor stays consistent throughout.
Step 3: Mix in Cereal
I add crispy rice cereal to the saucepan. I use a rubber spatula. Gently fold it into peanut butter mixture. Every piece gets even coating. I work quickly. This preserves the cereal’s crispness. Warm mixture starts to set. So, don’t delay.
Step 4: Press into Dish
I lightly butter a 9×13-inch baking dish. Then, I transfer cereal mixture. I press it down evenly. Use spatula or oiled hands. Form a compact layer. It should be about 1-inch thick. This prevents sticking. It ensures uniform squares later.
Step 5: Add Chocolate Topping
I melt semisweet chocolate chips. Use microwave-safe bowl. Do 30-second intervals. Stir after each. Or use double boiler until smooth. No lumps allowed. I spread melted chocolate evenly. Use offset spatula over cereal base. Create thin, glossy layer. It covers completely.
Step 6: Cool and Set
I let Chocolate Peanut Butter Rice Krispies cool at room temperature. Or place in refrigerator. Wait until chocolate firms up. It takes about 30 minutes. This allows clean cuts. Once set, I slice into 24 squares. Use sharp knife for serving. Chocolate won’t crack this way.
Pro Tips for Success
- Smooth Melting Technique: I stir marshmallows constantly. Use low heat. This prevents burning. It ensures velvety base. Cereal coats perfectly.
- Even Pressing Method: I use wet hands or parchment paper. Press mixture firmly. No sticking occurs. This gives neat edges. Each square looks great.
- Protein Boost Option: I swap half peanut butter for powdered protein. It increases to 4 grams per serving. Flavor stays intact.
- Clean Cutting Trick: I chill pan briefly before slicing. Chocolate layer firms up. Result is crisp pieces. No smearing happens.
How to Serve Chocolate Peanut Butter Rice Krispies
Garnishes
I like sprinkling sea salt lightly. Do it over set chocolate. It adds subtle contrast. This enhances peanut butter’s savoriness. Chopped peanuts bring fresh crunch. A few mini chips add appeal. Press them in lightly. No extra sweetness. These keep treats simple. Yet they feel elevated for occasions.
Side Dishes
I pair these squares with fresh fruit. Sliced strawberries balance richness. They add juicy tartness. A scoop of vanilla yogurt works too. It offers creaminess. This complements chocolate nicely. For lighter option, serve with herbal tea. It rounds out afternoon break.
Creative Ways to Present
I often cut treats into fun shapes. Use cookie cutters for kids’ parties. Arrange on platter with edible flowers. Add color this way. Layer bite-sized pieces in clear tray. Showcase chocolate topping. Guests grab easily. Stack a few with berries between. It creates deconstructed dessert. Feels fancy yet effortless.
Make Ahead and Storage
Storing Leftovers
I keep Chocolate Peanut Butter Rice Krispies in a single layer. Use covered dish at room temperature. They stay fresh up to three days. Crispness doesn’t fade. Avoid stacking directly. This prevents chocolate smearing. Check for softening before serving. It works well for daily snacks.
Freezing
For longer storage, I wrap squares tightly. Use plastic wrap. Place in freezer-safe bag. They last up to one month. No flavor loss. Thaw on counter about an hour. Texture restores. Cold maintains chocolate’s snap. Label bag with date. Track freshness easily.
Reheating
I reheat small batches in microwave. Do 10-15 seconds if chocolate softens. Or use low oven at 200 degrees Fahrenheit. Cover with foil. Avoid drying edges. Microwave keeps convenience. Oven makes them uniformly soft. Either way, they taste fresh. Minimal effort needed.