Skip to content

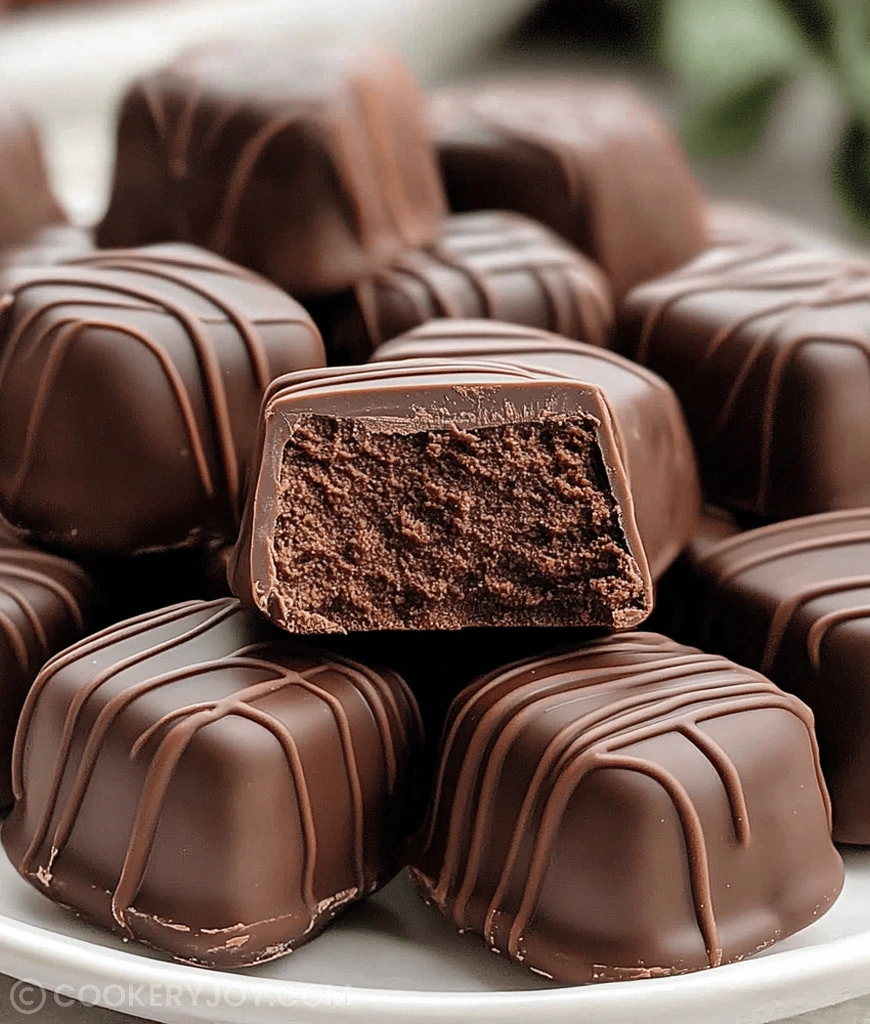
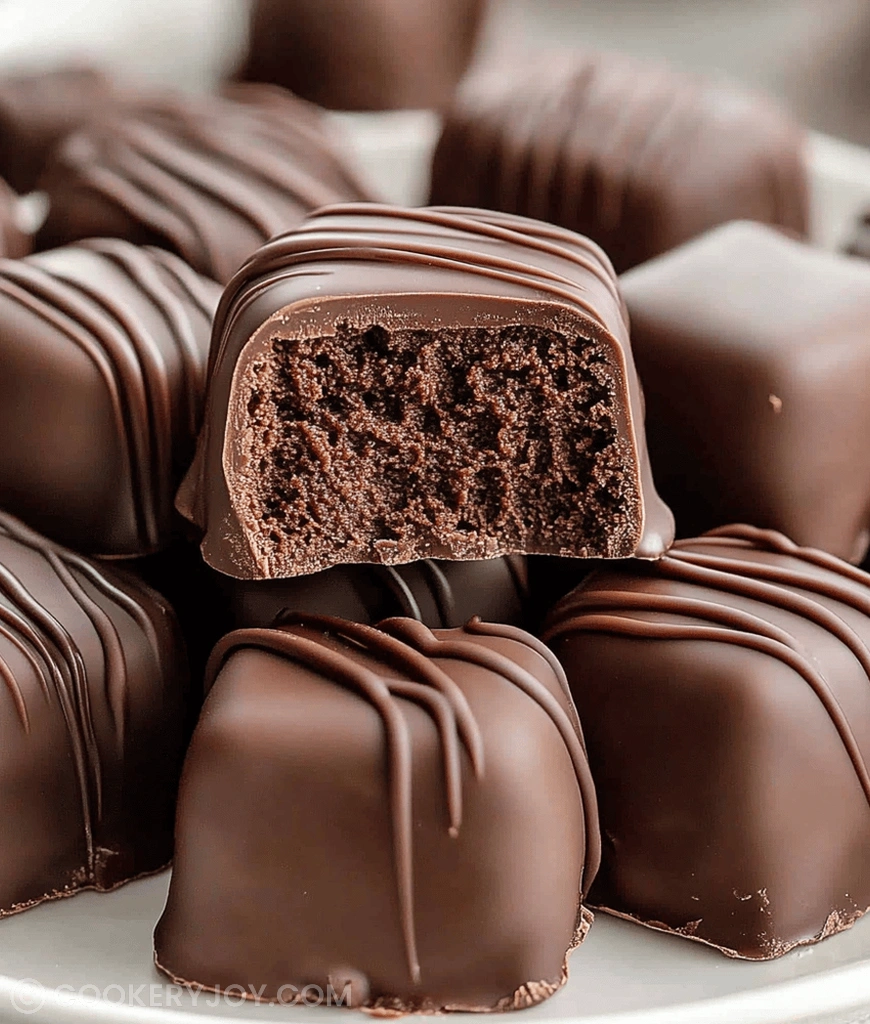
Some desserts truly capture sweet nostalgia perfectly. This delightfully soft and chewy confection always reminds me of childhood bake sales. The magic here lies in the unexpected marriage of flavored gelatin and whipped topping. Furthermore, making this Cool Whip candy feels like a fun, simple kitchen secret we can share.
I often whip these up when I need a fast treat for unexpected company. They store beautifully in the fridge too. Seriously, busy days deserve this kind of effortless, fruity sweetness.
Why I Love This Recipe
Honestly, you cannot beat the speed of this treat. It requires zero oven time, which is a lifesaver in summer. Plus, the vibrant flavors from the gelatin are a real treat. I adore how easily this Cool Whip candy transforms simple pantry staples. It genuinely tastes like a fancy confection.
- Instant Gratification: Ready fast for last-minute needs.
- Customizable Fun: Change the gelatin for endless flavor options.
- Crowd Pleaser: Kids and grown-ups always ask for the recipe.
Cool Whip candy Ingredients
The real magic of this simple confection happens when three humble ingredients meet. Together, they create a texture that is uniquely soft and wonderfully chewy. Everyone is always surprised how easily this amazing Cool Whip candy comes together.
Let us look at what we are using, shall we?
- Whipped Topping (Cool Whip): This provides the essential airy structure and creamy base. It keeps the candy tender during chilling.
- Flavored Gelatin Powder: This is where all the color and fruit flavor originate. Use any boxed mix you love!
- Powdered Sugar: Often called confectioners’ sugar, this ingredient acts as the primary thickener. It helps form that dough-like consistency.
Remember, the printable recipe card holds the exact measurements you need. Now, let us talk about making this recipe your own.
Substitutions and Tips
Feeling creative? You certainly can switch things up here. For a different flavor profile, just grab a different box of gelatin mix. Try passionfruit or black cherry flavors for something unique. If you need richer flavor, add a drop of vanilla extract while mixing. If you are worried about the whipped topping, you can try using heavy whipping cream. However, whipping it stiffly first is crucial for structure. Always add that powdered sugar slowly. You control the dough’s final “stickiness.”
Kitchen Tools You’ll Need
Gathering your tools first makes the process smooth. You really do not need specialty equipment for this recipe. Here are the essentials for making your Cool Whip candy:
- Large mixing bowl: For combining everything easily without spillage.
- Rubber spatula or sturdy spoon: Essential for thoroughly mixing the thick dough.
- Clean work surface or cutting board: Dust this liberally with sugar later on.
- Sharp knife: Useful for cleanly slicing the candy log or squares.
- Parchment paper: Protects your plate during the necessary chilling time.
How to Make Cool Whip candy
Making this wonderfully simple Cool Whip candy is a breeze for any home cook. Following these steps ensures you get that perfect, yielding texture every time. We move from mixing to shaping quickly. Pay attention to the sugar level needed here.
Combining the Base Ingredients
First, make sure your whipped topping is completely thawed. Pour that thawed topping into your large mixing bowl. Next, gently sprinkle the dry, flavored gelatin powder over the top. Stir these two ingredients together well using your spatula. You want a uniform base before adding bulk.
Achieving the Right Dough Consistency
Now comes the crucial part for making this gelatin candy. Start adding that powdered sugar gradually to the mixture. Use about 3.5 cups initially. Mix thoroughly until the sticky mess starts pulling away. If it still seems too wet, add more sugar slowly. Just add a quarter cup at a time. Stop adding sugar when the mixture forms a stiff, workable dough. It should feel like firm play-dough, not glue.
Shaping and Cutting Your Treats
Dust your clean counter space generously with extra powdered sugar. Turn your whole candy mixture out onto that sugared surface. Knead it maybe two or three times briefly; do not overwork it. Roll this dough into a nice log shape about one inch thick. Then, use a sharp knife to slice regular one-inch pieces. Alternatively, you can just press it into squares in a pan. For a pretty finish, roll the individual pieces in more sugar.
Final Chill Time
We need to let this sweet creation firm up before eating. Line a plate or baking sheet with parchment paper first. Arrange your cut pieces nicely upon that paper. Then, pop them into the refrigerator right away. Thirty minutes is usually enough time for the setting process. This chilling step is key for the final texture of your Cool Whip candy.
How to Store Cool Whip candy
Since this confection uses whipped topping, storage requires thought. Always keep your finished Cool Whip candy in an airtight container. The refrigerator is the only safe place for these treats. They stay perfectly fresh there for about one week. Freezing is an option for longer storage too. Wrap pieces tightly before freezing. Thaw them slowly in the fridge when you want a sweet bite.
Tips for Success
Following these small pointers really helps your treats turn out perfectly. You will thank me later for these easy tricks.
- Ensure your whipped topping is fully thawed but not watery.
- Use dry hands when kneading the dough for less sticking.
- Taste test the dough before chilling for proper sweetness.
- Work quickly when shaping so the dough stays firm.
- If the candy becomes sticky again, add a tiny bit more powdered sugar to your hands.
- This easy no-bake candy sets better when chilled completely.
Serving Suggestions
These delightful sweets pair well with simple things. Try serving them alongside a strong cup of coffee. They look gorgeous served on a tiered platter during holidays. Smaller pieces make perfect additions to a cookie exchange box. A tall glass of cold milk is always a classic pairing for this Cool Whip candy.
- Serve small squares with afternoon tea.
- Use them as colorful pie filling garnishes.
- Offer them alongside fresh berries for contrast.

Cool Whip candy
- Prep Time: 15 minutes
- Cook Time: 0 minutes (No-bake)
- Total Time: 45 minutes (including chilling)
- Yield: Varies based on cutting/shaping
- Category: Candy/Dessert
- Method: No-Bake/Chilling
- Cuisine: American
- Diet: Vegetarian
Description
A simple, no-bake candy recipe using Cool Whip, flavored gelatin, and powdered sugar to create a soft, chewy treat.
Ingredients
- 1 (8 ounce) container frozen whipped topping (Cool Whip), thawed
- 1 (3 ounce) package flavored gelatin (e.g., strawberry, cherry, lime)
- 3.5–4 cups powdered sugar, divided
Instructions
- In a large bowl, combine the thawed Cool Whip and the dry gelatin powder.
- Gradually add 3.5 cups of the powdered sugar, mixing until well combined and a stiff, thick dough forms. If the mixture is too sticky, add more powdered sugar, 1/4 cup at a time, until it’s workable.
- Dust a clean surface or cutting board with some powdered sugar.
- Turn the candy mixture out onto the powdered sugar surface and knead gently a few times until smooth.
- Roll the dough into a log (about 1-inch thick) and then cut into 1-inch pieces, or roll into small balls, or press into a shallow pan and cut into squares.
- If desired, roll the individual pieces in additional powdered sugar for a finished look and to prevent sticking.
- Place candy on a parchment-lined plate or baking sheet. Refrigerate for at least 30 minutes to firm up.
- Store in an airtight container in the refrigerator.
Notes
- The flavor of the candy will depend on the flavor of the gelatin used.
- Be careful not to over-knead the dough.
- This candy is best stored in the refrigerator due to the whipped topping.