The sizzle as the chicken hits the pan, the aroma that fills the kitchen – these are the sounds and smells that instantly transport me back to countless family dinners. For us, perfectly cooked crispy chicken cutlets weren’t just a meal; they were a signal that something delicious and comforting was on its way.
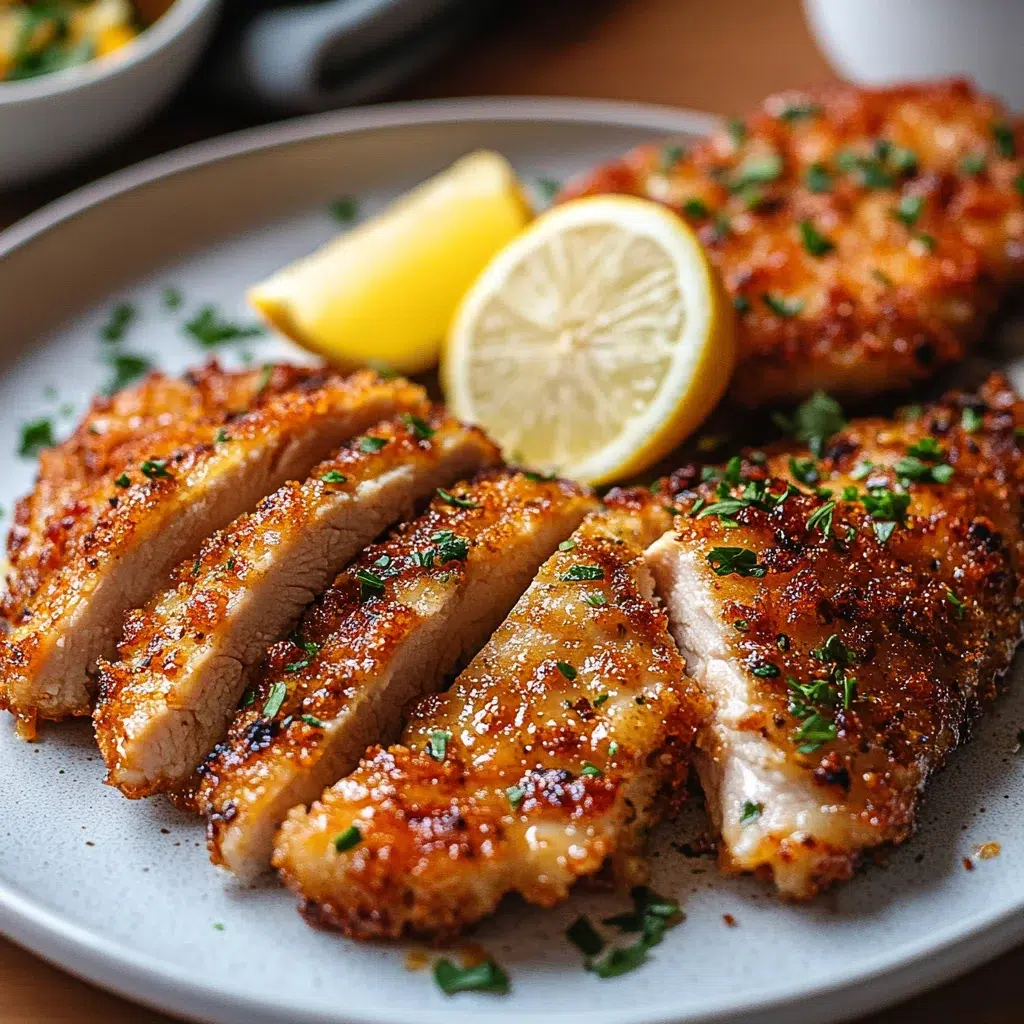
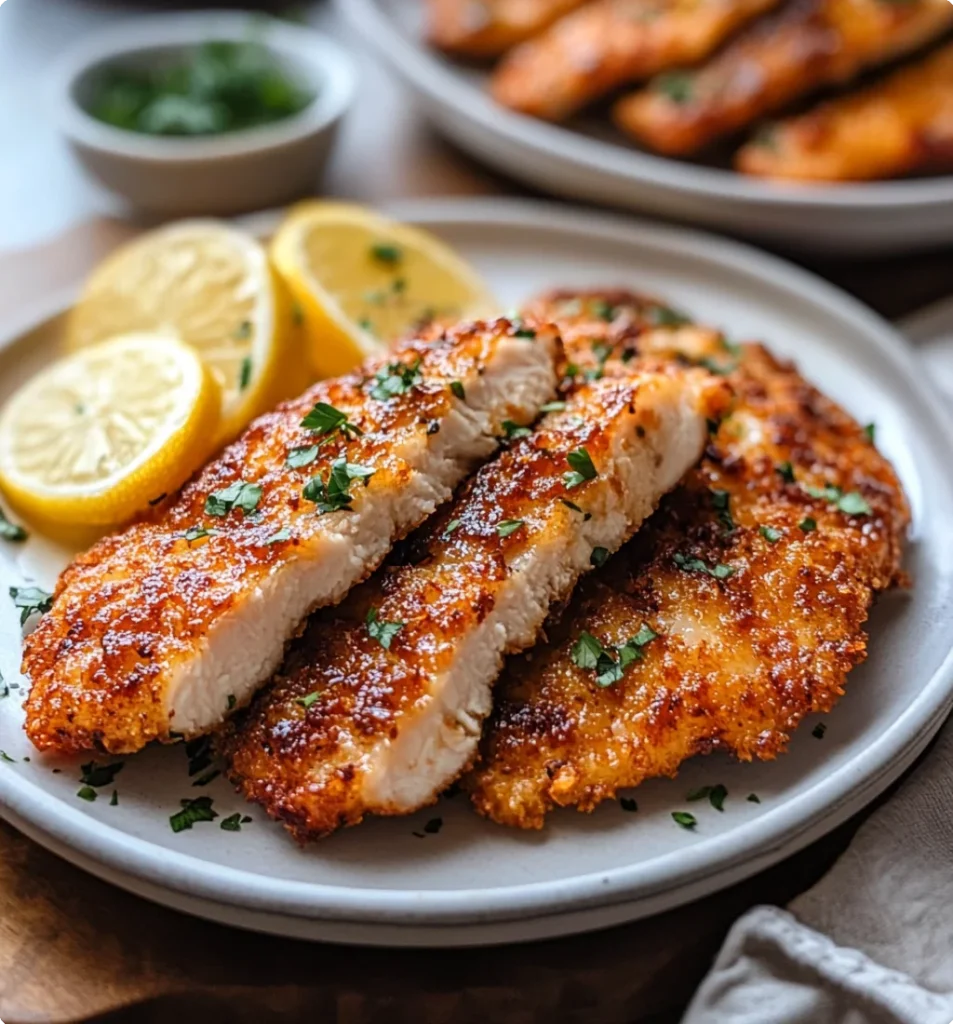
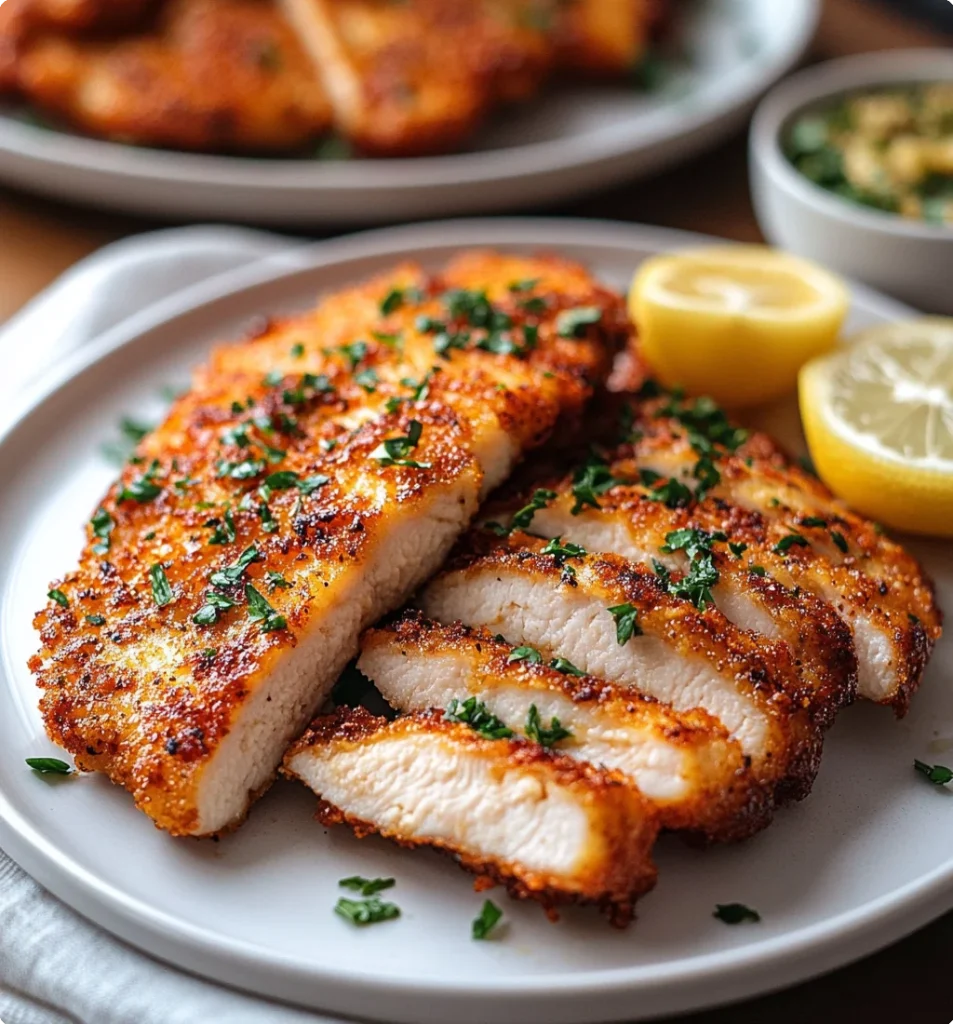
These aren’t just any fried chicken pieces. We’re talking about beautifully thin, incredibly tender chicken, encased in a shatteringly crisp, golden-brown crust seasoned to perfection. Crispy chicken cutlets are a beloved staple for good reason: they’re quick enough for a weeknight, yet special enough for a weekend gathering or when you’re simply craving that satisfying crunch.
Whether piled onto a fresh roll for a hearty sandwich, served alongside a bright, lemony arugula salad, or paired with creamy mashed potatoes, they always hit the spot. For my family, they often made an appearance on Sunday evenings, a perfect, easy end to the weekend before the bustle of the new week began.
This recipe is my tried-and-true method for achieving that irresistible texture and flavor every single time. It’s about simple ingredients coming together to create something truly special – a dish that feels like a warm hug and a flavor explosion all in one. Get ready to discover just how easy it is to make the best crispy chicken cutlets you’ve ever had.
Why You’ll Love This Recipe
- Speedy & Simple: From prep to plate in under 30 minutes, making it a weeknight warrior.
- Unbeatably Crunchy: The Panko breadcrumbs and cornstarch combination guarantees an audibly crisp coating that stays that way.
- Flavor Packed: A balanced blend of Italian seasoning, paprika, garlic powder, and Parmesan cheese infuses every bite with savory goodness.
- Kid-Approved: What’s not to love about tender, crunchy chicken? It’s a guaranteed win with even the pickiest eaters.
- Versatile Star: Perfect as a main course, in sandwiches, salads, or sliced over pasta. This recipe is a fantastic base for so many meal ideas.
This recipe is ideal for busy parents needing a quick and satisfying meal, for anyone who loves comfort food with a delightful textural contrast, or for home cooks looking to master a classic dish with consistently delicious results.
Ingredients for Crispy Chicken Cutlets
Here’s what you’ll need to create these delectable crispy chicken cutlets.
Core Ingredients
- 4 Chicken cutlets (or 2 chicken breasts cut in half horizontally and evenly pounded to ¼” thickness): The star of the show. Using cutlets or properly pounded breasts ensures quick, even cooking and maximum crispiness.
- 1 cup All-purpose flour: This is the first step in our breading process, helping the egg wash adhere.
- 1 tablespoon Cornstarch: Chef’s Insight: Mixed with the flour, cornstarch is a secret weapon for an extra crispy, golden-brown crust. It draws out moisture and inhibits gluten development, leading to a lighter, crispier coating.
- 2 Eggs, beaten: Acts as the binder, helping the breadcrumbs stick to the chicken.
- 1 ½ cups Panko breadcrumbs: These Japanese-style breadcrumbs are coarser than traditional breadcrumbs, resulting in a lighter, airier, and significantly crispier texture.
- ½ cup Grated Parmesan cheese (not shredded): Adds a salty, umami depth to the breading. Use freshly grated if possible for the best melt and flavor.
- 2 teaspoons Salt, divided: Essential for seasoning the chicken and the breading. We’ll use 1 teaspoon for the chicken directly and 1 teaspoon for the breading mixture.
- ½ teaspoon Pepper: For a touch of warmth.
- 1 teaspoon Dried Italian seasoning: A classic blend that complements chicken beautifully.
- 1 teaspoon Paprika: Adds color and a mild, sweet flavor. Smoked paprika can also be used for a different profile.
- 1 teaspoon Garlic powder: For a savory, aromatic kick.
- Oil for frying (such as vegetable, canola, or light olive oil): You’ll need enough for about ¼ to ½ inch depth in your skillet.
- Lemon slices and chopped fresh parsley for garnish: A bright, fresh finish that cuts through the richness.
Substitutions and Tips
- Gluten-Free Option: Swap the all-purpose flour for a good quality gluten-free all-purpose blend and use gluten-free Panko breadcrumbs.
- Spice it Up: Add a pinch of cayenne pepper or red pepper flakes to the breadcrumb mixture for a little heat.
- Different Cheese: While Parmesan is classic, finely grated Pecorino Romano would also work well.
- No Panko? While Panko is highly recommended for optimal crispiness, you can use regular plain breadcrumbs in a pinch. The texture will be denser. Chef’s Tip: Toast regular breadcrumbs lightly in a dry skillet before using to improve their crunch.
- Herbs: Feel free to add other dried herbs you enjoy, like thyme or oregano, or even a bit of finely chopped fresh parsley directly into the breading.
Best Type of Chicken to Use
For truly exceptional crispy chicken cutlets, the choice of chicken matters. You want pieces that are relatively thin and uniform in thickness. This ensures they cook through quickly and evenly without the breading burning before the chicken is done.
Chicken cutlets are ideal because they are already sliced thinly. If you purchase these, you might still want to give them a light pounding to ensure they are an even ¼-inch thickness.
Alternatively, boneless, skinless chicken breasts that you prepare yourself work wonderfully. To do this, slice each breast in half horizontally (butterfly it, then cut all the way through). Then, place each half between two pieces of plastic wrap or in a zip-top bag and use a meat mallet, rolling pin, or even the bottom of a small heavy skillet to gently pound them to an even ¼-inch thickness. Pounding not only tenderizes the chicken but also creates a uniform surface area for consistent cooking and maximum breading coverage.
Avoid using bone-in chicken pieces for this particular recipe, as the cooking time and method are tailored for thin, quick-cooking cutlets.
Kitchen Tools You’ll Need
Having the right tools makes preparing these crispy chicken cutlets a breeze.
Must-Have Tools
- Large Skillet: A 10 or 12-inch skillet (cast iron, stainless steel, or heavy-bottomed non-stick) is essential for frying. You need enough surface area so you don’t overcrowd the pan.
- Shallow Dishes or Pie Plates (3): For setting up your breading station – one for the flour mixture, one for the beaten eggs, and one for the Panko mixture.
- Meat Mallet (if pounding chicken breasts): For tenderizing and creating evenly thick cutlets.
- Tongs: For safely adding, turning, and removing the chicken from the hot oil.
Nice-to-Have Extras
- Wire Rack: Placing cooked cutlets on a wire rack set over a baking sheet allows air to circulate, keeping the underside crispy instead of steaming.
- Instant-Read Thermometer: The most accurate way to ensure your chicken is cooked through (to an internal temperature of 165°F/74°C) without overcooking.
- Splatter Screen: Helpful for minimizing oil splatters on your stovetop.
How to Make Crispy Chicken Cutlets
Follow these simple steps for perfectly golden and crispy chicken cutlets every time.
Step 1: Prepare the Chicken
If using chicken breasts, slice them in half horizontally to create four thinner pieces. Place each piece between two sheets of plastic wrap or inside a zip-top bag. Using the flat side of a meat mallet, gently pound the chicken to an even ¼-inch thickness. Pat the chicken cutlets dry with paper towels – this helps the breading adhere better. Season both sides of the chicken cutlets with 1 teaspoon of salt and the black pepper.
Step 2: Set Up Breading Station
You’ll need three shallow dishes.
- In the first dish, combine the all-purpose flour and cornstarch.
- In the second dish, beat the eggs with a splash of water (about 1 tablespoon).
- In the third dish, combine the Panko breadcrumbs, grated Parmesan cheese, the remaining 1 teaspoon of salt, Italian seasoning, paprika, and garlic powder. Mix well to ensure the seasonings are evenly distributed. Listen for the light rustle of the Panko – that’s your crispy coating in the making!
Step 3: Bread the Chicken
Working with one cutlet at a time, dredge it in the flour mixture, ensuring it’s fully coated, then shake off any excess. Next, dip it into the beaten eggs, letting any excess drip off. Finally, press the cutlet firmly into the Panko breadcrumb mixture, coating both sides thoroughly. Pro-Chef Tip: Use one hand for the dry ingredients (flour, Panko) and the other for the wet (egg) to prevent your fingers from becoming heavily breaded. Gently pat the breadcrumbs onto the chicken to help them stick. Place the breaded cutlets on a clean plate or wire rack.
Step 4: Fry the Crispy Chicken Cutlets
Pour oil into your large skillet to a depth of about ¼ to ½ inch. Heat the oil over medium to medium-high heat until it shimmers or a pinch of breadcrumbs sizzles and turns golden brown within about 15-20 seconds (around 325-350°F or 160-175°C). Carefully place 2-3 cutlets in the hot oil, being sure not to overcrowd the pan. Overcrowding will lower the oil temperature and result in greasy, unevenly cooked chicken.
Fry for about 3-5 minutes per side, until golden brown, beautifully crisp, and the chicken is cooked through. You’ll see the edges turning a deep golden hue – that’s your cue to flip! The internal temperature should reach 165°F (74°C).
Step 5: Drain and Serve
Remove the cooked crispy chicken cutlets from the skillet using tongs and transfer them to a wire rack set over a baking sheet to drain. This helps maintain their crispiness. If frying in batches, you can keep the cooked cutlets warm in a 200°F (93°C) oven while you finish the rest.
Garnish your crispy chicken cutlets with fresh lemon slices and a sprinkle of chopped fresh parsley before serving. The bright acidity of the lemon truly elevates the rich flavors.
Tips for Success
- Don’t Skip Pounding: Evenly thick chicken cooks more evenly and ensures every bite is tender.
- Press Breading Firmly: Make sure the Panko mixture really adheres to the chicken for a coating that stays put.
- Maintain Oil Temperature: If the oil is too cool, the cutlets will absorb too much oil and become greasy. If it’s too hot, the breading will burn before the chicken cooks. Adjust heat as needed throughout frying.
- Avoid Overcrowding the Pan: Fry in batches if necessary. Giving the cutlets space allows them to crisp up properly.
- Rest on a Wire Rack: This prevents the bottom of the crispy chicken cutlets from steaming and becoming soggy.
How to Store Crispy Chicken Cutlets
While crispy chicken cutlets are best enjoyed fresh, here’s how to store leftovers:
- Room Temperature: Cooked chicken should not be left at room temperature for more than 2 hours (or 1 hour if the ambient temperature is above 90°F/32°C).
- In the Refrigerator: Allow cutlets to cool completely, then store them in an airtight container in the refrigerator for up to 3-4 days. To maintain some crispiness when reheating, use an oven or air fryer. Place on a baking sheet and heat at 375°F (190°C) for 10-15 minutes, or until warmed through and re-crisped. Microwaving will make the coating soft.
- Freezing Tips:
- Freezability: Yes, you can freeze cooked crispy chicken cutlets.
- Storage Suggestions: Once cooled completely, wrap individual cutlets in plastic wrap, then place them in a freezer-safe zip-top bag or airtight container. They can be frozen for up to 2-3 months for best quality.
- Reheating Instructions: Reheat from frozen or thawed in an oven or air fryer at 375°F (190°C) until heated through and crispy, about 20-25 minutes from frozen or 10-15 minutes from thawed. Avoid microwaving for best texture.
Frequently Asked Questions (FAQs)
How do I keep the breading from falling off my crispy chicken cutlets?
To prevent the breading from falling off, ensure you pat the chicken dry before starting the breading process. Also, press the breadcrumbs firmly onto the chicken after dipping in the egg. Finally, avoid moving the cutlets too much once they’re in the hot oil, and use gentle motions when flipping.
Can I make these crispy chicken cutlets in an air fryer?
Yes, you absolutely can! Preheat your air fryer to 400°F (200°C). Lightly spray the breaded chicken cutlets and the air fryer basket with oil. Cook for 10-12 minutes, flipping halfway, until golden brown, crispy, and cooked through. Cooking time may vary depending on your air fryer model and the thickness of the cutlets.
What are the best side dishes for crispy chicken cutlets?
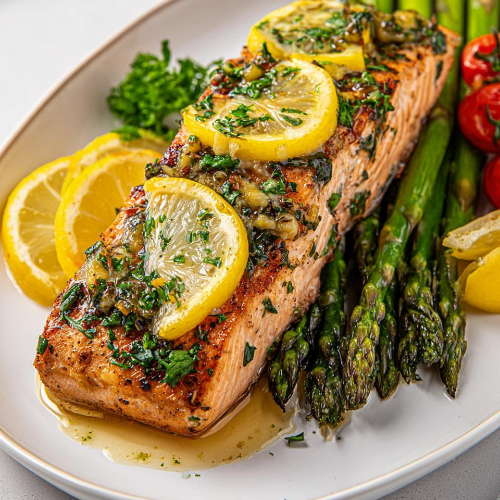
These versatile cutlets pair well with almost anything! Popular choices include mashed potatoes, a fresh green salad with vinaigrette, roasted vegetables (like broccoli or asparagus), lemon butter pasta, or even a simple side of rice.
Conclusion
Mastering homemade crispy chicken cutlets is a kitchen skill that pays delicious dividends. This recipe, with its straightforward steps and emphasis on achieving that perfect golden crunch, will quickly become a go-to in your meal rotation. Whether it’s for a quick weeknight dinner, a satisfying lunch sandwich, or a crowd-pleasing party dish, these crispy chicken cutlets deliver on flavor, texture, and pure comfort every single time. Enjoy the process and the delicious results!