
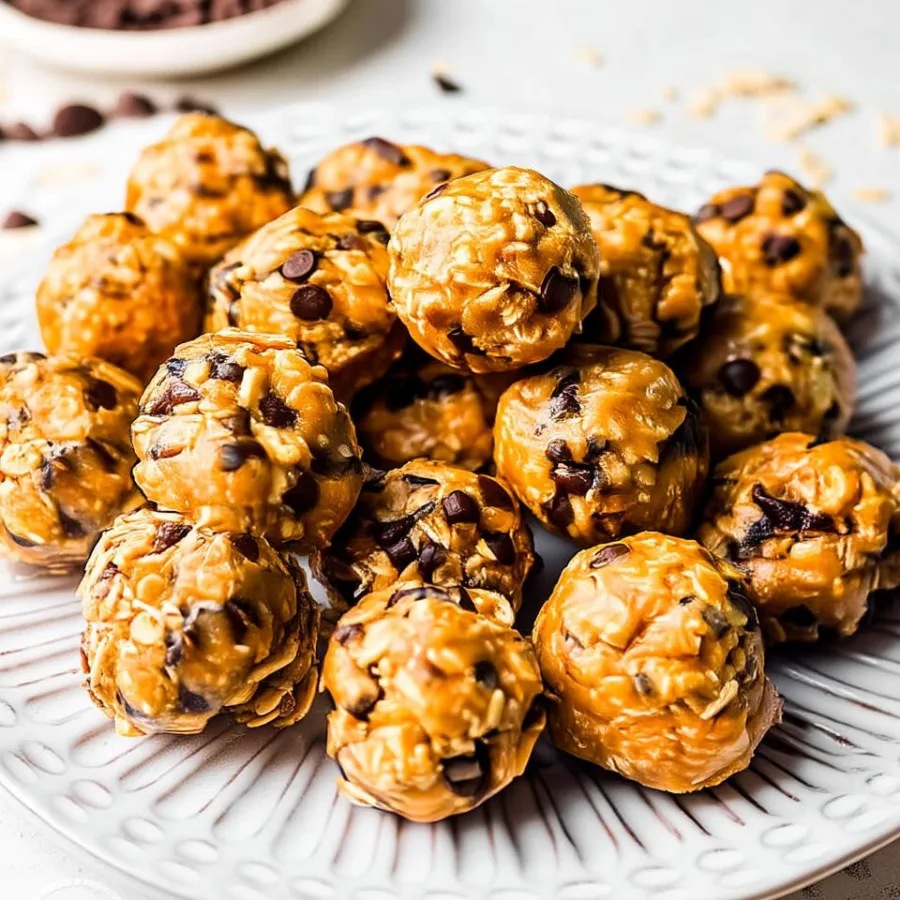
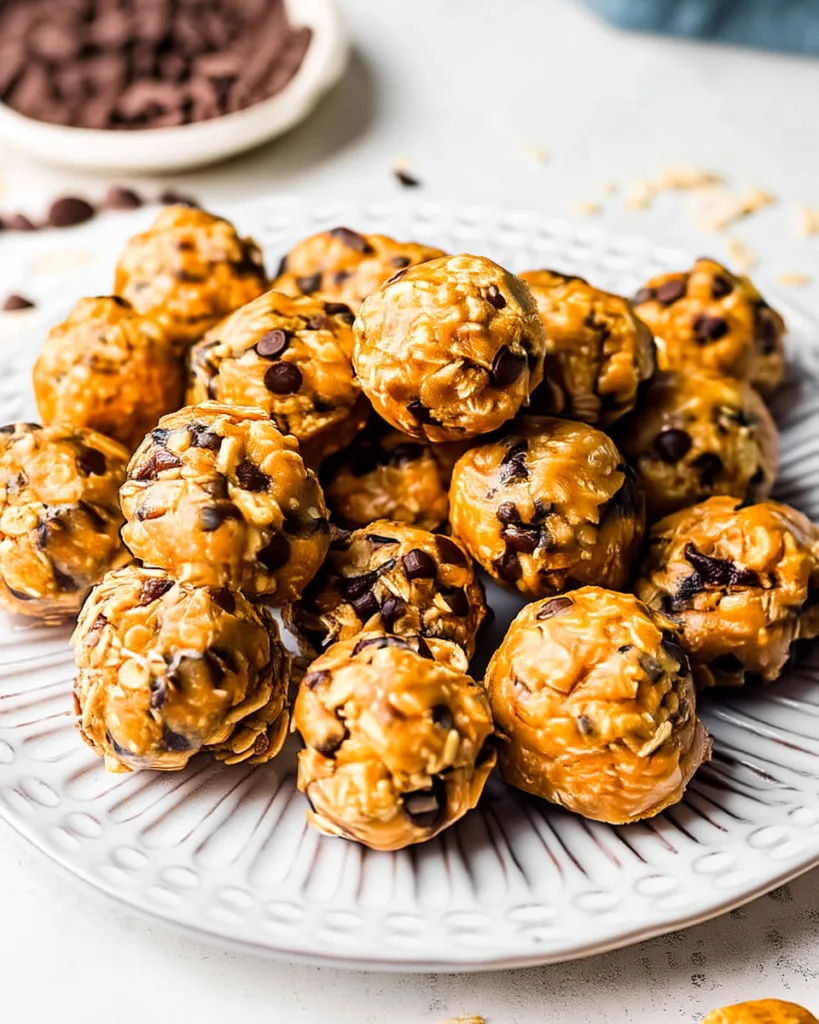
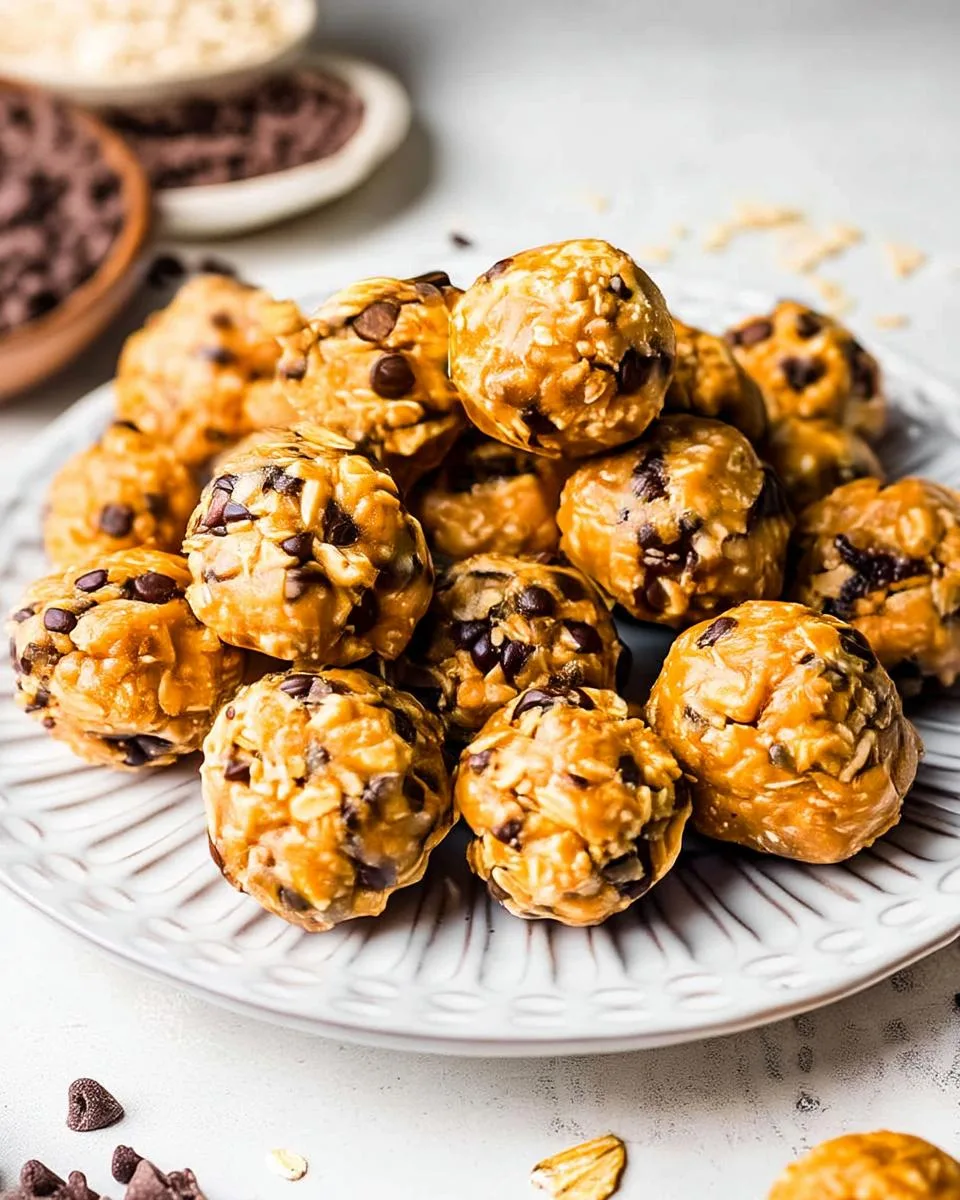
These oatmeal protein balls offer a chewy, nutty delight. I love the wholesome crunch from rolled oats and chia seeds. Creamy peanut butter and a touch of honey bind them with natural sweetness. Vanilla protein powder gives a satisfying protein hit. No baking hassle makes them effortless. They feel indulgent yet nourishing. Their portable size and subtle cinnamon warmth make them irresistible for on-the-go moments.
Perfect for busy mornings before school drop-offs. Or as a mid-afternoon desk snack. These balls keep well in the fridge. They maintain firmness for easy grabbing. I created them as a favorite for women juggling careers and family. They deliver sustained energy. Plus, they curb cravings healthily. Friends often request the recipe after tasting one. They praise how simple it is to whip up a batch that lasts the week.
Why I Love This Recipe
These oatmeal protein balls are my go-to for quick, nutritious snacking. They fit seamlessly into my hectic schedule. With just 10 minutes of prep and no baking required, they’re ideal for busy moms or professionals. We all need that protein-packed boost without the fuss, right?
The customizable add-ins let me tailor them to our moods or dietary needs. For instance, my picky eaters love chocolate chips on tough days. Meanwhile, peanut butter and honey create a comforting, chewy texture everyone raves about. They impress at potlucks too. Plus, they offer guilt-free indulgence. That’s high in fiber for lasting fullness.
- Easy no-bake prep saves time on weeknights. I can whip them up after dinner without extra cleanup.
- Versatile flavors keep things exciting for the family. No one gets bored with the same old snack.
- Supports healthy eating with real ingredients. Finally, a treat that nourishes instead of derailing my goals.
Oatmeal Protein Balls Ingredients
These ingredients blend seamlessly to create a balanced, energy-sustaining snack. It’s both hearty and sweet. I always opt for fresh, quality items like natural nut butter and pure honey. They elevate the taste and ensure better texture in every bite of my oatmeal protein balls.
- Rolled oats: Form the chewy, fiber-rich base. They provide sustained energy and structure to the balls. Oats keep me full during busy afternoons.
- Vanilla whey protein powder: Boosts protein content for muscle support and satiety. It adds without overpowering the natural flavors. I love how it makes these no-bake protein balls more filling.
- Ground cinnamon: Adds a warm, aromatic spice. It enhances sweetness and complements the nutty elements. Just a touch brings cozy comfort to healthy snacks.
- Chia seeds: Contribute omega-3s, extra fiber, and help bind the mixture. They improve cohesion for perfect energy bites. Plus, they sneak in more nutrition effortlessly.
- Smooth natural peanut butter: Delivers creamy texture, nutty richness, and healthy fats. It creates a satisfying mouthfeel. For me, it’s the star that makes rolling easy.
- Raw honey: Offers natural sweetness and moisture. It balances flavors without refined sugars. Honey keeps things simple and wholesome for my family.
- Vanilla extract: Infuses a subtle aromatic depth. It ties all ingredients together harmoniously. A little goes a long way for that extra warmth.
- Preferred add-ins: Introduce variety in texture and taste. Try chewy raisins or melty chocolate chips for personalization. They help tailor the balls to picky eaters at home.
- Liquid: Adjusts consistency to make rolling easy. It ensures the balls hold shape without being too dry or sticky. Almond milk works great if you need a dairy-free option.
The complete list of ingredients and exact measurements can be found in the printable recipe card at the bottom of the post.
Kitchen Tools You’ll Need
I keep things simple for these oatmeal protein balls. You don’t need fancy equipment. Just basic items save time during busy prep. This way, you avoid extra hassle and focus on enjoying the process.
- Large mixing bowl: Holds all ingredients for easy stirring. Use a medium one if space is limited in your kitchen.
- Spoon or spatula: Mixes dry and wet components smoothly. A wooden spoon works well for that hands-on feel.
- Measuring cups and spoons: Ensures precise additions every time. Your standard kitchen set is perfectly fine.
- Clean hands: Rolls balls efficiently without extra tools. Wash thoroughly first for good hygiene.
With these, you’ll whip up energy bites in under 10 minutes. No stress, just straightforward fun.
How to Make Oatmeal Protein Balls
Step 1: Mix the Dry Ingredients
I start in a large mixing bowl. Combine the rolled oats, protein powder, cinnamon, and chia seeds there. Stir them thoroughly to distribute flavors and nutrients evenly. This dry base sets the foundation for your no-bake protein balls. It ensures a balanced healthy snack every time.
Step 2: Incorporate Wet Ingredients and Add-Ins
Next, add the peanut butter, honey, and vanilla extract to the bowl. Mix until everything combines fully. Then, stir in your preferred add-ins like raisins or mini chocolate chips. The mixture should feel sticky yet crumbly at this stage. It forms the heart of these energy bites.
Step 3: Adjust with Liquid and Form Balls
Gradually add liquid one tablespoon at a time. Use your hands to mix until the dough holds together into a cohesive, slightly sticky ball. Portion out about a tablespoon of mixture and roll it between your palms to shape each oatmeal protein balls. Avoid over-adding liquid to keep them firm rather than soft.
Step 4: Chill to Set
Place the formed balls in an airtight container. Refrigerate for at least 30 minutes to let them set. This step firms them up for better texture. Once set, they’re ready to store or enjoy as needed.
Tips for Success
I’ve made these oatmeal protein balls countless times. And I’ve learned a few tricks to get them just right. They turn out perfect every batch. This helps busy days go smoother without kitchen disasters.
- Choose natural peanut butter first. It prevents excess oil from making the mixture too loose. I stick to brands without added sugars for the best results.
- Add liquid sparingly, one tablespoon at a time. This achieves the ideal sticky-but-firm consistency for rolling. Too much makes them mushy, so go slow and check often.
- Experiment with add-ins like dried cranberries. They add varied flavor to your healthy snacks. My family loves mixing it up to keep things fresh and fun.
- Refrigerate immediately after forming. This helps the balls set quickly and maintain shape. Plus, it saves time for the whole week ahead.
- For extra protein, select a high-quality whey powder. It dissolves well during mixing. This boosts nutrition without clumpy surprises in your energy bites.
Follow these, and you’ll have grab-and-go treats that satisfy. They curb those mid-afternoon slumps effortlessly.
How to Store Oatmeal Protein Balls
I know how busy life gets as a mom or professional. So, storing these oatmeal protein balls right keeps them fresh and ready. Simply pop them into an airtight container in the refrigerator. They stay good for up to one week this way. For example, I grab one during rushed mornings without worry.
If you need longer storage, freezing works great too. First, lay them in a single layer on a tray to freeze solid. Then, transfer to a freezer bag for up to three months. Thaw overnight in the fridge before eating. No reheating needed since they’re best cold anyway. This method saves their chewy texture and nutrition as tasty energy bites.
- Use airtight containers to lock in freshness and prevent drying out.
- Label freezer bags with dates for easy tracking during hectic weeks.
- Avoid room temperature storage; it can make them too soft quickly.
With these tips, your batch lasts longer. Plus, it cuts down on waste for guilt-free healthy snacks.
Serving Suggestions
These oatmeal protein balls shine in simple pairings. I love how they add protein to everyday meals. Busy days call for quick ideas that satisfy. Plus, they fit picky eaters’ tastes without fuss.
- Pair with Greek yogurt and fresh berries. This makes a balanced breakfast boost. It starts your day with energy and fiber. For instance, top yogurt with a few balls for creaminess.
- Enjoy alongside herbal tea or coffee. It becomes an afternoon pick-me-up. The nutty flavor complements warm drinks perfectly. I grab one during work breaks to curb hunger.
- Present on a platter with sliced apples. This creates a simple, shareable snack at gatherings. The crunch pairs with the chewiness for fun textures. Friends always ask for more of these healthy bites.
Experiment a bit, and you’ll find favorites. They turn ordinary moments into nourishing treats.
Print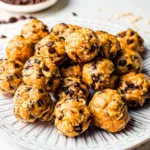
Easy Oatmeal Protein Balls
- Prep Time: 10 minutes
- Cook Time: 0 minutes
- Total Time: 40 minutes
- Yield: 20-24 balls
- Category: Snacks
- Method: No-Bake
- Cuisine: American
- Diet: Vegetarian
Description
Easy no-bake oatmeal protein balls made with rolled oats, protein powder, peanut butter, and honey for a healthy, portable snack packed with protein and fiber.
Ingredients
- 1 1/2 cups rolled oats
- 1/2 cup vanilla whey protein powder (about 2 scoops)
- 1/2 teaspoon ground cinnamon
- 1 tablespoon chia seeds
- 1/2 cup smooth natural peanut butter (or other nut butter)
- 3 tablespoons raw honey
- 1 teaspoon vanilla extract
- 1/3 cup preferred add-ins (e.g., raisins, mini chocolate chips, dried cranberries)
- 2–4 tablespoons liquid (almond milk, water, etc.), as needed
Instructions
- In a sizable mixing bowl, combine the rolled oats, protein powder, cinnamon, and chia seeds. Stir these dry ingredients thoroughly.
- Introduce the peanut butter, honey, and vanilla extract to the bowl. Mix well until everything is combined.
- Stir in your chosen add-ins, such as raisins or chocolate chips. At this point, the mixture should be somewhat sticky but still crumbly.
- Gradually add the liquid, one tablespoon at a time, using your hands to incorporate it until the mixture comes together into a cohesive, slightly sticky ball that holds its shape. Be careful not to add too much liquid, which could make it too soft.
- Portion the mixture (roughly a tablespoon each) and roll it between your palms to form individual balls.
- Place the formed protein balls into an airtight container and refrigerate for at least 30 minutes to allow them to set.
- Store these protein balls in the refrigerator until you’re ready to enjoy them.
Notes
- These protein balls are no-bake and require no cooking equipment.
- Customize add-ins based on preference for flavor and texture.
- Store in the fridge for up to one week or freeze for longer storage.


