
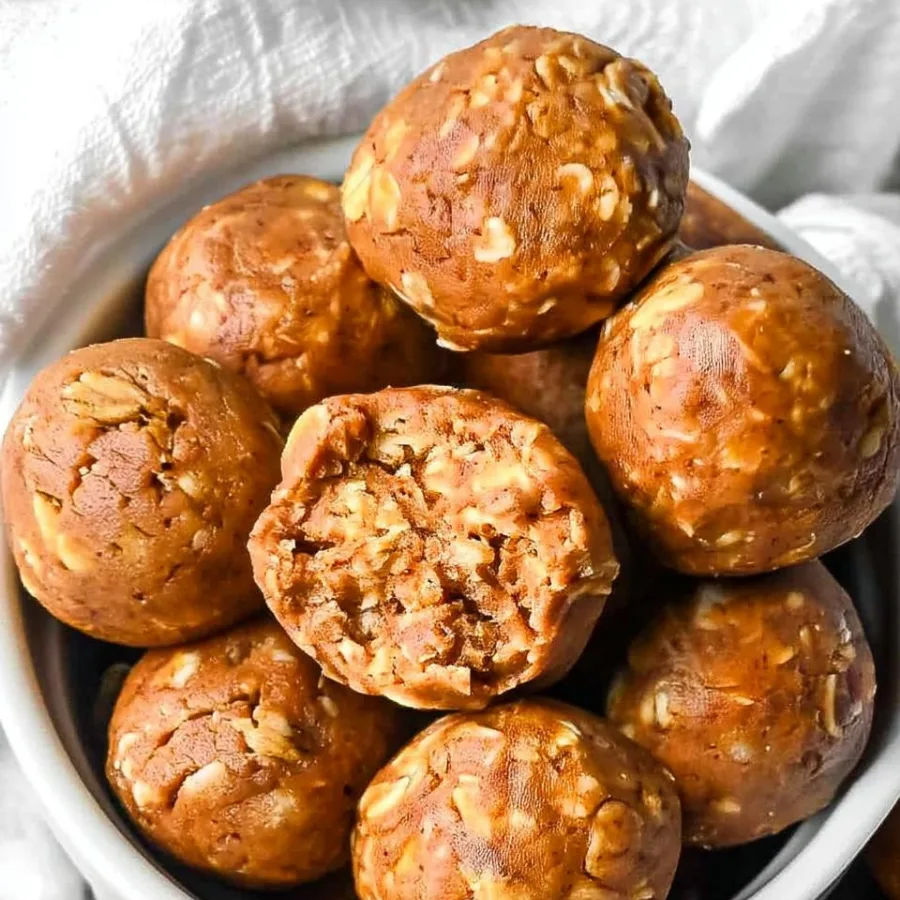
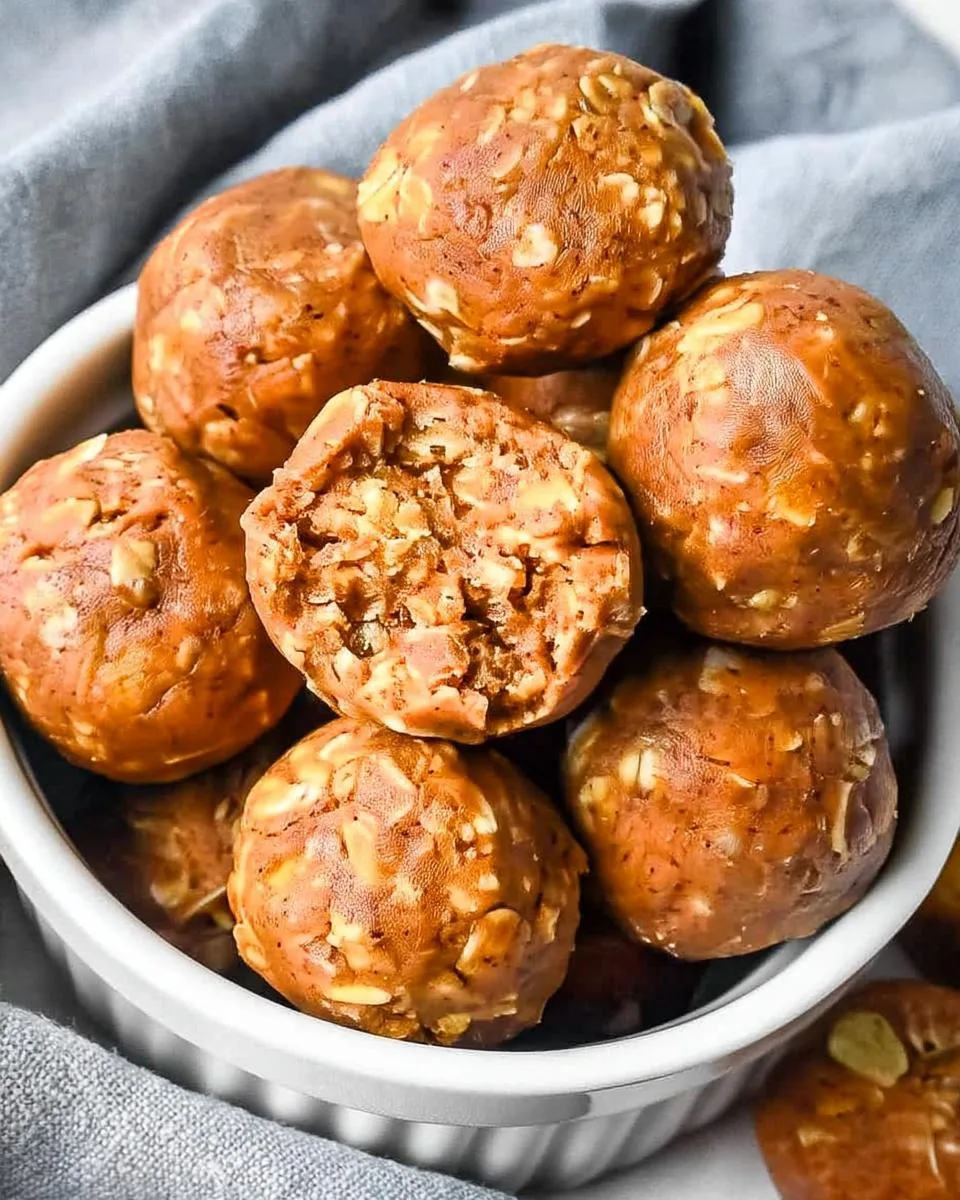
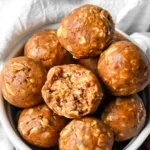
Imagine sinking your teeth into soft, chewy pumpkin protein balls that burst with warm fall spices and a hint of nutty sweetness. I blend oats, pumpkin puree, and protein-packed chia seeds in these no-bake treats for an energizing snack. It’s as nourishing as it is delicious. They’re perfect for busy days. They come together in minutes without turning on the oven.
I appreciate how these pumpkin protein balls store easily in the fridge. I grab them quickly on the go. I enjoy them as a mid-afternoon pick-me-up or a post-workout boost. They serve chilled, so no reheating needed. My friends always request the recipe. They taste indulgent yet keep me feeling light and satisfied.
Why I Love This Recipe
I adore these pumpkin protein balls because they are so simple to whip up on hectic weeknights. No oven needed means less cleanup for me. Plus, they burst with cozy fall flavors that feel comforting yet light.
- Quick assembly: Just 15 minutes of prep, and they’re ready after chilling.
- Versatile snack: Great for mid-afternoon energy or post-workout fuel.
- Impresses everyone: Guests rave about the indulgent taste without the guilt.
- Family-friendly: My picky eaters grab them happily, and they stay fresh for weeks.
Honestly, they make healthy snacking effortless and fun.
Pumpkin Protein Balls Ingredients
I cherish these pumpkin protein balls because the ingredients blend oats and pumpkin for a hearty base, while spices and nut butter add cozy warmth and moisture. Fresh, quality picks like pure maple syrup elevate the natural sweetness and overall fall vibe.
- Old-fashioned rolled oats: Form the chewy base and add wholesome fiber for sustained energy.
- Fine sea salt: Balances flavors and enhances the overall taste without overpowering.
- Pumpkin spice blend: Infuses warm cinnamon and nutmeg notes for that classic autumn essence.
- Chia seeds: Boost protein and create a binding texture for easy rolling.
- Pumpkin puree: Brings moist, earthy pumpkin flavor central to the fall theme.
- Peanut butter: Adds creamy richness and healthy fats for binding and nutty depth.
- Maple syrup: Provides natural sweetness to tie everything together sweetly.
- Vegan chocolate chips: Offer optional melty bursts of chocolate for extra indulgence.
Note: The complete list of ingredients and exact measurements can be found in the printable recipe card at the bottom of the post.
Kitchen Tools You’ll Need
- Food processor: Pulses oats and mixes everything smoothly; a high-speed blender works too if you don’t have one.
- Spoon or cookie scoop: Helps form even balls easily; use your hands for a rustic touch.
- Baking sheet or plate: Lines with parchment for chilling; any flat surface in the fridge does fine.
How to Make Pumpkin Protein Balls
Step 1: Prepare the oats
I start these no-bake snacks by grinding the oats. In a food processor, pulse 2 ¼ cups of old-fashioned rolled oats for about 1 minute. They turn into a coarse flour texture. This step helps bind everything smoothly.
Step 2: Combine the dry and wet ingredients
Next, add the salt, pumpkin spice, chia seeds, pumpkin puree, peanut butter, and maple syrup to the processor. Process until a thick, sticky dough forms. It usually takes just a minute or two. This mix creates the base for your energy bites.
Step 3: Incorporate chocolate chips if using
If you want that extra touch, add ⅓ cup vegan chocolate chips now. Pulse about 15 times to break them slightly and mix in. This keeps the dough even without big chunks. Skip it for a simpler healthy pumpkin treat.
Step 4: Form the protein balls
Scoop the dough with a tablespoon or cookie scoop. Roll into uniform balls, about 20-22 total. Make them firm but gentle to avoid crumbling. These vegan protein balls shape easily at this stage.
Step 5: Chill to set
Line a plate or baking sheet with parchment paper. Arrange the balls on it. Refrigerate for at least one hour until they firm up. Now, your pumpkin protein balls are ready to enjoy chilled.
Tips for Success
- I always use room-temperature pumpkin puree. It mixes smoothly and prevents lumpy dough in your pumpkin protein balls.
- Pulse oats just until coarse. Overdoing it makes them too powdery, losing that chewy energy bite texture.
- If the mix feels sticky, chill briefly before rolling. This helps form perfect no-bake snacks easily.
- For picky eaters, skip chocolate chips first. Add them later to customize healthy pumpkin treats.
- Store in single layers in the fridge. They won’t stick together and stay fresh as vegan protein balls.
How to Store Pumpkin Protein Balls
I know how busy life gets, so storing these pumpkin protein balls right keeps them fresh for quick snacks. After chilling, place them in an airtight container. They stay good in the refrigerator for up to two weeks. This way, you grab one easily during rushed mornings.
For longer storage, freeze them in a single layer first on a sheet. Then transfer to a freezer bag. They last up to three months frozen. Thaw in the fridge overnight, and enjoy that same chewy texture. Plus, freezing helps with portion control for my meal prep days.
Serving Suggestions
- Pair these pumpkin protein balls with a steaming cup of herbal tea or black coffee for a cozy afternoon break that boosts energy without the crash.
- Arrange on a platter with apple slices and nuts for a simple charcuterie-style snack that delights picky eaters at family gatherings.
- Pop one into lunchboxes as a no-bake treat for on-the-go fuel during busy workdays.
- Drizzle with a touch of melted dark chocolate for extra indulgence in vegan protein balls.
Easy Pumpkin Protein Balls
- Prep Time: 15 minutes
- Cook Time: 0 minutes
- Total Time: 1 hour 15 minutes
- Yield: 20-22 balls
- Category: Snacks
- Method: No-bake
- Cuisine: American
- Diet: Vegan
Description
No-bake pumpkin protein balls made with oats, pumpkin puree, and nut butter for a healthy, energizing snack packed with fall flavors.
Ingredients
- 2 ¼ cups old-fashioned rolled oats (gluten-free if preferred)
- ½ teaspoon fine sea salt
- 1 teaspoon pumpkin spice blend
- ¼ cup chia seeds
- ½ cup pumpkin puree (not pumpkin pie filling)
- ¼ cup organic peanut butter (or other nut/seed butter)
- ¼ cup maple syrup
- ⅓ cup vegan chocolate chips (optional)
Instructions
- Start by preparing your oats. In a food processor, pulse the rolled oats for about 1 minute until they are finely ground, resembling a coarse flour.
- To the food processor, add the fine sea salt, pumpkin spice, chia seeds, pumpkin puree, peanut butter, and maple syrup. Process until all ingredients are thoroughly combined and a thick, slightly sticky dough forms.
- If using, add the vegan chocolate chips to the processor and pulse a few times (about 15 pulses) to break them down slightly and incorporate them into the dough.
- Using a tablespoon or a small cookie scoop, roll the mixture into uniform balls. You should get approximately 20-22 energy bites.
- Arrange the formed protein balls on a plate or baking sheet lined with parchment paper.
- Place them in the refrigerator for at least one hour to allow them to set and firm up.
- Once chilled, these pumpkin protein balls are ready to enjoy! Store them in an airtight container in the refrigerator for up to two weeks, or freeze them for longer storage.
Notes
- Use gluten-free oats for a gluten-free version.
- These are vegan if using vegan chocolate chips and appropriate nut butter.
- Store in an airtight container in the refrigerator for up to 2 weeks or freeze for longer storage.
- Not suitable for those with nut allergies unless using seed butter alternative.


