
There’s magic in creating something wonderful from scratch. This homemade elderberry syrup is truly a liquid hug for your immune system. It’s warm, spicy, and just sweet enough to feel like a treat. Plus, it’s surprisingly simple to whisk together in your own kitchen.
I always keep a batch of this potent elderberry syrup tucked away in my fridge. It is perfect for those sniffle-season days. My family loves it, and it gives me peace of mind knowing what’s inside.
Why I Love This Recipe
Oh, let me count the ways I adore making this elderberry syrup! First, it’s so incredibly simple. I mean, truly. No fuss, just a gentle simmer. It feels like a little act of self-care each time I make a batch. Then there’s the cozy aroma filling my kitchen; it’s just pure comfort. Knowing I have this natural immune booster on hand makes me feel prepared. It’s perfect for busy weeknights and especially comforting when anyone feels a bit under the weather. This elderberry syrup is a total game-changer for my family!
Elderberry Syrup Ingredients
Gathering these simple ingredients always feels like I’m preparing a little potion. Each one plays such an important role in making this elderberry syrup so powerful and delicious. It’s a blend of nature’s best to support your wellness!
Core Ingredients
- Dried Black Elderberries: These little berries are the star! They’re packed with good stuff.
- Water: Our base, it helps extract all those elderberry benefits.
- Cinnamon Sticks: Adds a warm, lovely spice note. It smells amazing too!
- Cloves: A hint of clove brings warmth and extra flavor. Trust me on this one.
- Maple Syrup OR Raw Honey: This sweetens our elderberry syrup. It makes it palatable for everyone.
Substitutions and Tips
You can totally tweak this recipe to fit your pantry! For example, if you don’t have cinnamon sticks, a pinch of ground cinnamon can work. Similarly, a tiny piece of fresh ginger root adds a nice kick if you like that. You can also toss in a slice of orange or lemon for a bright citrus note. The exact amounts are in the recipe card below, by the way!
How to Make Elderberry Syrup
Making your own elderberry syrup is super easy. Just follow these steps, and you will have a potent immune booster ready to go. I promise, it’s simpler than you think!
Step 1: Combine and Simmer
First, get a saucepan. Pour the water into it. Now, add your elderberries, cinnamon sticks, and cloves. If you fancy, toss in an orange slice. Bring this mix to a boil, then lower the heat. Let it gently simmer for about 45 to 60 minutes. Keep it uncovered while it simmers away.
Step 2: Reduce and Cool
Watch as the liquid reduces. It should turn into a concentrated syrup. Once it’s about half the original amount, take it off the heat. Let it cool down completely. This cooling step is important before the next part.
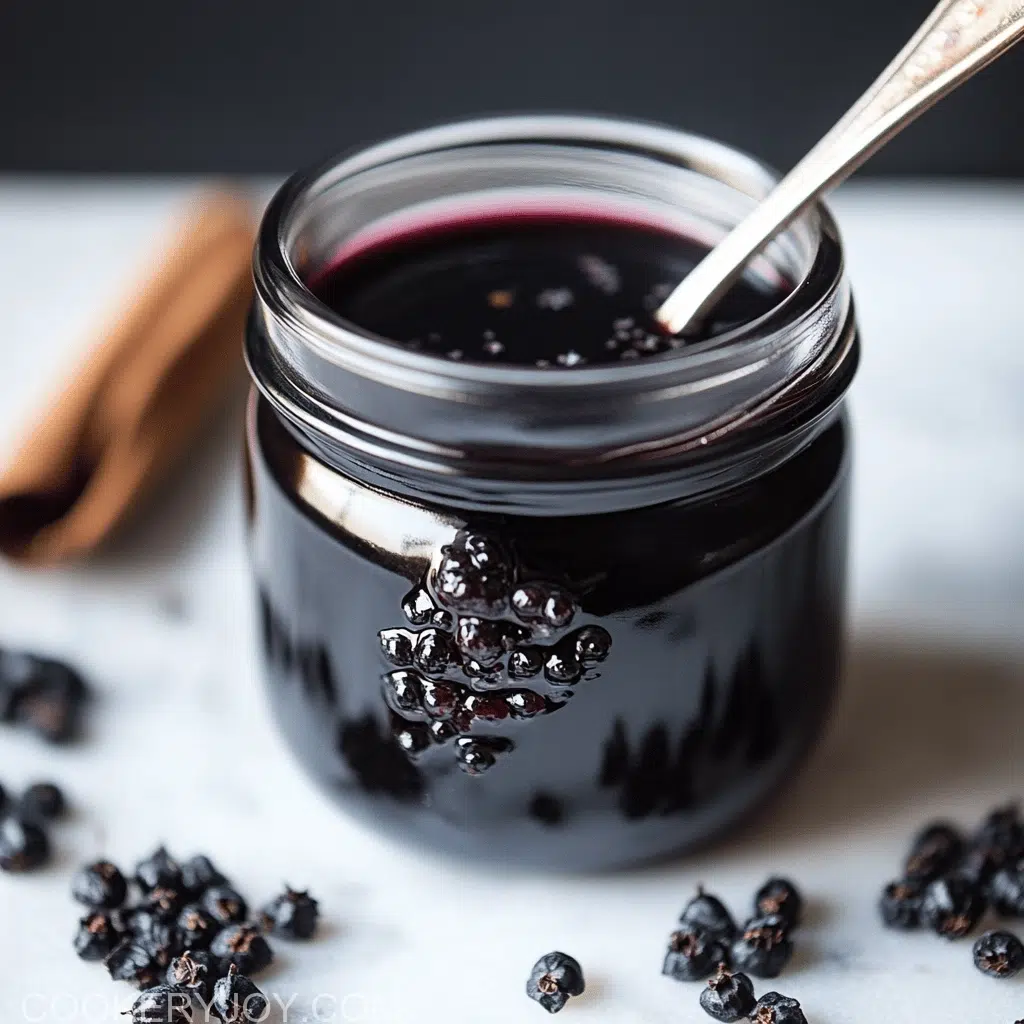
Step 3: Strain and Sweeten
When your elderberry syrup is cool, grab a fine-mesh strainer. Strain the liquid into a clean bowl. Discard all the solids. These include the berries, cinnamon sticks, and cloves. Now, add your maple syrup or honey. Stir it well until it is fully combined. This sweetens the elderberry syrup just right!
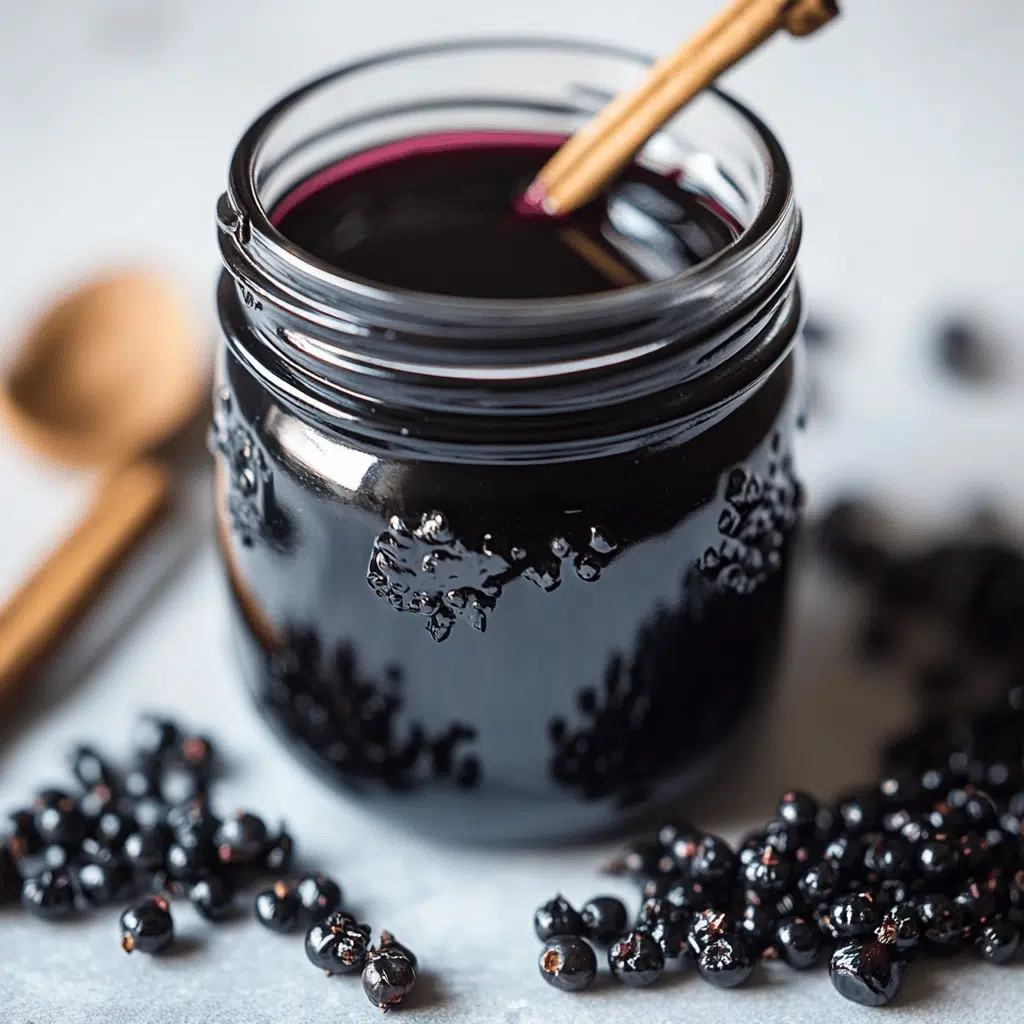
Step 4: Store Your Elderberry Syrup
Pour your beautiful homemade elderberry syrup into a clean jar. A mason jar works perfectly. Seal it tightly with a lid. Store this incredible immune-supporting liquid in your refrigerator. Use it when you need a little boost!
How to Store Elderberry Syrup
Once you’ve made your delicious elderberry syrup, proper storage is key. You want to keep all those good benefits intact! I always pour my finished elderberry syrup into a clean glass jar. A mason jar works perfectly. Make sure it has an airtight lid. This really helps keep it fresh. Then, pop it right into the refrigerator. Keeping it chilled is super important for its longevity. This homemade elderberry syrup will stay good for a few weeks this way. Just give it a little sniff before each use. If it smells off, it’s best to discard it. Fresh is always best, right?
Tips for Success
- Use dried elderberries for safety.
- Don’t boil the maple syrup or honey; add it when cool.
- Taste and adjust sweetness to your liking.
- Always let the elderberry syrup cool before straining.
- Try adding a slice of fresh ginger for extra zing.
- Keep it refrigerated for freshness.
- Label your jar with the date!
Kitchen Tools You’ll Need
- A medium saucepan for simmering. Any pot will do!
- A fine-mesh strainer. A cheesecloth can also work in a pinch.
- Measuring cups and spoons. Regular kitchen ones are fine.
- A whisk or spoon for stirring.
- Clean glass jars for storage. Mason jars are my go-to.
Serving Suggestions
- Take a spoonful daily for a boost.
- Add a splash to your morning smoothie.
- Drizzle over pancakes or waffles.
- Stir into a cup of warm tea.
- Use it to sweeten sparkling water.
- Pour over plain yogurt for a tasty treat.
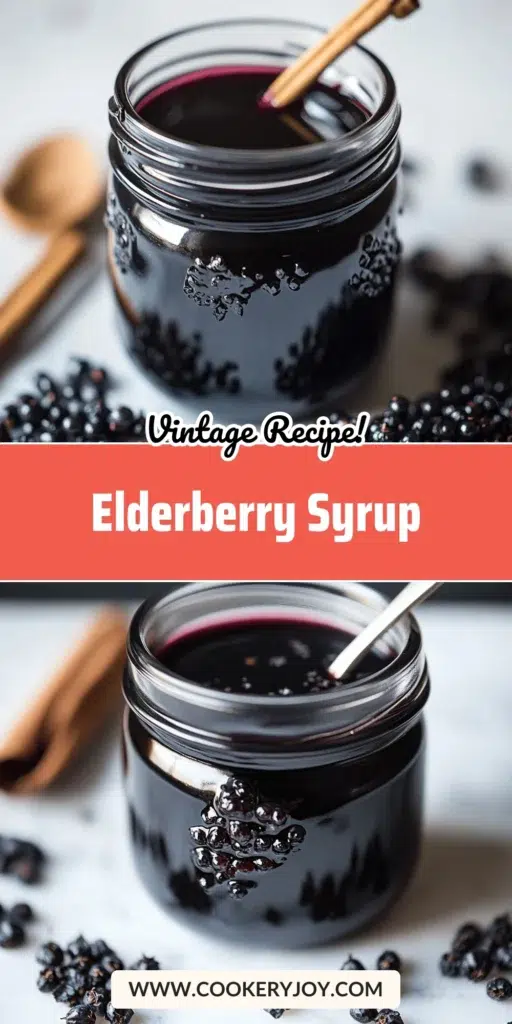

Elderberry Syrup
- Prep Time: Not specified
- Cook Time: 45-60 minutes
- Total Time: Not specified
- Yield: Not specified
- Category: Health/Remedy
- Method: Simmering
- Cuisine: Not specified
- Diet: Vegetarian
Description
This recipe guides you through making homemade elderberry syrup, a natural remedy often used to boost immunity. It involves simmering dried elderberries with spices, then sweetening the strained liquid with maple syrup or honey.
Ingredients
- 1 cup dried black elderberries
- 4 cups water
- 2 cinnamon sticks
- 5 cloves
- 1 cup maple syrup OR raw honey
- orange or lemon slices optional
Instructions
- Pour the water into a saucepan and then add in the elderberries, ginger, cinnamon, cloves, and orange.
- Bring to a boil then reduce heat and simmer for 45-60 minutes, cooked uncovered.
- Once the mixture is reduced by half remove from the heat and allow to cool.
- Strain the liquid and discard the berries, cinnamon stick, and cloves.
- When the elderberry syrup is cool to the touch add in the honey and stir until combined.
- Store in the refrigerator and use as needed or to just boost your immunity.
Notes
- Store in the refrigerator.
- Use as needed or to boost immunity.
Frequently Asked Questions
Can I use fresh elderberries for this Elderberry Syrup?
I always recommend using dried elderberries for this recipe. Fresh elderberries can contain compounds that are toxic if not properly prepared. Dried elderberries are safe and easy to find for your homemade elderberry syrup.
How long does homemade Elderberry Syrup last?
Your homemade elderberry syrup will last about 2 to 3 weeks in the refrigerator. Always store it in a sealed, airtight container. If it begins to look or smell off, it’s best to discard it.
What are the benefits of Elderberry Syrup?
Many folks use elderberry syrup to support their immune system. It’s often embraced for its potential to ease cold and flu symptoms. It’s a wonderful natural remedy to keep on hand.
Can I give Elderberry Syrup to children?
Generally, homemade elderberry syrup is fine for children over one year old. However, if your recipe uses honey, do not give it to infants under one. Always talk to your pediatrician before introducing new remedies to little ones.
Conclusion
There is such a profound joy in nourishing yourself and your loved ones from scratch. This easy elderberry syrup recipe brings that feeling right into your kitchen. It’s more than just a remedy; it’s a loving embrace, a comforting aroma, and a simple act of care. Every spoonful of this homemade elderberry syrup reminds me of the power of nature. It helps support our bodies, especially during those challenging seasons. So go ahead, whip up a batch, and let this little bottle of goodness bring warmth and wellness to your home. You’ll truly feel amazing!


