
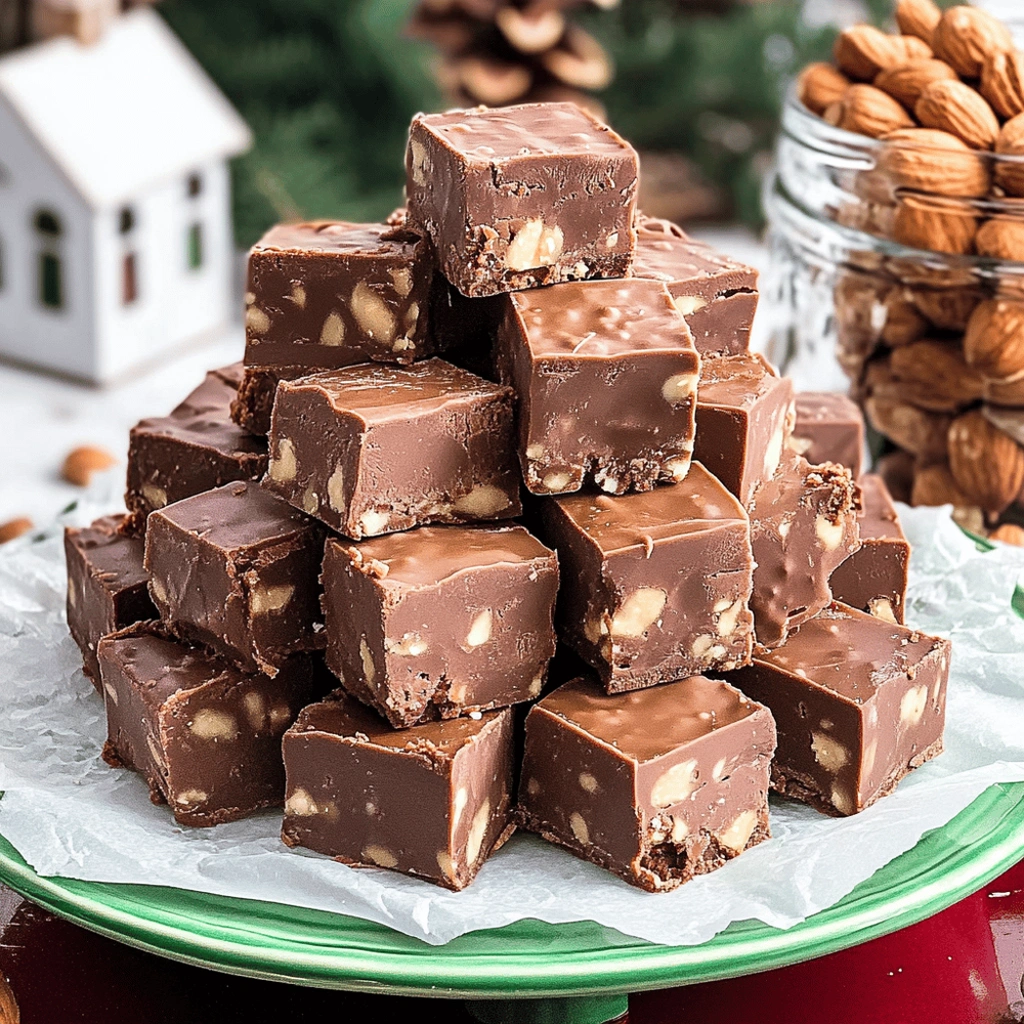
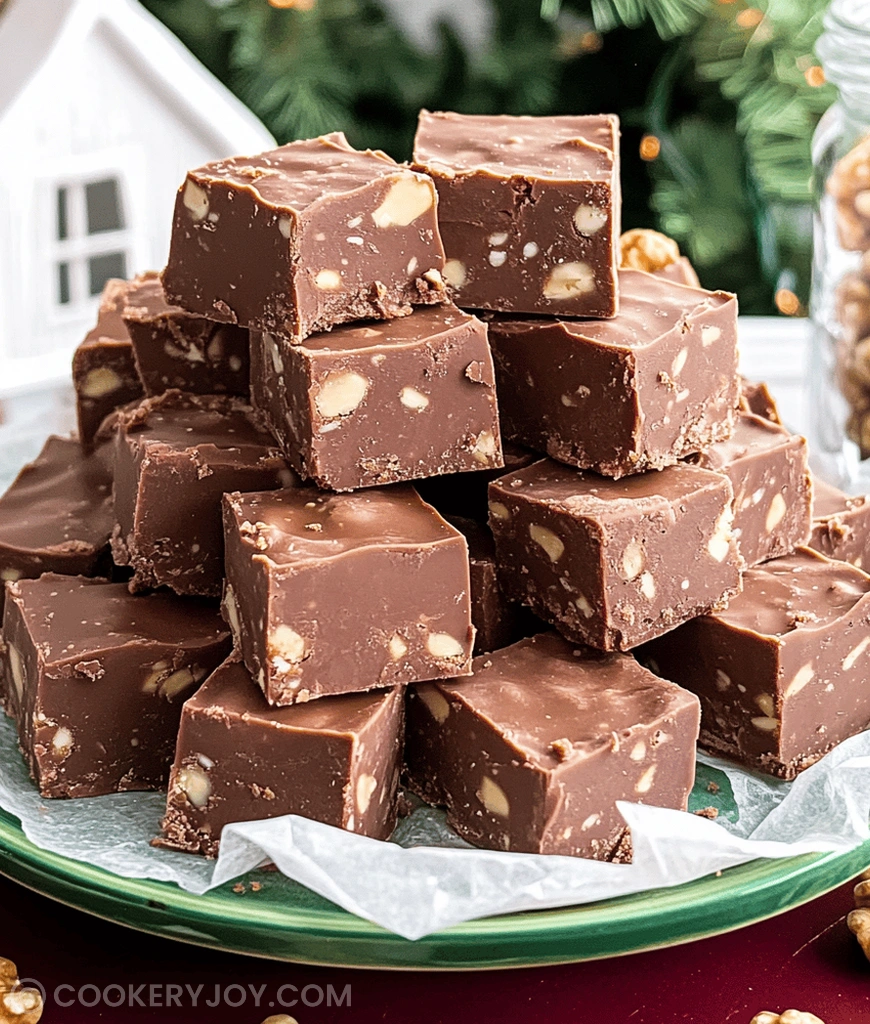
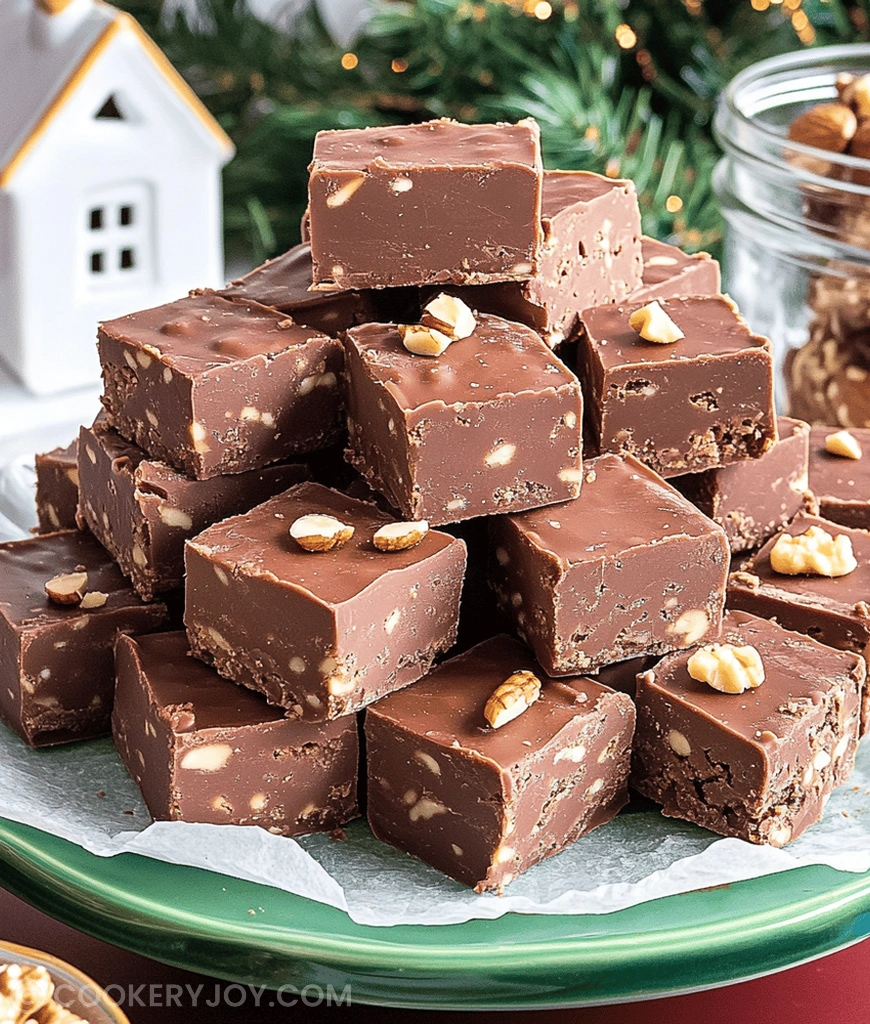
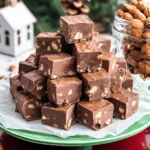
This truly is the creamiest, dreamiest confection I know. Making genuine rich fudge seems complicated sometimes, you know? Yet, this wonderful recipe for Fantasy fudge streamlines everything beautifully. The final texture is melt-in-your-mouth perfection every single time I try it.
I often whip this up when unexpected company drops by unannounced. Plus, leftovers keep so well tucked away in the pantry. Truly, this simple homemade sweet treats quickly disappear from the dessert platter.
Why I Love This Recipe
I adore this recipe for so many reasons.
- It is surprisingly swift. Who knew making great fudge took so little hands-on time?
- The incredible flavor wins everyone over. Nobody guesses how easy this Fantasy fudge is.
- This sweet treat is deeply comforting after a long day.
- It handles potlucks and holiday gifting beautifully!
Honestly, it is my go-to when I need serious chocolate motivation quickly.
Fantasy Fudge Ingredients
Gathering the components for this recipe feels like assembling a secret stash of comfort. There is a special alchemy when these basic pantry staples melt together. Suddenly, humble items transform into the silkiest, richest chocolate imaginable—the foundation of perfect Fantasy fudge.
Let us look closer at what makes this work so well. Remember, the full amounts for this amazing sweet treat are on the recipe card downstairs.
Core Ingredients and Their Jobs:
- Granulated Sugar: This forms the main structure of the fudge base. It needs that boiling stage to properly dissolve.
- Butter (Unsalted): Butter gives undeniable richness and that lovely smooth mouthfeel we crave.
- Evaporated Milk: This provides the necessary dairy concentration without adding too much water. It impacts texture greatly.
- Semisweet Chocolate Chips: Naturally, these deliver the deep chocolate flavor. They melt into pure velvetiness.
- Marshmallow Creme (Fluff): This is the magic ingredient! It keeps the fudge light and incredibly creamy.
- Vanilla Extract: Vanilla rounds out the chocolate notes perfectly. It is a subtle but necessary enhancer.
Substitutions and Tips
You asked about tinkering with this classic confection. I get it; we all love personalized flavors. Feel free to explore slight changes here.
- For Nuts: Pecans are traditional, but chopped walnuts work just as well. Even salted peanuts add a nice crunch.
- Chocolate Swap: Try using milk chocolate chips for a sweeter profile. Dark chocolate chips offer a much deeper, less sweet flavor profile.
- Flavor Boost: Add just a tiny pinch of instant espresso powder. It really amplifies the chocolate taste, honestly.
- Storage Shortcut: If you plan to freeze this homemade sweet treat, line the container really well with parchment paper first.
These simple swaps help you customize your batch of delicious Fantasy fudge fast.
Kitchen Tools You’ll Need
You do not need a lot of fancy gadgets for this amazing dessert.
- Heavy-bottomed saucepan. A thin pan burns easily.
- Sturdy wooden spoon or heat-proof spatula for constant stirring.
- 9×13 inch baking pan. A square 8×8 inch pan works too, but yields thicker fudge.
- Parchment paper or aluminum foil for easy lifting later.
These basic items help manage making this great Fantasy fudge batch.
How to Make Fantasy Fudge
Now we move to the fun part, we transform simple sugar and milk into glorious, thick confection. Follow these steps carefully.
Prepare the Pan
First, grease your 9×13 inch baking dish thoroughly. I like using butter for this task. Set that prepared pan aside while we cook the base.
Start the Boil
Use a big, heavy saucepan for safety. Combine the sugar, butter, and evaporated milk together. Heat this mixture over medium heat now. Stir constantly until it starts to boil steadily. Continuous stirring prevents scorching the bottom.
Maintain the Boil
Keep stirring and maintain that rolling boil. Let it boil for exactly five solid minutes. Do not lift your spoon much! This specific cooking time sets up the proper fudge consistency.
Melt the Chocolate
Remove the pan immediately from the hot burner. Quickly stir in all your chocolate chips. Keep stirring until the chocolate melts completely. You want a smooth, glossy chocolate mixture. This step builds our rich chocolate fudge flavor.
Incorporate Creaminess
Next, add the marshmallow creme right away. Stir in the vanilla extract also. Vigorously blend everything until it looks completely uniform. The mixture will thicken fast as it cools down slightly.
Add Nuts (If Using)
If you opted for pecans or walnuts, fold them in gently now. Do not overmix once the nuts are added. You want them distributed evenly through the batter.
Pour and Set
Scrape the thick fudge batter into your waiting dish. Spread the mixture as evenly as you can manage. This homemade sweet treat is quite stiff already. Let the Fantasy fudge cool completely at room temperature. That takes about two to four hours minimum. Patience ensures clean cuts later, trust me.
Cut and Enjoy
Once the fudge is firm to the touch, cut it into squares. Store your incredible batch of Fantasy fudge properly. Serve these rich squares with coffee. Enjoy your amazing homemade confection!
How to Store Fantasy Fudge
Proper storage keeps this homemade sweet treat perfect. Store uneaten Fantasy fudge in an airtight container. Room temperature works well for short keeping times. This keeps your delectable fudge fresh for about one week. For longer storage, try the freezer option next. Wrap the fudge pieces tightly in plastic first. Then, place them inside a quality freezer bag. Frozen fudge lasts three months easily. Thaw slowly on the counter when you crave a piece.
Tips for Success
Getting that perfect, creamy texture takes a tiny bit of focus. Follow these pointers for superb Fantasy fudge.
- Always use a heavy-bottomed pan. Thin ones scorch sugar easily, ruining the batch.
- Stir constantly when the mixture boils for five minutes. This prevents crystallization.
- Work quickly once you pull the pan off the heat. Things get stiff fast.
- Ensure your marshmallow creme is at room temperature. It mixes much smoother then.
- Resist the urge to refrigerate too soon. Room temperature setting yields better texture.
These little tricks make making Fantasy fudge much easier.
Serving Suggestions
- Serve alongside a strong cup of hot coffee or espresso.
- Dust the tops lightly with high-quality cocoa powder for elegance.
- Pair small squares with fresh raspberries for a colorful contrast.
- Offer as part of a holiday platter with shortbread cookies.
Fantasy fudge
- Prep Time: 15 minutos
- Cook Time: 10 minutos
- Total Time: 2 horas 15 minutos (incluyendo enfriamiento)
- Yield: Aproximadamente 3 docenas de piezas
- Category: Postre
- Method: Cocción en estufa y enfriamiento
- Cuisine: Americana
- Diet: Vegetarian
Description
Una receta clásica y rica para hacer un delicioso y cremoso ‘Fantasy Fudge’ utilizando ingredientes básicos como azúcar, mantequilla, leche evaporada y chispas de chocolate.
Ingredients
- 3 tazas de azúcar granulada
- 3/4 taza (1.5 barras) de mantequilla sin sal
- 2/3 taza de leche evaporada
- 12 onzas de chispas de chocolate semidulce
- 1 frasco de 7 onzas de crema de malvavisco (fluff)
- 1 cucharadita de extracto de vainilla
- 1 taza de nueces o pacanas picadas (opcional)
Instructions
- Engrase un molde para hornear de 9×13 pulgadas y reserve.
- En una cacerola grande de fondo grueso, combine el azúcar, la mantequilla y la leche evaporada. Lleve a un hervor continuo a fuego medio, revolviendo constantemente.
- Continúe hirviendo durante 5 minutos, revolviendo constantemente para evitar que se queme.
- Retire del fuego. Inmediatamente incorpore las chispas de chocolate hasta que se derritan por completo y quede suave.
- Agregue la crema de malvavisco y el extracto de vainilla. Revuelva vigorosamente hasta que se incorpore por completo y quede suave.
- Si lo usa, incorpore las nueces picadas.
- Vierta la mezcla de fudge en el molde preparado y extienda uniformemente. El fudge será muy espeso.
- Deje enfriar completamente a temperatura ambiente durante al menos 2-4 horas, o hasta que esté firme. También puede refrigerar para acelerar el proceso de solidificación.
- Una vez firme, corte en cuadrados y sirva. Guarde en un recipiente hermético a temperatura ambiente o en el refrigerador.
Notes
- Es fundamental revolver constantemente mientras hierve para evitar que el azúcar se queme.
- La mezcla se espesará rápidamente una vez que se retira del fuego y se añaden las chispas de chocolate.
- Asegúrese de que el fudge esté completamente firme antes de cortarlo para obtener los mejores resultados.


