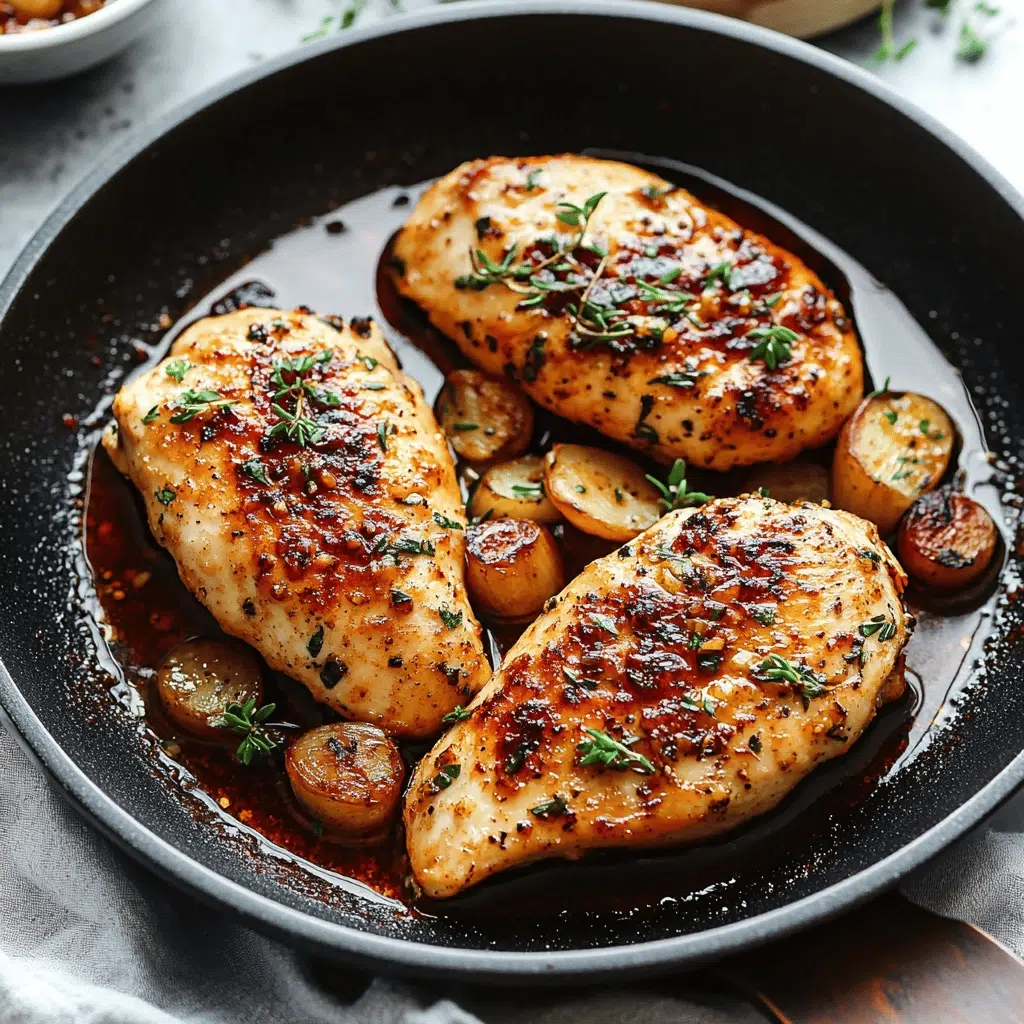
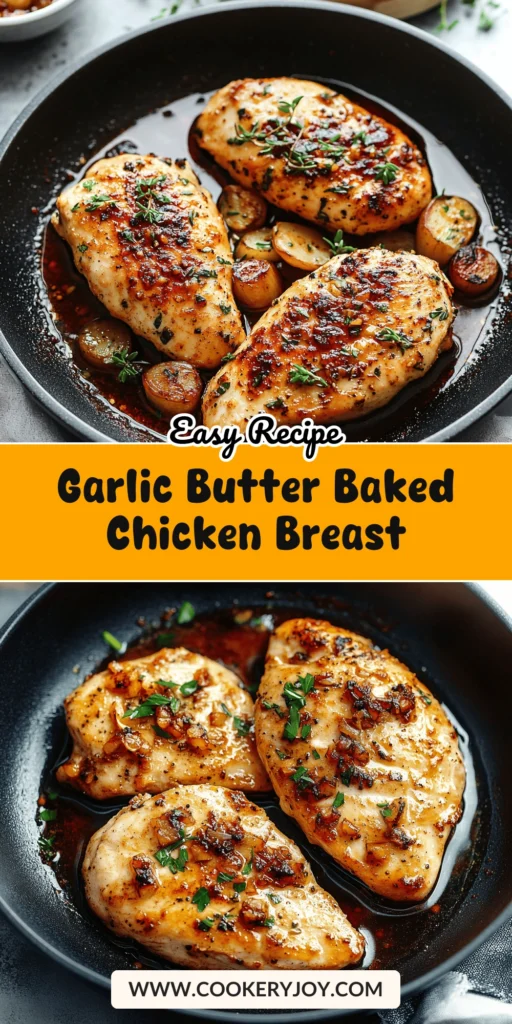
There’s nothing quite like a comforting meal that comes together without fuss. My Garlic Butter Baked Chicken Breast recipe delivers just that: tender, juicy chicken bursting with incredible flavor. Each bite offers a succulent texture with a delightful golden sear.
I often turn to this easy chicken recipe on busy weeknights. It’s a true family favorite, perfect for those moments when you need a delicious meal, fast. Plus, it reheats beautifully for yummy leftovers.
Why I Love This Recipe
I simply adore this Garlic Butter Baked Chicken Breast recipe. It’s a lifesaver on crazy weeknights! Here’s why it’s always on my rotation:
- So quick and easy: Dinner is ready in a flash!
- Flavor explosion: That garlic butter is pure magic.
- Always tender: Never dry, super juicy chicken always.
- Versatile: Pairs with anything and everything.
- Kid-approved: Even my picky eaters love it.
Garlic Butter Baked Chicken Breast Ingredients
Now, let’s talk about the magic behind this Garlic Butter Baked Chicken Breast, the ingredients! It’s all about simple items coming together to create something truly spectacular. Think of it as a delicious symphony of savory notes.
- Chicken Breasts: These are our canvas! Boneless, skinless chicken breasts are meaty and cook up perfectly.
- Salt and Black Pepper: Kitchen staples, they enhance all the other flavors.
- Paprika: A touch of warmth and a lovely color for our chicken.
- Butter: Our star, creating that rich, succulent garlic butter sauce.
- Italian Seasoning: A delightful blend of herbs that sings with the garlic.
- Fresh Parsley: Adds brightness and a hint of fresh green.
- Garlic: The heart of our garlic butter! Minced fresh is best.
- Olive Oil: Essential for searing the chicken to golden perfection.
Substitutions and Tips
Don’t fret if your pantry is missing something. Cooking is about creativity!
- Herbs: No fresh parsley? Dried works, just use less. Chives or dill are yummy too.
- Spice: For a little kick, add a pinch of red pepper flakes.
- Oil: Vegetable oil can swap for olive oil for searing.
- Pre-minced garlic: Time-saver! Just remember fresh is always more potent.
Remember, exact measurements are in the recipe card below. But these are the players that make our Garlic Butter Baked Chicken Breast so incredibly good!
How to Make Garlic Butter Baked Chicken Breast
Alright, let’s get cooking! This Garlic Butter Baked Chicken Breast comes together so easily. You’ll be amazed at the delicious results. Just follow these steps.
Preparing Your Chicken
First, preheat your oven to 400°F. This gets it nice and ready. Then, grab your boneless, skinless chicken breasts. Give them a good pat dry with paper towels. Next, sprinkle them generously with salt, pepper, and ½ teaspoon of paprika. Make sure both sides get some love. Now, just set them aside for a moment. This quick seasoning is key. It really builds flavor.
Crafting the Garlic Butter Mixture
While your chicken rests, let’s make that amazing garlic butter. In a small bowl, melt your butter. You can pop it in the microwave quickly. Stir in the remaining ¼ teaspoon of paprika. Add the Italian seasoning next. Then, stir in the fresh chopped parsley. Finally, add your minced garlic. Oh, that smell is divine! Give it a good whisk. This mixture elevates the Garlic Butter Baked Chicken Breast.
Searing for Golden Perfection
Now, it’s time to get that beautiful golden crust. Place your cast iron skillet over medium heat. Add the extra virgin olive oil. Let it get nice and hot. When it shimmers, carefully add your seasoned chicken breasts. Sear them for about 1 to 2 minutes on each side. We’re not cooking them through here. We just want that gorgeous golden color. This searing locks in juices. It adds so much flavor. This step is crucial for perfect baked chicken.
Baking to Juicy Tenderness
Once your chicken is beautifully seared, it’s oven time. Pour that fragrant garlic butter mixture right over the chicken breasts. Make sure each piece is coated. Now, carefully transfer the skillet to your hot oven. Let it bake for about 20 to 30 minutes. Cooking time can vary. Always check for doneness. The internal temperature needs to reach 165°F. Use a meat thermometer for accuracy. This creates truly juicy chicken. This is how we make our Garlic Butter Baked Chicken Breast so good.
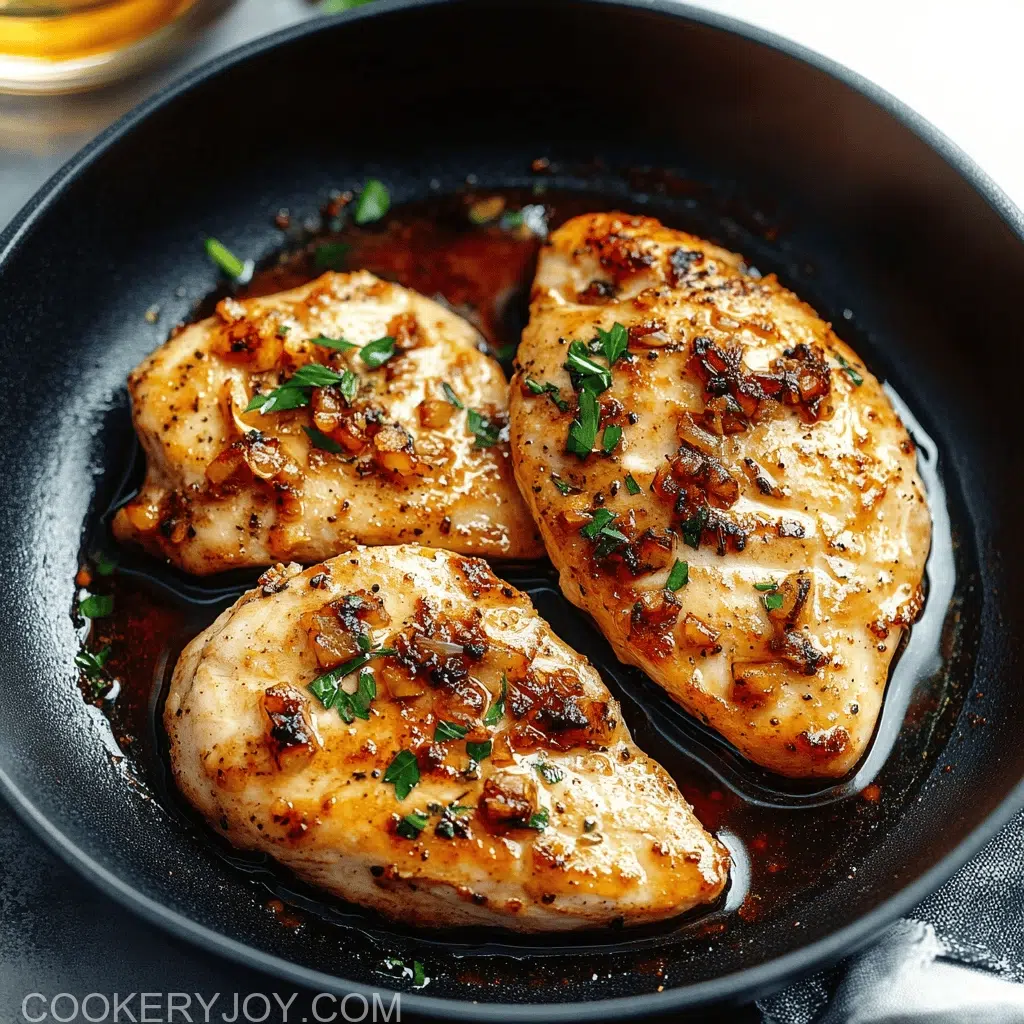
Finishing Touches and Serving
When your chicken is cooked through, take it out of the oven. The aroma is incredible! Don’t let that leftover butter sauce go to waste. Use a spoon to drizzle some of it over each chicken breast. This adds extra moisture and flavor. If you like, sprinkle with more fresh herbs. Let it rest for a few minutes. This helps the juices redistribute. Then, it’s ready to serve. Enjoy your perfect Garlic Butter Baked Chicken Breast! It’s simply delicious.
How to Store Garlic Butter Baked Chicken Breast
You’ve made this amazing Garlic Butter Baked Chicken Breast. Now, what about leftovers? Good news! This chicken stores beautifully. First, let it cool completely. Then, place the chicken in an airtight container. I really love using glass containers for this. They don’t hold onto smells. They’re also super easy to clean. Your delicious chicken will stay fresh. It will last up to 4 days in the fridge. For longer storage, you can freeze it. It keeps well for up to three months. I often shred or dice it before freezing. This makes it so convenient later. Just thaw and reheat for another quick meal. Reheating is a breeze too. Just pop it in the microwave. Add a damp paper towel on top. This keeps the chicken moist. It truly helps retain that wonderful juiciness.
Tips for Success
Want this Garlic Butter Baked Chicken Breast to be perfect every time? Here are my top tips:
- Pat the chicken very dry before seasoning. It helps with a great sear.
- Don’t overcrowd your skillet when searing. Cook in batches if needed.
- Use a meat thermometer! This ensures juicy chicken, never dry.
- Let the cooked chicken rest a few minutes before slicing it. Juices need to settle.
- Don’t skip the fresh garlic; it makes all the difference here.
- Always check your oven’s temperature for accuracy.
- Adjust seasoning to your taste preferences.
Kitchen Tools You’ll Need
To make this wonderful Garlic Butter Baked Chicken Breast, grab a few essentials:
- Cast Iron Skillet: Ideal for searing and baking.
- Small Mixing Bowl: For whisking up that amazing garlic butter.
- Whisk or Fork: To blend your butter mixture perfectly.
- Meat Thermometer: Your best friend for perfectly cooked chicken.
- Tongs: Great for flipping chicken safely.
- Cutting Board: For prepping your chicken and herbs.
Serving Suggestions
This amazing Garlic Butter Baked Chicken Breast pairs perfectly with so many things. Here are some of my favorite ideas:
- Serve it with fluffy mashed potatoes.
- A fresh green salad provides a nice contrast.
- Steamed or roasted vegetables are always a win.
- Garlic bread or crusty rolls are great for soaking up sauce.
- Try it with simple rice pilaf.
- A glass of crisp white wine tastes lovely.
Frequently Asked Questions
Can I prepare the Garlic Butter Baked Chicken Breast ahead of time?
Absolutely! You can mix the garlic butter sauce a day or two in advance. Store it in the fridge. You can also season the chicken breasts. Just keep them covered in the refrigerator until ready to sear. This makes dinner prep even faster.
What if I don’t have a cast iron skillet for this Garlic Butter Baked Chicken Breast recipe?
No worries at all! You can sear the chicken in any oven-safe skillet on the stovetop. Then, transfer the chicken to a regular baking dish. Pour the garlic butter over top. Then, bake it as directed. Your Garlic Butter Baked Chicken Breast will still be super delicious.
How do I know when my Garlic Butter Baked Chicken Breast is fully cooked?
The best way is to use a meat thermometer. Insert it into the thickest part of the chicken. It should read an internal temperature of 165°F. This ensures your chicken is safe to eat. Plus, it guarantees a juicy and tender result.
Can I use chicken thighs instead of breasts for this recipe?
Yes, you certainly can! Chicken thighs work wonderfully with this Garlic Butter Baked Chicken Breast method. They may need a little longer to cook through. Just ensure they reach 165°F internal temperature. Thighs are also very forgiving for new cooks.
Print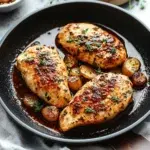
Garlic Butter Baked Chicken Breast
- Cook Time: 20-30 minutes
- Total Time: 0 hours
- Method: Baking, Searing
Description
This recipe outlines how to prepare juicy and flavorful garlic butter baked chicken breasts, seared first for a golden crust and then baked until perfectly cooked.
Ingredients
- 3 boneless skinless chicken breasts
- salt (to taste)
- black pepper (to taste)
- ½ + ¼ teaspoon paprika
- 4 tbsp butter (melted)
- 1 teaspoon Italian seasoning
- 1 tablespoon fresh parsley chopped
- 2 cloves of garlic minced
- 1 tbsp. olive oil extra virgin
Instructions
- Preheat oven to 400°F. Season chicken breast with salt, pepper, 1/2 teaspoon of paprika and set aside.
- In a small bowl mix 1/4 teaspoon of paprika, butter, Italian seasoning, parsley, and garlic. Set aside.
- In a cast iron skillet, heat olive oil over medium heat. When the skillet is hot add chicken breast. Sear until golden. It’s about 1-2 minutes each side.
- Pour garlic butter mixture over the chicken breast. Place skillet in the oven and cook until cooked through. It’s about 20-30 minutes or until chicken breasts gets to an internal temperature of 165F.
- Remove from the oven. Using a spoon, pour some of the butter sauce left in the skillet onto the chicken breast. Also, if you prefer, top with fresh herbs before serving.
Notes
- To Store: Let the chicken cool, then place it in an airtight container. I prefer using glass containers because they don’t retain smells and are easier to clean. The leftover chicken will last up to 4 days in the fridge.
- To Freeze: You can freeze it for up to three months. For convenience, I suggest shredding, dicing, or slicing the chicken before freezing.
- To Reheat: Microwave them with a damp paper towel over top the container to keep it moist.