
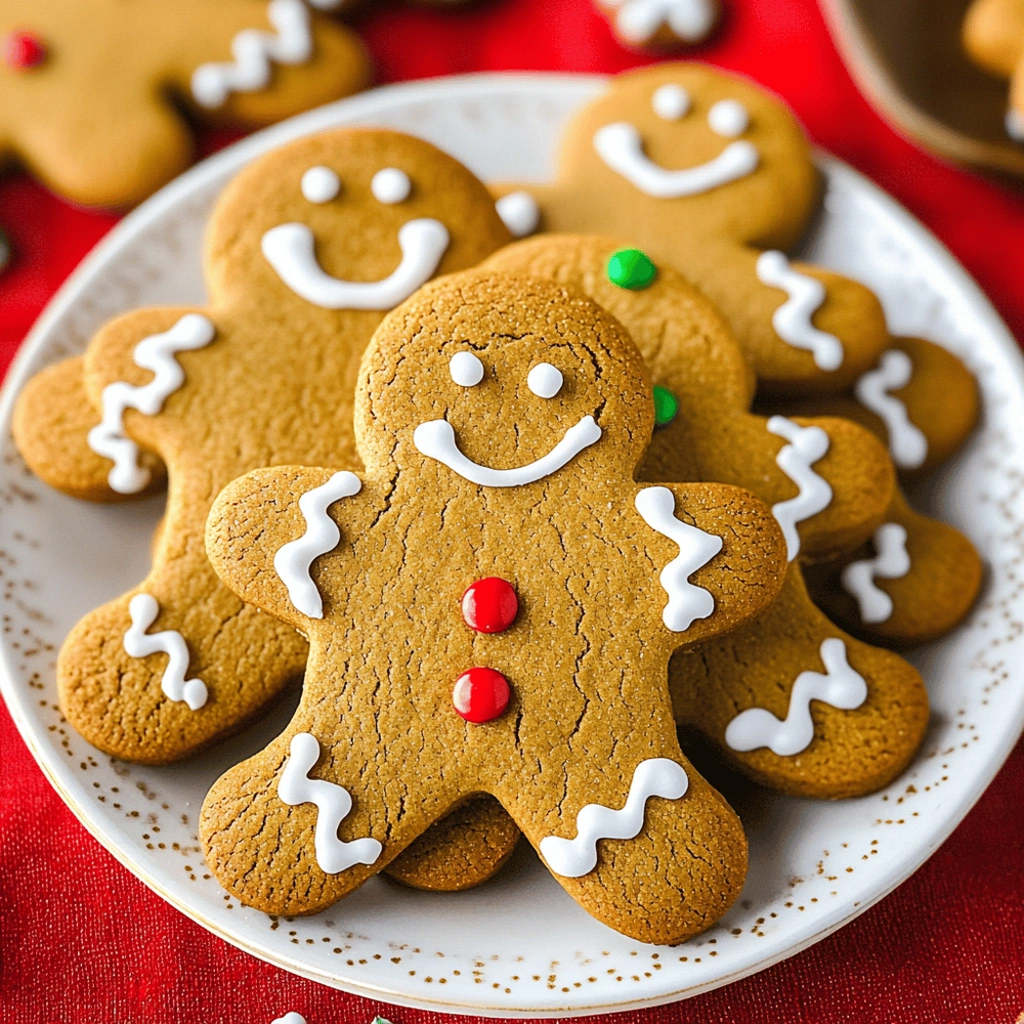
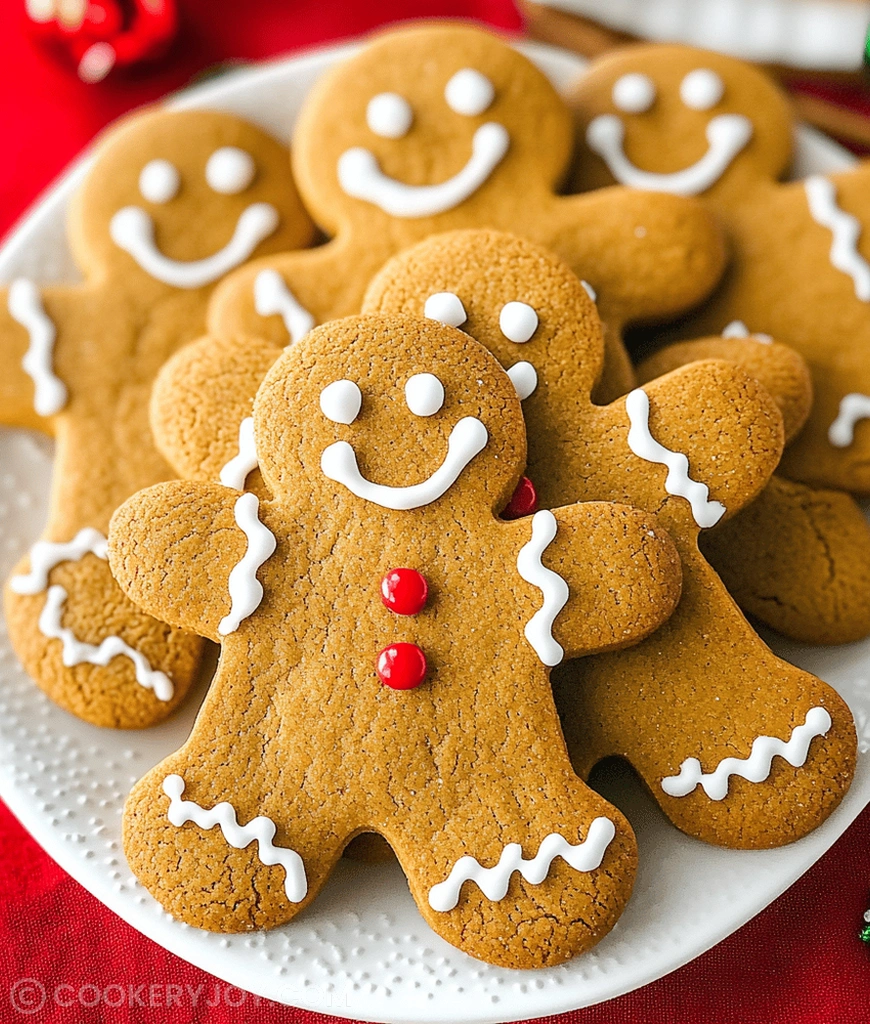
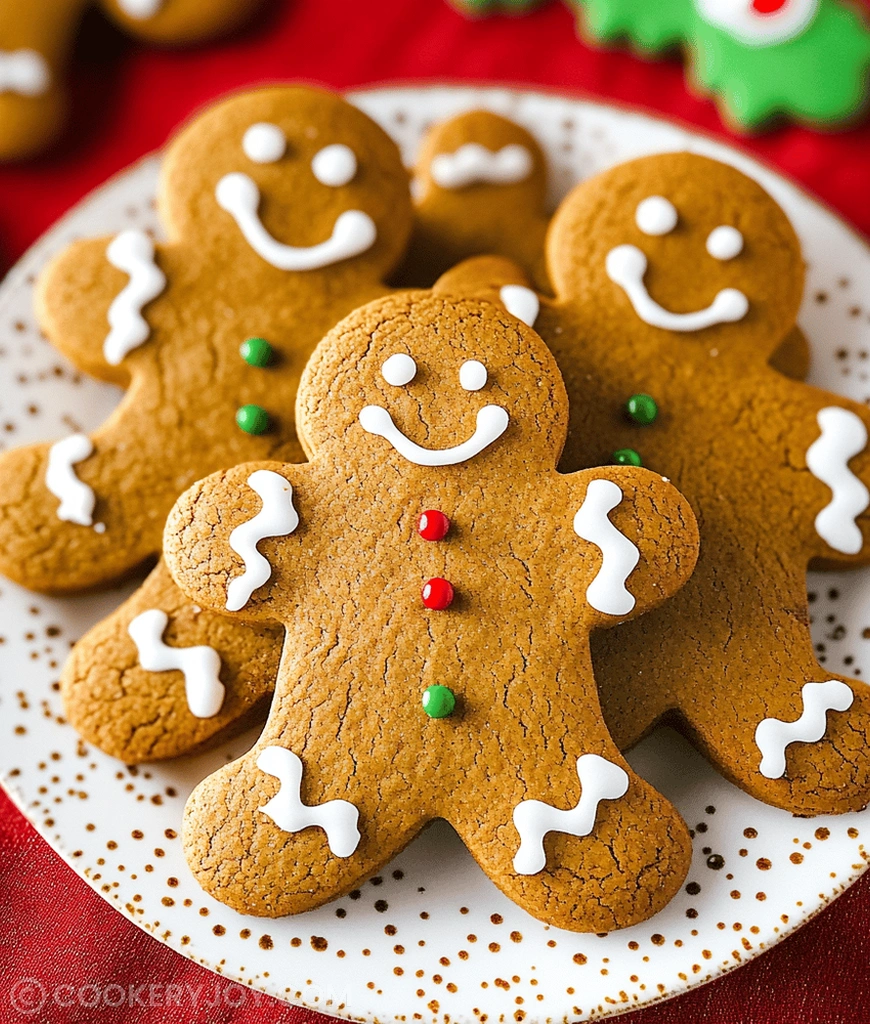
I think traditional spiced cookies are pure kitchen magic. This recipe for gingerbread cookies yields shapes that stand up beautifully. The secret truly lies in that perfect balance of warm ginger and rich molasses. These treats carry a comforting scent throughout the house.
My family begs for these spicy favorites every fall. They store wonderfully for weeks in an airtight container. Making these classic holiday staples is simpler than you might think. Let’s get started on these deeply flavorful spiced cookies.
Why I Love This Recipe
Honestly, I adore these gingerbread cookies because they are surprisingly sturdy. They hold their intricate cut-out shapes so well. Plus, the spice blend is truly intoxicating while baking.
- Easy Handling: Chilled dough rolls out like a dream.
- Crowd Pleaser: Everyone loves that festive, warm flavor.
- Great for Gifting: They travel well for neighborly treats.
You just cannot beat the aroma filling your home right now. These are worth every minute of the chilling time we spend waiting.
Gingerbread cookies Ingredients
Gathering these spices feels like opening a treasure chest of winter warmth. This combination creates the quintessential deep, aromatic flavor profile people expect. Molasses and dark brown sugar work together beautifully here.
We need flour for structure, acting as our reliable foundation. Baking soda helps these lovely gingerbread cookies achieve a slight lift. Salt balances out the sweetness, which is super important. Ginger, cinnamon, and cloves provide that signature spicy backbone. Nutmeg adds a layer of cozy depth to the mix. Butter and brown sugar give us richness and tenderness. The egg acts as a binder, holding everything together neatly. Finally, molasses truly defines the color and robust taste.
Substitutions and Tips
Feel free to adjust your spice levels slightly. Some folks prefer more cinnamon than cloves, for instance. If you lack dark brown sugar, use light brown sugar instead. Know that the color will be a bit paler. For a dairy-free option, substitute the butter with a high-quality plant-based baking stick. Meringue powder is often easier than raw egg whites for the royal icing. Furthermore, a tiny splash of orange zest boosts the overall citrus brightness. Store your finished gingerbread cookies airtight for maximum freshness. Remember, the precise amounts are right there on your recipe card below.
Kitchen Tools You’ll Need
Gathering your equipment first makes this process smooth sailing. Believe me, having the right tools ready is half the battle won.
- Large mixing bowls for combining ingredients well.
- Electric mixer to efficiently cream butter and sugar together.
- Rolling pin for achieving that consistent 1/4-inch thickness you need.
- Assortment of cookie cutters for fun shapes, obviously.
- Baking sheets lined with parchment paper for easy cleanup.
- Wire cooling racks speed up the necessary cooling period.
How to Make Gingerbread cookies
Follow these simple steps for phenomenal results every time. We are aiming for wonderfully spiced cookies that bake perfectly. Preparation is key to successful baking.
Preparing the Dry Mix
Grab your largest mixing bowl now. Whisk the flour and all the dry spices together. Be sure to mix in the baking soda and the salt too. This step distributes everything evenly throughout the base flour. Well-mixed dry goods ensure consistent texture later on.
Creaming Butter and Sugar
Next, use a separate large bowl for creaming. Beat your softened butter and dark brown sugar well. You want this mixture to become genuinely light and fluffy. This process whips air into the dough structure. Good creaming leads to better cookie texture overall.
Incorporating Wet Ingredients
Now it is time to add the liquid flavor bombs. Beat in the egg gently until it disappears into the mix. Next, stream in the molasses slowly and evenly. Finally, add your vanilla extract for aroma. Mix until everything blends together nicely.
Forming the Stiff Dough
We must now combine everything we prepared. Add the dry ingredients to the wet mixture in small batches. Keep your mixer running on a low speed. Stop mixing just when a very stiff dough starts to form. Resist the urge to overmix this final dough batch.
Essential Dough Chilling
This step is absolutely non-negotiable for success here. Divide the stiff gingerbread cookies dough into two equal parts. Flatten each part into a thick disk shape. Wrap each disk tightly in plastic wrap securely. Refrigerate these disks for a minimum of two hours total.
Rolling and Cutting Shapes
Go ahead and preheat your oven to 350 degrees Fahrenheit. Line your baking sheets with parchment paper first. Lightly flour your clean work surface very well. Roll one chilled dough disk out to about a quarter-inch thick. Use your favorite cookie cutters to make shapes now. Place the cut-outs one inch apart on the trays.
Baking the Perfect Spiced Cookies
Bake your wonderfully spiced cookies for eight to ten minutes straight. Watch the edges closely for light browning. Edges firming up signals they are almost ready for removal. Do not bake them past this point for best flavor.
Cooling and Preparing for Decoration
Let the cookies rest on the hot baking sheets. Give them about five minutes there to set up nicely. Then, transfer them very carefully to a wire rack to cool completely. You must let them reach room temperature before icing them.
Making the Optional Royal Icing
Gather your egg white (or meringue powder) for this part. Beat the egg white until it looks quite frothy. Slowly incorporate the powdered sugar bit by bit. Add the lemon juice or vanilla right at the end now. Beat until you reach stiff, piping peaks for decorating.
How to Store Gingerbread cookies
Proper storage keeps these gingerbread cookies fresh for ages. Store cooled, undecorated cookies in an airtight container. They easily last for two weeks stored at room temperature. If you have iced them, allow icing to fully harden first. For longer freshness, you can also freeze them well. Wrap tightly in plastic wrap, then foil for best results. These spiced cookies freeze beautifully for up to three months.
Tips for Success
Mastering these classic gingerbread cookies is simpler than you think. Following a few key steps guarantees perfect, sturdy shapes every time.
- Ensure your butter is perfectly softened, not melted, for creaming.
- Do not skip the required two-hour chilling time for the dough.
- Keep your rolling surface lightly floured to prevent sticking issues.
- For easy transfer, chill cut-out shapes on the sheet briefly.
- Use quality ingredients, especially the molasses, for bold flavor.
- Rotate your baking sheets halfway through for even baking results.
Serving Suggestions
These wonderful gingerbread cookies pair well with lots of things. Think about presentation for maximum enjoyment.
- Serve alongside mugs of hot tea or strong coffee.
- A glass of cold milk is always a classic pairing option.
- Dust lightly with powdered sugar just before presenting them.
- Arrange them artfully on a tiered serving platter for guests.

Gingerbread cookies
- Prep Time: 20 minutes (plus 2 hours chilling time)
- Cook Time: 8-10 minutes per batch
- Total Time: 2 hours 30 minutes (minimum)
- Yield: Varies based on cookie cutter size
- Category: Dessert, Cookies
- Method: Baking
- Cuisine: American/European
- Diet: Vegetarian
Description
A classic recipe for making traditional gingerbread cookies, complete with instructions for optional royal icing decoration.
Ingredients
- 3 cups all-purpose flour
- 1 teaspoon baking soda
- 1/2 teaspoon salt
- 1 tablespoon ground ginger
- 1 teaspoon ground cinnamon
- 1/2 teaspoon ground cloves
- 1/4 teaspoon ground nutmeg
- 1/2 cup (1 stick) unsalted butter, softened
- 1/2 cup packed dark brown sugar
- 1 large egg
- 1/2 cup molasses
- 1 teaspoon vanilla extract
- For Royal Icing (optional):
- 1 large egg white or 2 tablespoons meringue powder
- 2 cups powdered sugar
- 1 teaspoon lemon juice or vanilla extract
Instructions
- In a large bowl, whisk together the flour, baking soda, salt, ginger, cinnamon, cloves, and nutmeg.
- In a separate large bowl, cream together the softened butter and brown sugar until light and fluffy.
- Beat in the egg, molasses, and vanilla extract until well combined.
- Gradually add the dry ingredients to the wet ingredients, mixing on low speed until just combined and a stiff dough forms.
- Divide the dough in half, flatten each half into a disk, wrap in plastic wrap, and refrigerate for at least 2 hours (or up to 2 days).
- Preheat oven to 350°F (175°C). Line baking sheets with parchment paper.
- On a lightly floured surface, roll out one disk of chilled dough to about 1/4-inch thickness. Use cookie cutters to cut out desired shapes.
- Place cookies about 1 inch apart on the prepared baking sheets.
- Bake for 8-10 minutes, or until the edges are firm and lightly browned.
- Let cookies cool on the baking sheets for 5 minutes before transferring to a wire rack to cool completely.
- For Royal Icing: If using egg white, beat egg white until frothy. Gradually add powdered sugar and lemon juice (or vanilla), beating until stiff peaks form. If using meringue powder, combine meringue powder with 4 tablespoons warm water, beat until foamy, then gradually add powdered sugar and lemon juice/vanilla, beating until stiff peaks. Decorate cooled cookies as desired.
Notes
- Chilling the dough for at least 2 hours is crucial for easy handling and shape retention during baking.
- If the dough becomes too hard after refrigeration, let it sit at room temperature for 5-10 minutes before rolling.
- Baking time may vary based on cookie thickness and oven calibration.


