
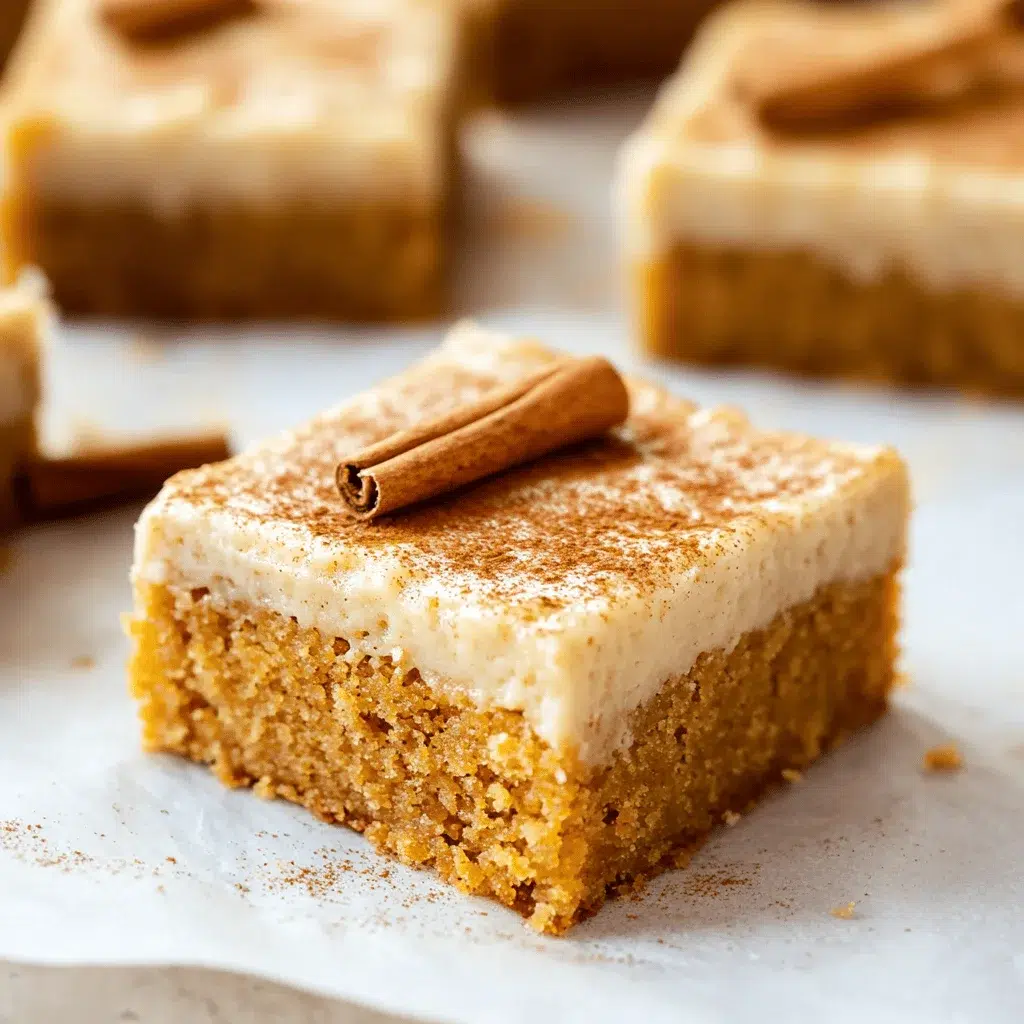
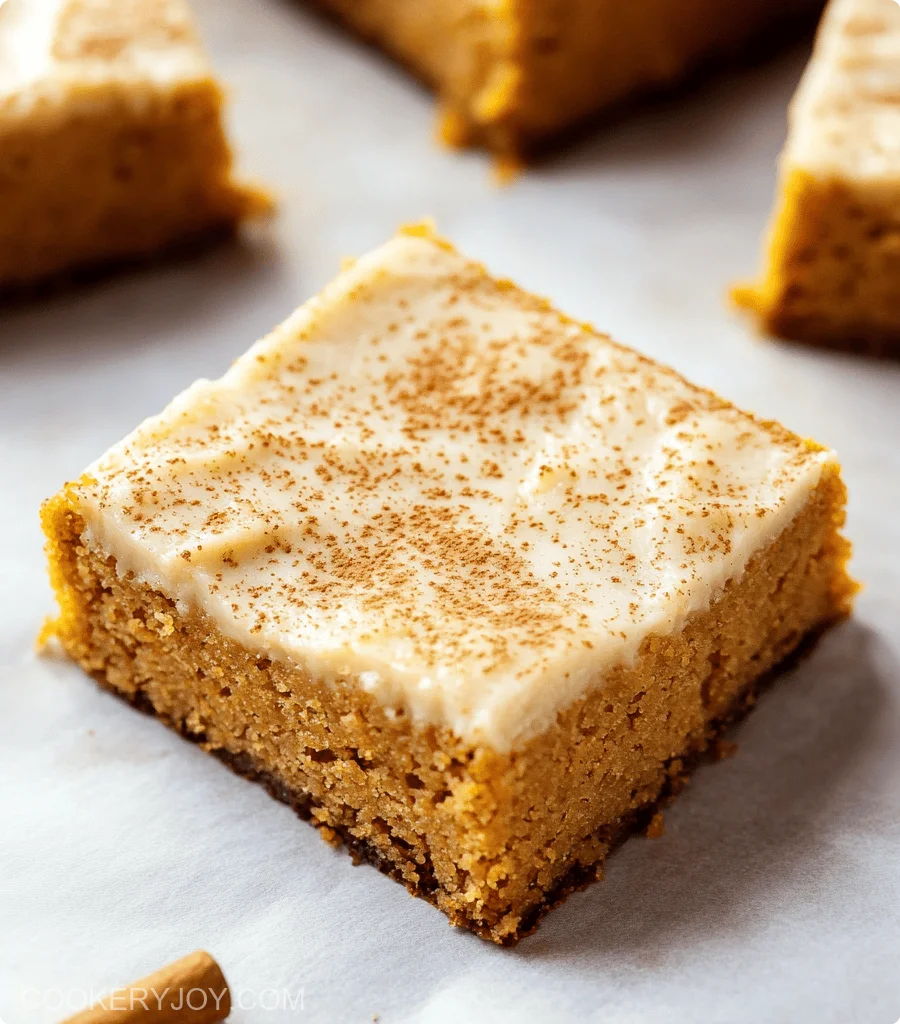
There’s a special kind of magic that happens when fall rolls around. The air gets crisp. Leaves turn vibrant colors. My kitchen starts smelling like pure comfort. These Gluten-Free Pumpkin Bars capture that feeling perfectly. They are wonderfully moist and tender. The spice blend is spot-on. You’ll love the sweet cream cheese frosting, too.
Honestly, I love making these when I need a quick treat. It’s a fantastic way to use up pumpkin puree after Halloween or Thanksgiving. They store well, too. My family always devours them, asking for seconds. They’re a guaranteed hit at any gathering, actually.
Why I Love This Recipe
These gluten-free pumpkin bars are a lifesaver for busy days. They’re incredibly simple. You can whip them up fast. The flavor is pure autumn bliss. Plus, the cream cheese frosting is dreamy! They’re perfect for:
Quick weeknight treats.
Impressing guests easily.
That cozy, comforting fall taste.
This recipe just makes baking feel effortless and delicious all season long.
Gluten-Free Pumpkin Bars Ingredients
The magic of these gluten-free pumpkin bars truly starts with their ingredients. It’s a simple symphony of fall flavors that just work beautifully together. Combining pantry staples with seasonal pumpkin creates something truly special. You’ll find everything you need right here for this delicious fall baking adventure.
Here’s a peek at what makes these bars so wonderful:
* Gluten-Free Flour: The base for our bars, ensuring a tender crumb without the gluten.
* Baking Powder: Our leavening agent, giving the bars a nice lift.
* Salt: Balances the sweetness and enhances all the other flavors.
* Pumpkin Pie Spice & Cinnamon: These spices are the heart of fall! They bring that warm, cozy aroma and taste.
* Pumpkin Puree: The star ingredient, bringing moisture and that signature pumpkin flavor.
* Milk: Adds a touch of moisture for an even better texture.
* Vanilla Extract: A classic flavor enhancer that rounds out the taste.
* Large Eggs: Bind everything together and contribute to the bar’s structure.
* White and Brown Sugar: Provide sweetness and moisture, with brown sugar adding a subtle caramel note.
* Vegetable Oil: Keeps our bars super moist and tender.
* Butter & Cream Cheese (for frosting): The foundation of our luscious, tangy cream cheese frosting.
* Powdered Sugar (for frosting): Sweetens and thickens the dreamy frosting.
Substitutions and Tips
Don’t have pumpkin pie spice? Make your own blend with cinnamon, ginger, nutmeg, and cloves. Ensure your pumpkin puree is 100% pumpkin, not pumpkin pie filling. For an extra flavor boost, you can add chopped pecans or walnuts to the batter. And remember, all the exact measurements are waiting for you in the printable recipe card!
How to Make Gluten-Free Pumpkin Bars
Making these gluten-free pumpkin bars is a breeze. Follow these simple steps. You’ll have a delicious fall treat in no time. These bars are perfect for any occasion.
Prepare Your Baking Station
First things first, get your kitchen ready. Preheat your oven to 375 degrees Fahrenheit. Then, you’ll want to grease an 11×15 inch cake pan. This step is crucial. It prevents your yummy bars from sticking. I like to line mine with parchment paper too. It makes cleanup even easier.
Combine the Dry Ingredients
Grab a large mixing bowl. This is where the dry goodness happens. Add your gluten-free flour. Next, you’ll add baking powder. Don’t forget the salt. Now, toss in the pumpkin pie spice. Finally, add the ground cinnamon. Whisk these ingredients together. Make sure they are well combined. This ensures even flavor distribution.
Mix the Wet Ingredients
In a separate bowl, combine your wet ingredients. Start with that lovely canned pumpkin puree. Pour in your milk. Add the vanilla extract. Next, crack in your three large eggs. Then, measure out your white sugar. Add the brown sugar, too. Pour in the vegetable oil. Mix everything until it’s smooth.
Bring It All Together
Time to unite the wet and dry. Gradually add the dry mixture to the wet ingredients. Use a mixer or a sturdy spatula. Mix until just combined. Be careful not to overmix. Overmixing can make baked goods tough. You want a smooth, lovely batter.
Bake to Perfection
Pour the batter into your waiting cake pan. Spread it out evenly. Bake for about 25 to 30 minutes. You’ll know they’re ready when a toothpick comes out clean. Check the center of the bars. This ensures they are cooked through.
Cool Completely
This step is vital, trust me! Let the pumpkin bars cool completely in the pan. Rushing this can lead to a frosting disaster. A warm bar will melt your beautiful cream cheese topping. Patience here really pays off. Let them cool on a wire rack.
Craft the Cream Cheese Frosting
Now for the best part – the frosting! Get a clean bowl for your mixer. Add softened butter and softened cream cheese. Beat them together until creamy. A stand mixer or hand mixer works well here. Then, gradually add the powdered sugar. Add the remaining vanilla extract too. Beat until everything is smooth and fluffy. Don’t stop until all sugar is incorporated.
Frost and Chill
Once the bars are totally cool, spread the frosting. Use an offset spatula for an even layer. Make it look pretty! For an extra touch, you can dust them with cinnamon. Then, refrigerate the bars for 30 to 60 minutes. This helps the frosting set. It makes slicing much cleaner. Enjoy your delicious gluten-free pumpkin bars!
Print
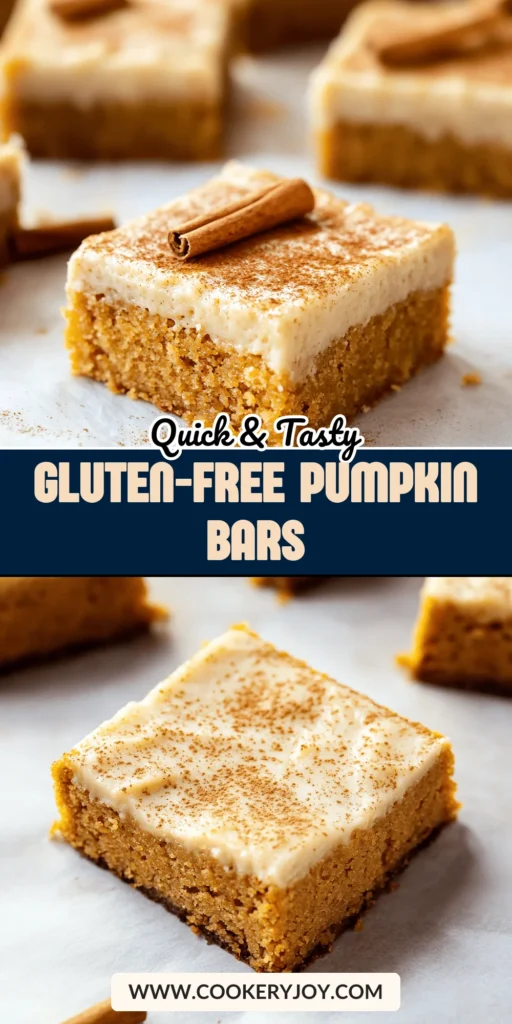
Gluten-Free Pumpkin Bars
- Prep Time: 15 minutes
- Cook Time: 30 minutes
- Total Time: 45 minutes
- Yield: 12-16 servings
- Category: Dessert
- Method: Baking
- Cuisine: American
- Diet: Gluten Free
Description
Delicious and easy gluten-free pumpkin bars topped with a creamy cream cheese frosting.
Ingredients
- 2 cups gluten-free flour
- 2 tsp baking powder
- ½ tsp salt
- 1 tbsp pumpkin pie spice
- 1 tsp ground cinnamon
- 1 can (15oz) pumpkin puree
- ¼ cup milk
- 2 tsp vanilla extract
- 3 large eggs
- ½ cup white sugar
- ½ cup brown sugar, lightly packed
- ⅔ cup vegetable oil
- ½ cup butter softened
- 8 oz cream cheese, softened
- 3 cups powdered sugar
- 1 tsp vanilla extract
Instructions
- Preheat the oven to 375ºF and grease an 11×15 inch cake pan.
- In a large mixing bowl combine the flour, baking powder, salt, pumpkin pie spice, and cinnamon.
- In a separate bowl combine the pumpkin puree, milk, vanilla extract, eggs, sugars, and oil.
- Add the dry mixture to the wet ingredients and mix well to combine.
- Pour the batter into the greased pan and bake for 25-30 minutes or until a toothpick inserted in the middle comes out clean.
- Cool completely before frosting.
- To make the cream cheese frosting beat together the butter with the cream cheese until combined. You can use a stand or a hand mixer.
- Add the powdered sugar and vanilla and beat until all the sugar is well incorporated and the frosting is smooth and creamy.
- Smooth the frosting over the cooled pumpkin bars and refrigerate for 30-60 minutes before slicing and serving.
- To make the bars more pretty you can dust them with some ground cinnamon.
Notes
- Dust with ground cinnamon for a prettier presentation.
How to Store Gluten-Free Pumpkin Bars
Proper storage is key. It keeps these delicious gluten-free pumpkin bars tasting fresh. You’ll want to store them correctly for the best flavor. This ensures they remain a delightful treat. Refrigeration is usually best. This helps the cream cheese frosting stay firm. It prevents spoilage too. You can keep frosted bars in an airtight container. I usually aim for the fridge. They should stay good for about 3 to 4 days. If you like to make them ahead, this is perfect. Just make sure the container seals well. This keeps out unwanted fridge odors. Unfrosted bars can last a bit longer. They can be stored at room temperature. I’d still use an airtight container, though. Remember, these are best enjoyed when they’re fresh. So, enjoy them within a few days.
Tips for Success
- Ensure your pumpkin puree is pure pumpkin.
- Don’t overmix the batter.
- Let bars cool completely before frosting.
- Soften butter and cream cheese fully.
- Use room temperature ingredients for frosting.
- Chill bars to set frosting for clean cuts.
Kitchen Tools You’ll Need
- Mixing Bowls: Any bowls will do.
- Whisk: A fork works in a pinch.
- Measuring Cups & Spoons: Essential for accuracy.
- Electric Mixer: Handheld or stand mixer. Use a whisk.
- 11×15 inch Cake Pan: A baking sheet works too.
- Spatula: For batter and frosting.
Serving Suggestions
- Dust with extra cinnamon.
- Serve with coffee or tea.
- A dollop of whipped cream is nice.
- Pair with a crisp apple cider for fall.
Frequently Asked Questions
Can I make these Gluten-Free Pumpkin Bars ahead of time?
Absolutely! You can bake these bars a day in advance. Store them unfrosted at room temperature. Once cooled, frost them the next day. This makes them perfect for planning parties.
What kind of pumpkin puree should I use for these bars?
Always use 100% pure pumpkin puree. Avoid pumpkin pie filling. Pie filling already has added sugar and spices. Puree gives you control over sweetness and flavor in your gluten-free pumpkin bars.
How can I ensure my Gluten-Free Pumpkin Bars are perfectly moist?
The oil and pumpkin puree are key. Make sure not to overbake them. A toothpick test is your best friend. Just bake until the toothpick comes out clean. This prevents them from drying out.
Can I freeze the frosted Gluten-Free Pumpkin Bars?
It’s generally best not to freeze the frosted bars. The cream cheese frosting can get a bit messy upon thawing. Unfrosted bars freeze well, though. Wrap them tightly after cooling. Then, frost them once thawed.


