
These delightful cookies bring such a cheerful spirit to any gathering. They offer a wonderfully soft, sugary bite, truly making them special. Making these Grinch Cookies brightens up the whole kitchen immediately. They are simple festive treats to assemble and make any holiday platter look fun and vibrant. They are also a lovely way to brighten an ordinary afternoon, and they store beautifully for later enjoyment.
Why I Love This Recipe
Speed matters when the holidays rush in, and these cookies come together faster than you might think. They are unbelievably easy for a quick weeknight baking session and have become a go-to favorite. Here is why this recipe stands out:
- Speedy prep: Mix, chill briefly, and bake.
- Crowd pleaser: Everyone smiles when they see these bright green cookies.
- Simple flavor: A classic, comforting sugar cookie base with a festive twist.
Quick Assembly for Busy Schedules
Life gets hectic, so recipes need to perform well without adding stress. This dough mixes up in under fifteen minutes, which is a huge help during busy seasons.
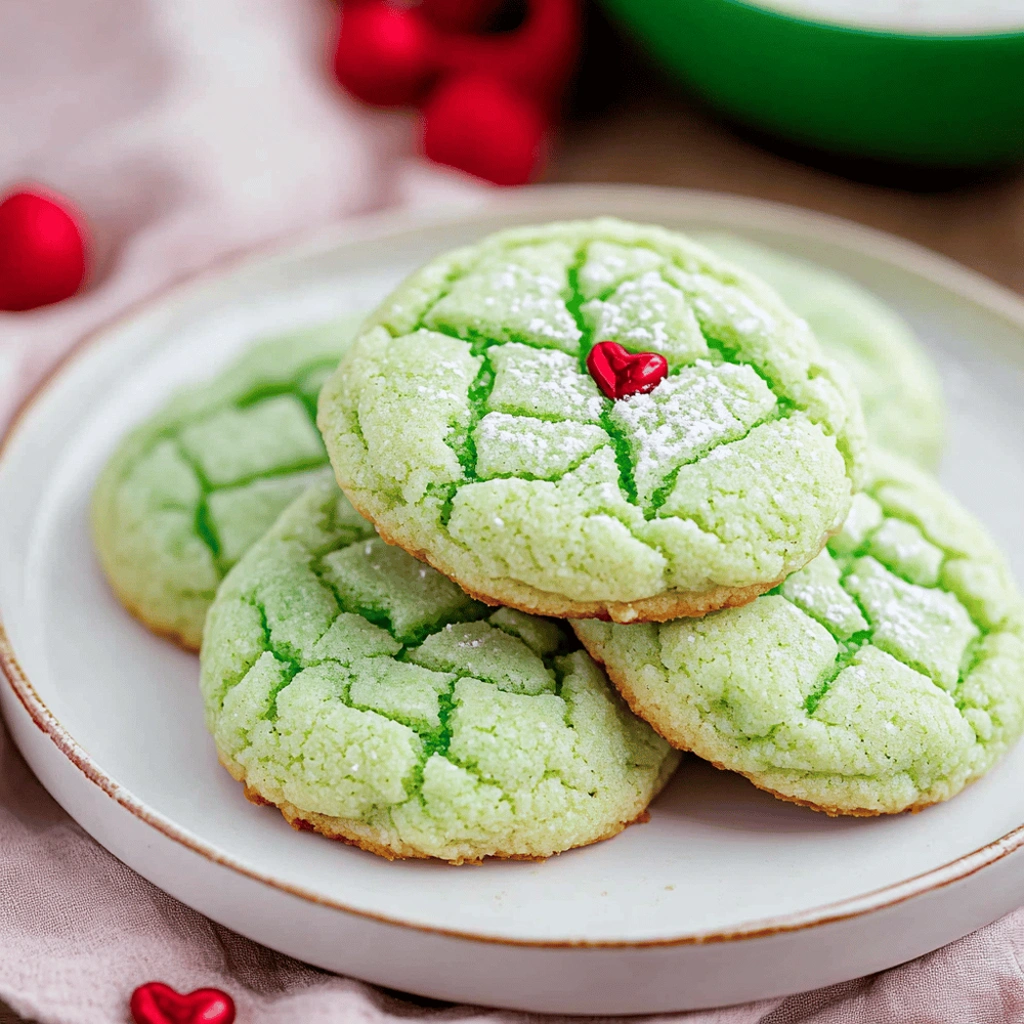
The Perfect Holiday Pop of Color
The bright green shade is eye-catching and instantly makes any cookie platter pop. The playful color brings out the kid in everyone, and the little red heart detail finishes them beautifully.
Grinch Cookies Ingredients
Putting together these festive sugar cookies feels like magic unfolding in a bowl. Pantry staples come together to create a tender, subtly sweet cookie base with reliable results every time. The texture and structure rely on a careful balance of fats and dry ingredients.
The Foundation of Our Grinch Cookies
Flour provides structure, while baking soda adds lift for a slight puff. Salt sharpens the sweetness in the dough. Softened butter with both white and brown sugars gives a rich, melt-in-your-mouth quality. Eggs bind everything together, and vanilla extract adds a comforting background flavor. Green food coloring, especially gel, delivers the vibrant hue, powdered sugar can be used for a coating, and tiny red heart sprinkles give the signature Grinch look.
Substitutions and Tips
If you are out of brown sugar, you can use all white sugar with a slight reduction. A pinch of almond extract adds extra flavor, and small red candies can replace heart sprinkles if needed. Gel food coloring is best for a bright green, and chilling the dough helps prevent spreading. Refer to the recipe card below for exact ingredient amounts.
Kitchen Tools You’ll Need
- Large and medium mixing bowls for combining ingredients.
- Electric mixer for creaming butter and sugars.
- Rubber spatula for scraping down the bowl.
- Baking sheets lined with parchment paper to prevent sticking.
- A small spoon or cookie scoop to portion the dough evenly.
How to Make Grinch Cookies
These cheerful holiday sugar cookies are straightforward to make. The goal is tender, soft cookies rather than flat discs, so simple mixing and careful timing are important.
Preparing the Dry and Wet Mixtures
In a medium bowl, whisk together flour, baking soda, and salt for even rising. In a large bowl, cream softened butter with both sugars until fluffy, then beat in the eggs one at a time. Stir in the vanilla extract until well combined.
Achieving the Signature Green Hue
Add green food coloring, preferably gel, to the wet mixture. Mix in the color gradually until the dough reaches a vibrant, festive green. Gently add the dry mixture to the wet mixture and mix just until no flour streaks remain.
Chilling the Dough for Best Results
Cover the dough tightly with plastic wrap and chill it in the refrigerator for at least thirty minutes. Chilling helps prevent the cookies from spreading too much. While the dough chills, preheat the oven to 375 degrees Fahrenheit and line baking sheets with parchment paper.
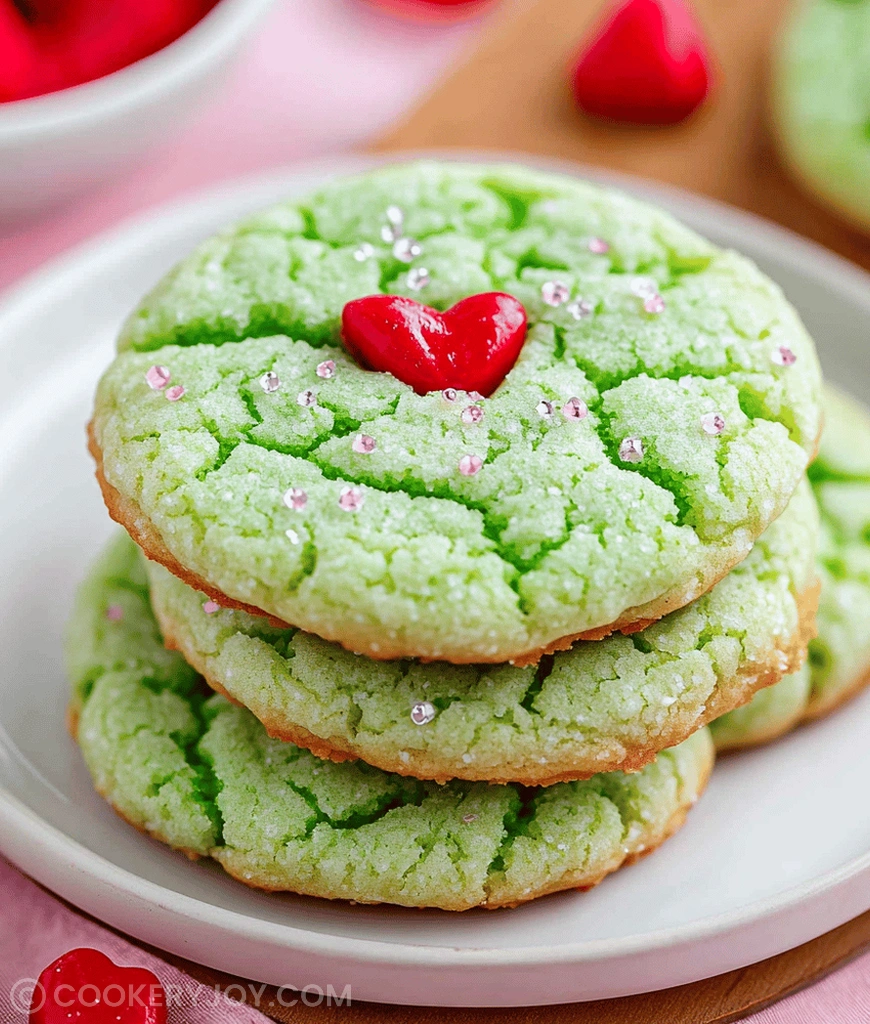
Baking and Cooling the Grinch Cookies
If using powdered sugar, place some in a shallow dish. Scoop dough into one-inch balls, roll lightly in powdered sugar for a crinkle effect, and space them about two inches apart on the baking sheets. Bake for eight to ten minutes, until the edges are just set, then let them rest briefly on the sheet before transferring to a wire rack to cool completely. Once cooled, gently press one red heart onto each cookie.
How to Store Grinch Cookies
Good storage keeps these bright treats fresh and protects their color and soft texture. They are best enjoyed within a few days, but they also freeze well for make-ahead baking.
Refrigerator Storage Guidelines
Store cooled cookies in an airtight container. They stay fresh at room temperature for about four days, or up to a week in the refrigerator if your kitchen is warm.
Freezing Your Holiday Treats
To freeze, place fully cooled cookies in a freezer-safe bag, separating layers with parchment paper. They keep well in the freezer for up to three months.
Tips for Success
- Use high-quality gel food coloring for a bright, true green.
- Ensure butter is softened, not melted, for proper creaming.
- Avoid overmixing once the flour is added to keep the texture tender.
- Chill the dough to prevent flat cookies.
- Bake only until the edges set so the centers stay soft.
- Let cookies cool slightly before removing them from the hot baking sheet.
Serving Suggestions
- Serve with hot cocoa for a cozy winter pairing.
- Arrange them on a platter with powdered donuts to mimic snow.
- Pair with strong black coffee or warm cider.
- Use small, colorful liners for an extra festive presentation.
- Place them alongside simple frosted sugar cookies so the green color stands out.
Grinch Cookies
- Prep Time: 20 minutes
- Cook Time: 8-10 minutes
- Total Time: Approx. 40 minutes (plus chilling time)
- Yield: About 2-3 dozen cookies (estimated)
- Category: Dessert/Holiday Baking
- Method: Baking
- Cuisine: American
- Diet: Vegetarian
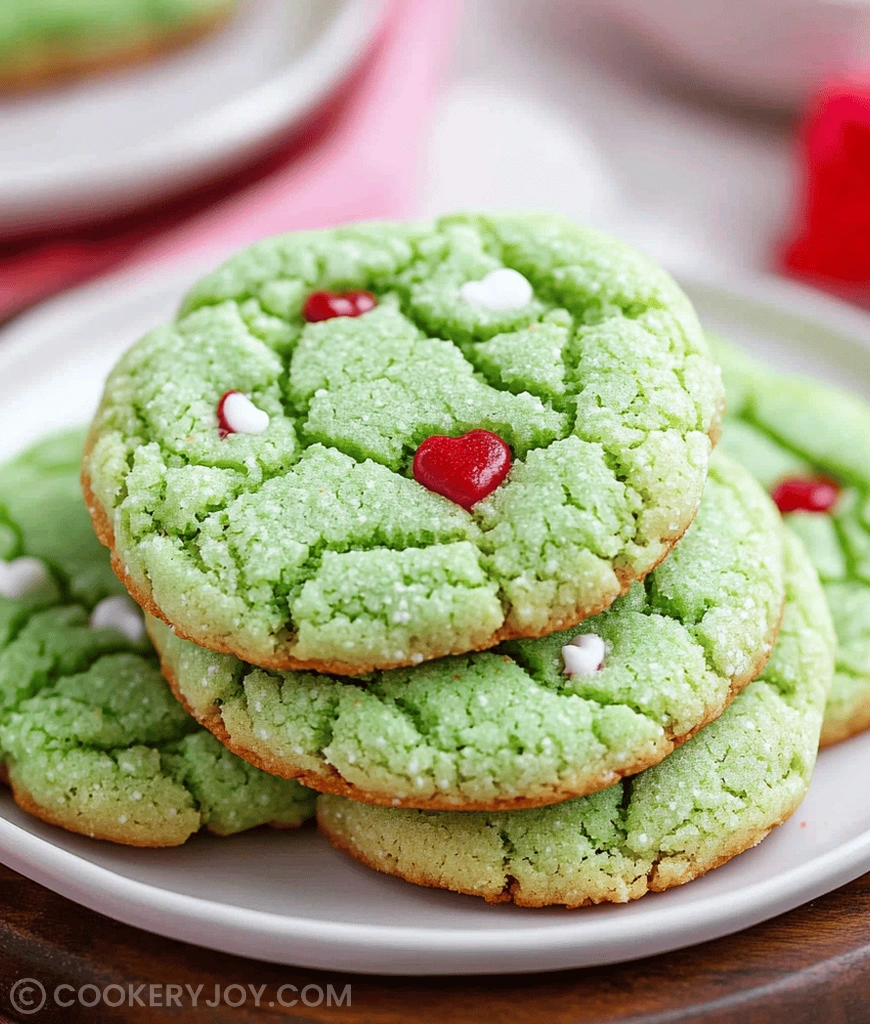
Description
A festive and fun cookie recipe resembling the Grinch, featuring a bright green color and a signature red heart detail.
Ingredients
- 2 1/4 cups all-purpose flour
- 1 tsp baking soda
- 1/4 tsp salt
- 1 cup (2 sticks) unsalted butter, softened
- 3/4 cup granulated sugar
- 1/2 cup packed light brown sugar
- 2 large eggs
- 1 tsp vanilla extract
- Green food coloring (gel works best)
- 1/2 cup powdered sugar (for rolling, optional)
- Red heart sprinkles (for decoration)
Instructions
- In a medium bowl, whisk together flour, baking soda, and salt.
- In a large bowl, cream together the softened butter, granulated sugar, and brown sugar until light and fluffy.
- Beat in the eggs one at a time, then stir in the vanilla extract.
- Add green food coloring until desired bright green color is achieved.
- Gradually add the dry ingredients to the wet ingredients, mixing until just combined.
- Cover the dough and chill in the refrigerator for at least 30 minutes.
- Preheat oven to 375°F (190°C). Line baking sheets with parchment paper.
- If using, place powdered sugar in a shallow dish. Roll spoonfuls of dough into 1-inch balls, then roll in powdered sugar to coat (this gives them a crinkle effect).
- Place dough balls 2 inches apart on the prepared baking sheets.
- Bake for 8-10 minutes, or until edges are set but centers are still slightly soft.
- Let cool on the baking sheets for a few minutes before transferring to a wire rack to cool completely.
- Once cooled, gently press a red heart sprinkle onto each cookie to resemble the Grinch’s heart.
Notes
- Gel food coloring is recommended for the most vibrant green color.
- Chilling the dough is crucial for preventing the cookies from spreading too much during baking.
- If skipping the powdered sugar roll, the cookies will still be delicious but lack the crinkle texture.


