Skip to content
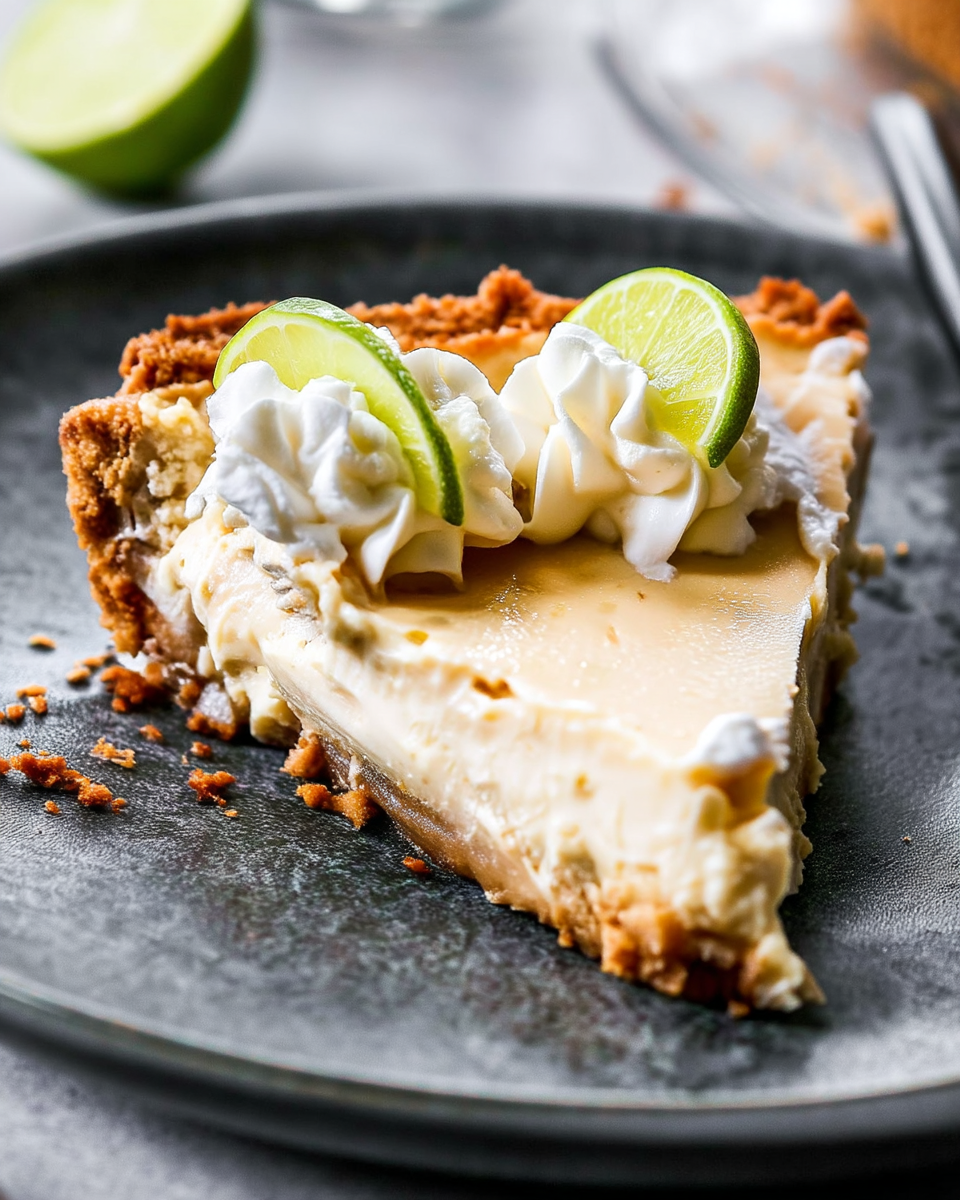
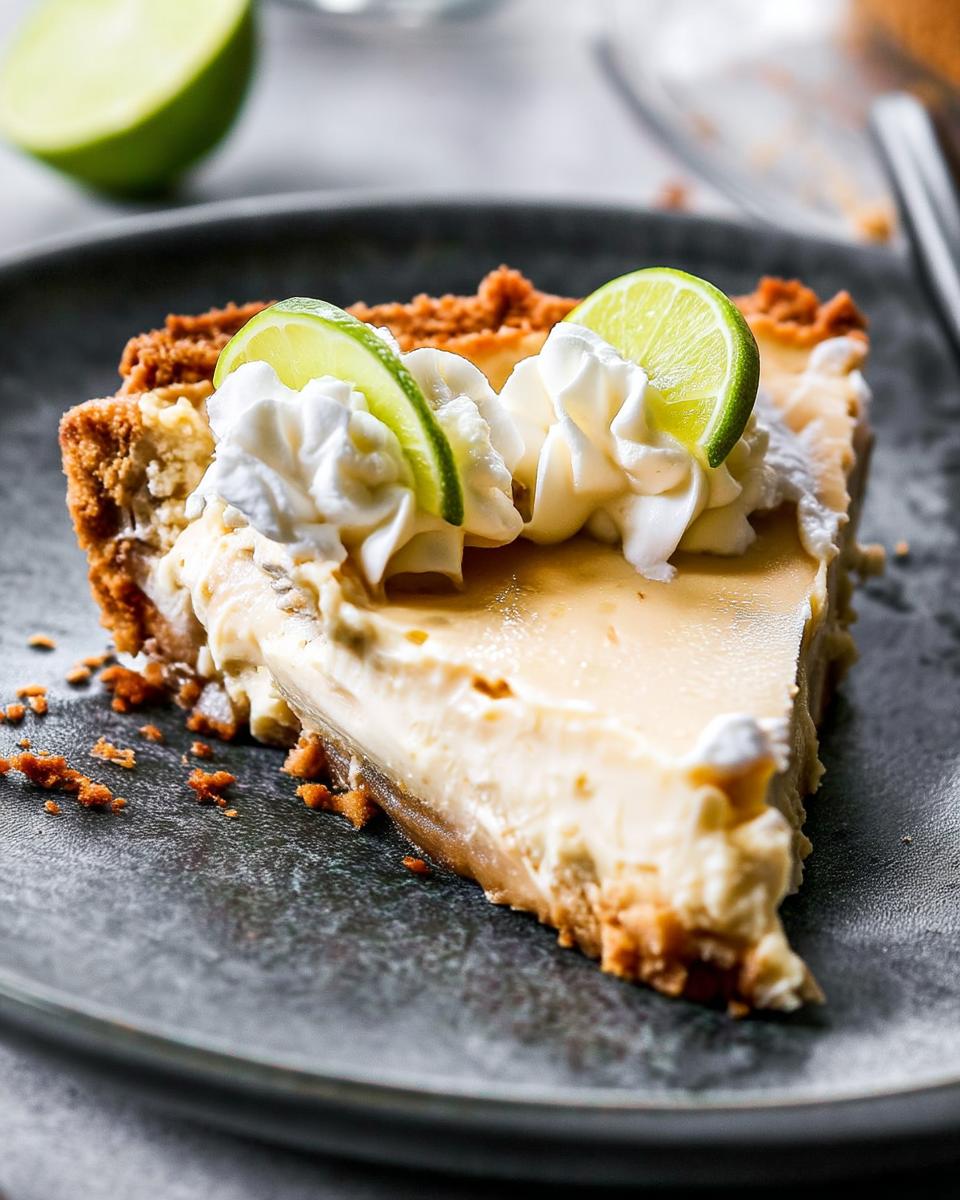
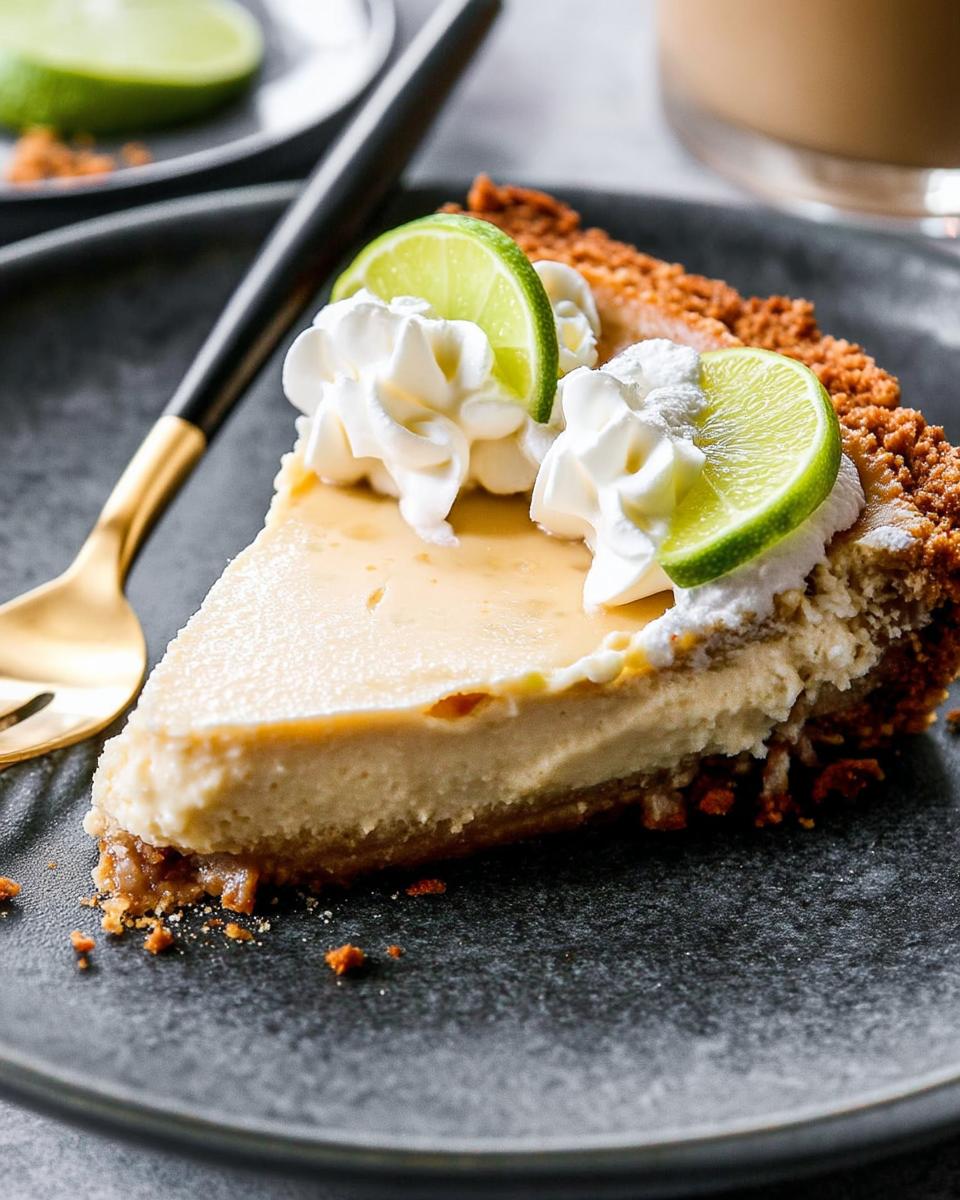
I love how the tangy brightness of fresh lime juice cuts through the creamy sweetness in this key lime pie with greek yogurt. It creates a dessert that feels light yet satisfying on a warm afternoon. The graham cracker crust gives a subtle crunch that complements the smooth, velvety filling. Greek yogurt adds a subtle tang and boosts the protein without overpowering the classic flavors. I bake it briefly to set the texture just right. Each slice turns out refreshing and easy to enjoy.
This pie fits seamlessly into my weekend gatherings or as a treat after a long day. I make it ahead and slice it straight from the fridge. Folks appreciate how the Greek yogurt delivers about 10 grams of protein per serving. It balances the indulgence with smarter eating. It reheats minimally if needed. But I find it best chilled for that firm, cool bite.
Why We Love This Recipe
- Tangy and Creamy: The combination of lime juice and Greek yogurt creates a bright, smooth filling that refreshes without being too heavy.
- Quick Assembly: It comes together in under 30 minutes of active time. This makes it ideal for home cooks juggling schedules.
- Protein Boost: Each serving packs 10 grams of protein from the Greek yogurt. It supports sustained energy alongside the dessert’s classic appeal.
- Versatile Treat: Enjoy it as a post-dinner finale or a midday pick-me-up. Optional toppings suit different tastes.
Ingredients to Make key lime pie with greek yogurt
The ingredients in this key lime pie with greek yogurt blend tart citrus notes with creamy elements. They create a balanced, zesty dessert. The yogurt highlights creaminess and nutrition. I opt for fresh limes to enhance the vibrant flavor. The Greek yogurt adds subtle thickness. Each serving delivers roughly 10 grams of protein from the yogurt.
- Graham cracker crumbs – They form the base of the buttery crust for a classic pie texture.
- Granulated sugar – It sweetens the crust lightly to complement the tangy filling.
- Unsalted butter – It binds the crumbs together when melted for a sturdy, golden edge.
- Sweetened condensed milk – It provides sweetness and creaminess to the filling without needing eggs.
- Plain Greek yogurt – It adds tang and protein while keeping the mixture light and smooth. Use full-fat or 2% for best results.
- Fresh key lime juice – It delivers the signature tartness. Substitute regular lime juice if key limes are unavailable.
- Key lime zest – It infuses bright citrus aroma. Grate more for garnish if desired.
- Whipped cream – Optional topping for extra lightness and visual appeal.
Each serving of this key lime pie with greek yogurt contains approximately 450 calories, 10g protein, 65g carbohydrates, 18g fat, and 45g sugar.
How to Make key lime pie with greek yogurt
Step 1: Preheat and Prepare the Crust
I preheat my oven to 350°F. Then, in a medium bowl, I combine the graham cracker crumbs, granulated sugar, and melted unsalted butter. I mix until the mixture resembles wet sand and holds together when pressed. I firmly press this crumb mixture into the bottom and up the sides of a 9-inch pie dish. This creates an even layer. I bake the crust for 8 to 10 minutes until it turns lightly golden. Then, I allow it to cool slightly on a wire rack while preparing the filling. This helps prevent sogginess.
Step 2: Mix the Filling
In a large bowl, I whisk together the sweetened condensed milk, plain Greek yogurt, fresh key lime juice, and grated key lime zest. I continue until the mixture becomes smooth and fully incorporated. I use just a hand whisk for simplicity. This step ensures the tangy flavors meld evenly without lumps in the creamy base. I pour the prepared filling directly into the slightly cooled graham cracker crust. Then, I spread it out gently for uniform coverage.
Step 3: Bake the Pie
I place the filled pie dish back into the preheated 350°F oven. I bake for 15 to 18 minutes. I watch closely so the edges firm up while the center retains a slight wobble for the ideal set texture. I avoid overbaking to keep the filling creamy rather than rubbery. This brief bake activates the setting without eggs. Once done, I remove the pie from the oven promptly to maintain its fresh, vibrant qualities.
Step 4: Cool and Chill
I let the pie cool completely on a wire rack at room temperature for at least one hour. This allows the flavors to settle and the structure to stabilize before refrigeration. Then, I loosely tent the pie with foil. I place it in the fridge for a minimum of three hours, or overnight if possible. This fully sets it into firm slices. The chilling enhances the refreshing contrast between the crisp crust and cool, tangy interior.
Step 5: Top and Serve
Before slicing, I add a dollop of whipped cream over the top if I like. I also sprinkle extra lime zest for a fresh, aromatic finish that brightens each piece. I use a sharp knife to cut the chilled pie into eight even servings. I wipe the blade between cuts for clean edges. I serve immediately to capture the dessert’s cool, creamy essence straight from the fridge.
Pro Tips for Success
- Fresh Citrus First: I squeeze key limes just before using to maximize their zesty punch. This avoids bitterness from oxidized juice.
- Crust Press Evenly: I use the bottom of a measuring cup to pack the crumbs tightly. This ensures the crust holds up to the moist filling without crumbling.
- Check Doneness Gently: I tap the pie dish lightly after baking. A subtle jiggle in the center means it’s set perfectly for that creamy texture.
- Boost Protein More: I swap in nonfat Greek yogurt if watching calories. It keeps the 10-gram protein level while lightening the overall profile for fitness goals.
How to Serve key lime pie with greek yogurt
Garnishes
I often finish this pie with a light dusting of extra lime zest right before serving. It adds a vibrant green fleck and intensifies the citrus aroma without extra sweetness. A few thin lime slices arranged around the edge provide a fresh, visual pop. This complements the pale filling nicely. For a subtle crunch, I scatter crushed graham cracker bits over the whipped cream topping. It echoes the crust’s texture.
Side Dishes
I pair slices with a small scoop of coconut sorbet on the side. It enhances the tropical notes in the lime, creating a cool, layered dessert experience. Fresh berries like raspberries offer a tart contrast. This balances the pie’s richness and makes it feel more refreshing during summer meals. A simple green salad with light vinaigrette works well too. It adds freshness to round out a lighter dinner spread.
Creative Ways to Present
I like presenting individual slices on chilled plates. I add a drizzle of honey around the base, which catches the light and adds a glossy touch to the golden crust. For gatherings, I arrange pieces on a tiered stand garnished with mint leaves. This evokes a pie shop vibe and encourages sharing. I cut into mini portions using a biscuit cutter for bite-sized treats at parties. It keeps the wobbly center intact for easy enjoyment.
Make Ahead and Storage
Storing Leftovers
I store any remaining slices of this pie covered with plastic wrap directly on the plate in the refrigerator. It keeps well for up to four days while maintaining its firm texture. This method prevents the whipped cream from absorbing odors. The chill helps the flavors deepen slightly over time. I just pull out a piece when I need a quick dessert fix.
Freezing
For longer storage, I wrap the whole chilled pie tightly in plastic wrap followed by aluminum foil. I place it in the freezer, where it can last up to two months without losing much of its creamy consistency. I thaw it overnight in the fridge before serving to avoid condensation that might soften the crust. This approach works great if I’m planning ahead for events.
Reheating
Since this pie is best served cold, I skip reheating altogether. But if I prefer it slightly warmed for a softer filling, I let a slice sit at room temperature for 10 minutes. For a gentle warm-up, I use the microwave on low power for 15 seconds, covering it loosely to retain moisture. In the oven at 300°F for five minutes with foil on top, it revives the crust’s crispness without drying out the center.
Print
High Protein Key Lime Pie with Greek Yogurt
- Prep Time: 20 minutes
- Cook Time: 25 minutes
- Total Time: 4 hours 45 minutes
- Yield: 8 servings
- Category: Dessert
- Method: Baked
- Cuisine: American
- Diet: Vegetarian
Description
A high-protein version of the classic key lime pie, featuring a tangy filling made with Greek yogurt, sweetened condensed milk, and fresh lime juice, baked in a graham cracker crust for a refreshing dessert.
Ingredients
- 1 1/2 cups graham cracker crumbs
- 1/4 cup granulated sugar
- 6 tablespoons unsalted butter, melted
- 2 (14-ounce) cans sweetened condensed milk
- 3/4 cup full-fat or 2% plain Greek yogurt
- 3/4 cup fresh key lime juice (or regular lime juice)
- 1 tablespoon freshly grated key lime zest (plus more for garnish)
- Whipped cream for topping (optional)
Instructions
- Preheat your oven to 350°F (175°C).
- For the crust: In a medium bowl, combine the graham cracker crumbs, sugar, and melted butter. Mix well until crumbs are evenly moistened.
- Press the crumb mixture firmly into the bottom and up the sides of a 9-inch pie dish. Bake for 8-10 minutes until lightly golden. Allow the crust to cool slightly while you prepare the filling.
- For the filling: In a large bowl, whisk together the sweetened condensed milk, Greek yogurt, key lime juice, and lime zest until smooth and thoroughly combined. There’s no need for an electric mixer, a simple whisk will do.
- Pour the key lime mixture into the pre-baked graham cracker crust.
- Return the pie to the oven and bake for 15-18 minutes, or until the filling is just set and the edges are lightly firm, but the center still has a slight wobble. Avoid overbaking.
- Remove the pie from the oven and let it cool completely on a wire rack at room temperature for at least 1 hour.
- Once cooled, tent the pie loosely with foil and refrigerate for a minimum of 3 hours, or preferably overnight, to allow it to fully set and chill.
- Before serving, top the pie with fresh whipped cream and an additional sprinkle of lime zest, if desired. Slice and enjoy your refreshing key lime pie.
Notes
- Use fresh key limes for the best flavor, but regular limes work in a pinch.
- The Greek yogurt adds protein and a tangy twist while reducing the need for additional eggs.
- For a gluten-free version, substitute with gluten-free graham cracker crumbs.