
Whip up some Halloween magic with these delightful Hocus Pocus-Inspired S’mores Pops. These charming treats capture the whimsical spirit of the season with their playful design and classic s’mores flavor. Each bite offers a satisfying crunch of graham cracker, a gooey marshmallow center, and a rich chocolate coating, making them an irresistible no-bake dessert that’s as fun to make as it is to eat. The combination is truly enchanting.
Perfect for classroom parties, neighborhood gatherings, or just a special family movie night, these Hocus Pocus-Inspired S’mores Pops are sure to be a hit. They’re a fantastic make-ahead treat. You can prepare them a day or two in advance. This simplifies your busy holiday schedule. It ensures you have a crowd-pleasing dessert ready to go.
Why I Love This Recipe
This recipe for Hocus Pocus-Inspired S’mores Pops is a winner! It’s incredibly easy to make. You only need minimal ingredients. Plus, there’s no baking involved! It’s quick to assemble, too. This makes it perfect for last-minute Halloween preparations. The finished pops are visually fun. The candy eyes and frosting detail make them look like little spellbooks. And who doesn’t love s’mores? They are truly crowd-pleasing.
Hocus Pocus-Inspired S’mores Pops Ingredients
Gathering the ingredients for these Hocus Pocus-Inspired S’mores Pops is like assembling a magical potion for your taste buds! The combination of classic s’mores elements with a touch of Halloween whimsy creates a truly special treat, perfect for any gathering.
- Graham Crackers: The sturdy, slightly sweet base that holds everything together wonderfully.
- Marshmallow Crème: Our gooey, sweet filling gives these pops their signature s’mores texture.
- Semisweet Chocolate Chips & Coconut Oil: These create a smooth, luscious chocolate coating that hardens beautifully.
- Candy Eyes: The essential spooky detail that brings our Hocus Pocus theme to life.
- Black Cookie Frosting: Used for drawing on those spooky stitches and book details.
- Popsicle Sticks: The handles make these s’mores easy to enjoy on the go.
Substitutions and Tips:
- Chocolate: Feel free to use milk chocolate or dark chocolate chips instead of semisweet. A tablespoon of vegetable shortening can be used in place of coconut oil if preferred.
- Marshmallow Crème: If you can’t find marshmallow crème, you can use melted marshmallows. Just know it might be a bit stickier experience.
- Decorations: Get creative with edible glitter, sprinkles, or even small Halloween-themed candies for extra flair.
- Make Ahead: These can be made up to 2 days in advance and stored in the refrigerator, saving you time later.
You’ll find exact quantities in the printable recipe card at the very end of this post. Happy baking, or rather, happy assembling!
How to Make Hocus Pocus-Inspired S’mores Pops

Step 1: Assemble the S’mores Sandwiches
Carefully spread about one tablespoon of marshmallow crème onto half of the graham cracker squares. Next, gently place a popsicle stick onto the marshmallow crème. Ensure it’s positioned so about half of the stick sticks out. This part becomes the handle. Top each with another graham cracker half. You’ll create a neat sandwich this way.
Step 2: Chill the Sandwiches
Arrange the assembled graham cracker sandwiches on a baking sheet. Line it with parchment paper first. Place the baking sheet into the freezer. Allow them to chill while you prepare the next step. This chilling is crucial. It helps the s’mores hold their shape. It also prevents marshmallow ooze during dipping.
Step 3: Melt the Chocolate Coating
In a medium heatproof bowl, combine the semisweet chocolate chips and coconut oil. Microwave in 20-second intervals. Stir well between each burst. Continue until the chocolate is completely melted and smooth. This usually takes about a minute total. The coconut oil creates a glossy, easy-to-dip chocolate shell for these pops.
Step 4: Dip and Decorate
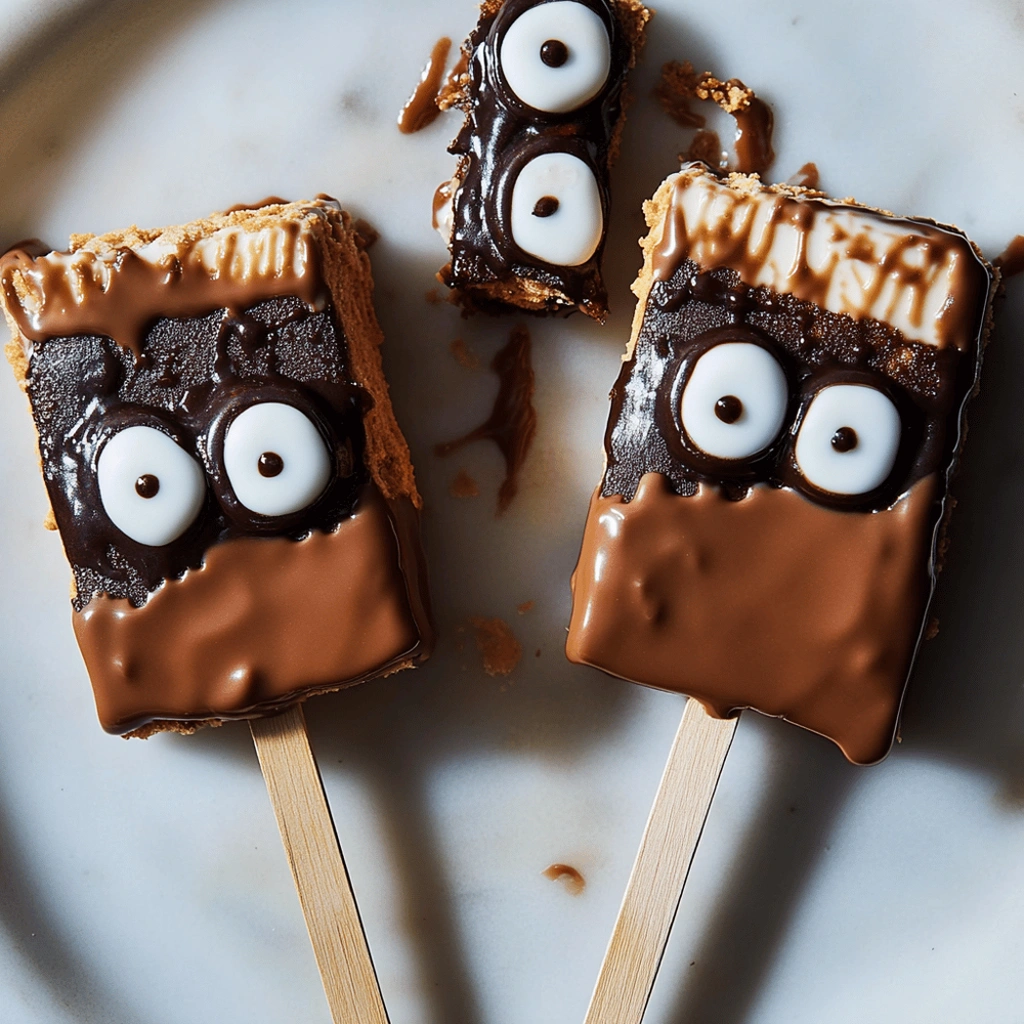
Work quickly now! Dip each chilled graham cracker sandwich into the melted chocolate. Ensure it is fully coated. A butter knife or silicone spatula can help coat the sides evenly. Immediately after dipping, place one candy eye onto the chocolate. Position it on the far right side, halfway down. This gives the appearance of a spooky book spine.
Step 5: Harden and Add Final Touches
Return the decorated s’mores pops to the parchment-lined baking sheet. Refrigerate them for about 15 minutes. Wait until the chocolate has hardened completely. Once the chocolate is firm, use the black cookie frosting. Draw a circle around the candy eye. Add two semicircles on the outer corners of the graham cracker “book”. Add “stitches” across the chocolate-covered portions. This gives them that signature Hocus Pocus look. Refrigerate again until the frosting is set, at least another 15 minutes.
How to Store Hocus Pocus-Inspired S’mores Pops
Store your finished Hocus Pocus-Inspired S’mores Pops in an airtight container. Keep them in the refrigerator. They will stay fresh and delicious for up to 3 days. For longer storage, freeze them individually wrapped. Then place them in a freezer-safe bag for about 2 weeks. Thaw them in the refrigerator before serving them to your friends.
Tips for Success
- Ensure graham crackers are fully chilled prior to dipping. This yields the best results.
- Work quickly when dipping. This prevents the marshmallow from melting too soon.
- Use a microwave-safe bowl for melting chocolate. This helps avoid extra dishes.
- Have all decorating supplies ready beforehand. This streamlines the process beautifully.
- Avoid overfilling with marshmallow crème. Too much will squeeze out easily.
Kitchen Tools You’ll Need
You don’t need a lot of fancy gadgets for these Hocus Pocus-Inspired S’mores Pops. Here’s what makes the process smooth.
- Baking sheet
- Parchment paper lining
- A microwave-safe bowl
- Spatula or butter knife
- Popsicle sticks for handles
- An optional small offset spatula helps dipping.
Serving Suggestions
- Serve alongside a glass of cold milk. Or perhaps a mug of hot chocolate.
- Arrange these Hocus Pocus-Inspired S’mores Pops on a platter. Add other Halloween-themed treats too.
- Present them in small cellophane bags. Tie them with festive ribbon for party favors.
- Enjoy them as a fun dessert. Maybe after a Halloween movie marathon!

Frequently Asked Questions
Can I make these Hocus Pocus-Inspired S’mores Pops ahead of time?
Yes, absolutely! You can assemble and dip the Hocus Pocus-Inspired S’mores Pops up to two days in advance. Store them in an airtight container in the refrigerator. They will stay fresh and delicious.
What if my chocolate coating is too thick?
If your chocolate coating seems too thick for dipping, add a little more coconut oil. Stir until it reaches a smoother consistency. Ensure you are microwaving in short intervals. This prevents burning the chocolate.
Can I use regular marshmallows instead of marshmallow crème?
Marshmallow crème gives a smooth filling. You can use regular marshmallows if needed. Melt them slightly before spreading. Know they may be stickier. They might ooze out easier when dipping.
How do I get the candy eyes to stick properly?
The best way to ensure candy eyes stick is placing them on wet chocolate. It needs to be firm enough to hold shape. If the chocolate has hardened, use cookie frosting as glue. This helps attach the eyes securely.
Print
Hocus Pocus-Inspired S’mores Pops
- Prep Time: 20 minutes
- Cook Time: 5 minutes
- Total Time: 30 minutes + chilling time
- Yield: 12 pops
- Category: Dessert
- Method: No-Bake
- Cuisine: American
- Diet: Vegetarian
Description
Create magical Hocus Pocus-inspired S’mores Pops with this easy recipe, perfect for Halloween treats.
Ingredients
- 12 graham crackers, halved
- ½ cup marshmallow crème
- 2 cups semisweet chocolate chips
- 3 tablespoons coconut oil
- 1 bag candy eyes
- 1 container black cookie frosting
- 12 popsicle sticks
Instructions
- Spread about 1 tablespoon marshmallow crème on half of the graham crackers.
- Place a popsicle stick halfway on the crème, so it sticks out from the graham cracker like a handle.
- Top with the other graham cracker half.
- Place them on a parchment-lined baking sheet and leave in the freezer while you make the chocolate sauce.
- In a medium heatproof bowl, microwave chocolate chips and coconut oil in 20-second increments, stirring between each, until melted and smooth, about 1 minute total.
- Dip graham cracker sandwiches into chocolate, covering completely.
- You may need to use a butter knife or silicone spatula to make sure the sides are coated.
- Stick one candy eye on each “book,” on the far right side about halfway down the graham cracker.
- Place them back on the baking sheet and refrigerate until chocolate has hardened, about 15 minutes.
- Use black cookie frosting to draw a circle around the eye, two semicircles on the outer corners of the graham cracker “book,” and “stitches” on the chocolate-covered graham crackers.
- Refrigerate until set, at least 15 minutes.
Notes
- Ensure the chocolate is completely melted and smooth for a good coating.
- Allow sufficient chilling time for the chocolate to harden properly.
- Get creative with the black cookie frosting for unique book designs!


