
There’s nothing quite like the taste of summer peaches, bursting with sweet sunshine. I just love knowing I can capture that flavor for months to come. Learning how to can peaches is simpler than you think.
This process gives me such a feeling of accomplishment. Plus, these home-canned peaches are perfect for quick desserts or a sweet snack. They bring sunshine to any dreary winter day.
Why I Love This Recipe
I truly love this recipe because it brings summer’s bounty right into my pantry. It’s incredibly satisfying to see those beautiful jars lined up. Plus, these canned peaches are just so versatile! They are perfect for impromptu desserts. Think peach cobbler or a quick topping for ice cream. This method also saves money. Knowing how to can peaches means I always have a healthy, delicious treat ready. It makes my heart happy.
How to Can Peaches Ingredients
Gathering your ingredients for how to can peaches feels like a pre-celebration of summer’s sweetness. It’s a simple list that transforms into something truly magical.
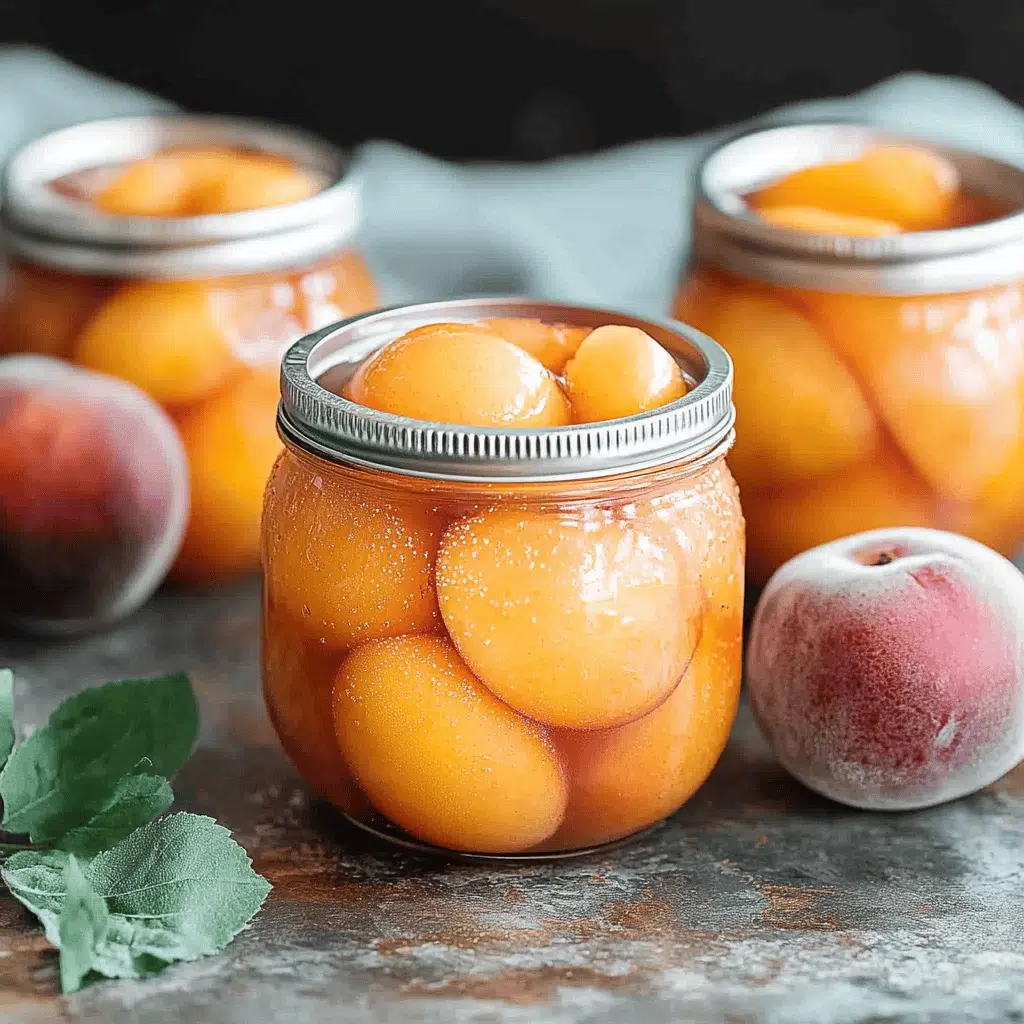
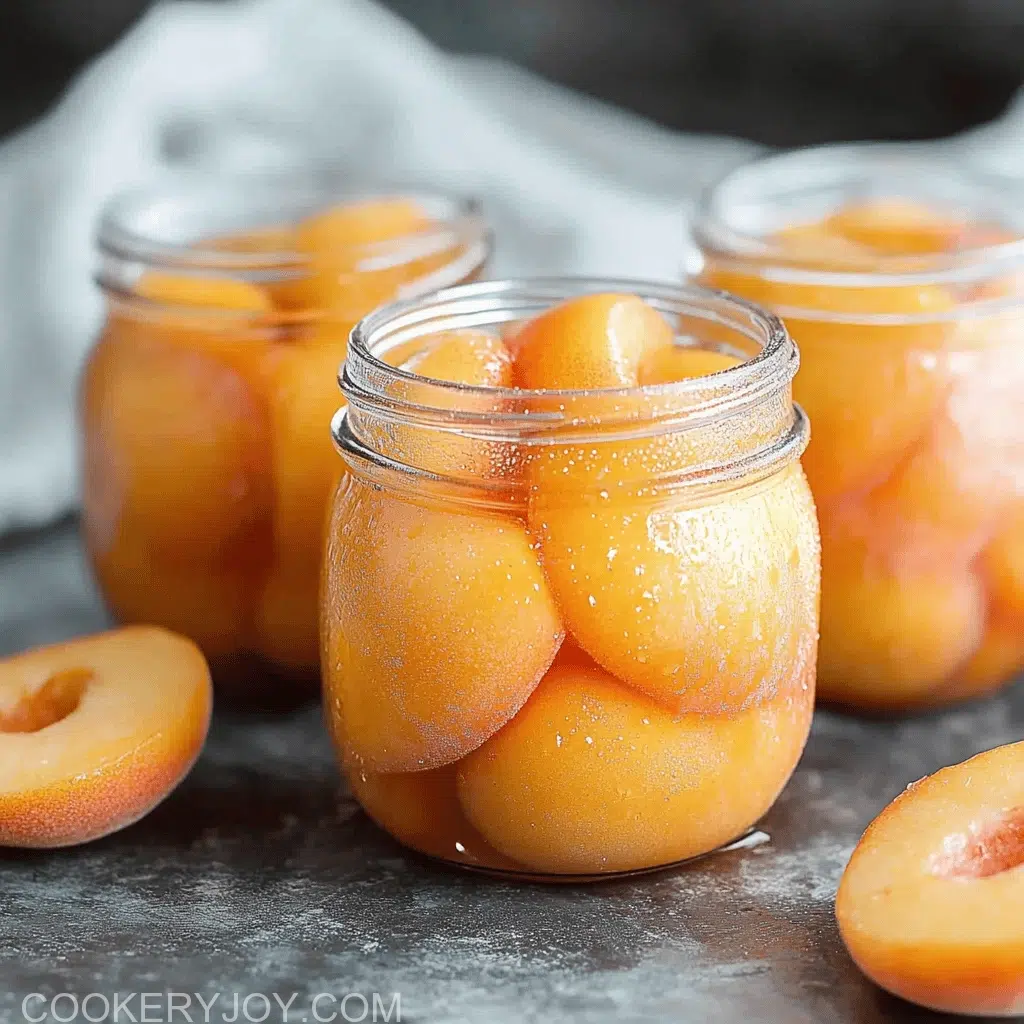
- Fresh and Ripe Peaches: You’ll want about 17 pounds. Look for freestone varieties; they’re much easier to work with. These are the star of our show, bringing all that juicy, peachy goodness.
- Quart Jars with Rings and New Lids: Seven of them should do it. Sterilizing these is key for safe canning and a good seal. New lids are super important for proper sealing.
- Water Bath Canner: This special pot ensures your peaches process safely. It creates the perfect environment for preserving.
- Granulated Sugar: This forms our lovely light syrup. It adds a touch of sweetness and helps preserve the fruit’s color.
Substitutions and Tips
You can certainly adjust the syrup’s sweetness. Just refer to a syrup chart for guidance; it’s easy! Remember, white peaches aren’t recommended for canning due to their lower acidity. For the freshest taste, choose peaches at their peak ripeness. Knowing how to can peaches means you’re creating pure pantry gold! Exact quantities for everything are in the printable recipe card below.
How to Make How to Can Peaches
Learning how to can peaches is an adventure. It’s like turning fresh produce into stored treasure. Here’s how I do it, step-by-step. Remember, attention to detail is your best friend when preserving food. Patience also pays off here.
Sterilize Your Jars
First things first, get your jars sparkling clean. I run mine through the dishwasher. Set it to a hot cycle. Make sure they are done an hour before you start. This ensures they are both clean and warm. Use new lids every time you can. New lids give a reliable seal.
Prepare Your Water Bath Canner
Next, fill your big canner pot. I put in enough water to cover my jars. It should be about one to two inches over them. Place it on your stove. Bring this water to a full boil. Then, just reduce it to a gentle simmer. It stays hot and ready for our peaches.
Peeling and Slicing Peaches
Now for those gorgeous peaches! I fill another large pot with water. I bring it to a high simmer. Drop peaches in there, just a few at a time. Leave them for about 30 seconds. This helps loosen the skins. Quickly transfer them to an ice water bath. The skins will slip right off. Then, remove the pit. Slice your peaches into nice large pieces.
Filling Jars with Peaches
As you slice, immediately fill your sterilized jars. Pack them pretty full. Gently tap the jar bottom on your countertop. This helps the peach slices settle. They will squish down a bit. This creates more space for deliciousness.
Adding Simple Syrup
For a light syrup, I mix some sugar and hot water. Two cups of sugar to six cups of very hot water. Stir it well until the sugar dissolves. Pour this sweet syrup into each jar. Leave about half an inch of headspace. That’s the space between the syrup and the jar rim. Gently tap the jars again. This releases any air bubbles hiding inside.
Preparing Jars for Processing
Before the water bath, wipe your jar sides and rims. Use a clean, damp rag. This removes any sugary stickiness. A clean rim helps ensure a good seal. Place a clean, new lid securely on each jar. Then, screw on the rings until they are fingertip tight. Don’t overtighten them.
Processing in the Water Bath
Now, it’s time for the magic! Use jar lifters or tongs. Gently place your full jars into the hot canner. If you have a rack, use it. Add more hot water if needed. Make sure the tops of your jars are covered. Put the lid on the canner. Bring the water back to a rolling boil. Once it’s boiling, process the jars for a full 25 minutes.
Cooling and Resting
After 25 minutes, turn off the burner. If you have an electric flat top, slide the pot off. Remove the canner lid carefully. Let the jars rest in the hot water. Just for five short minutes. Then, use those handy jar lifters. Move the jars onto a large towel. Let them cool completely. They do this untouched for several hours. This resting allows for proper sealing.
Checking for Seals
After a few hours, it’s seal-checking time. The center of the lid should be concave. It should be sucked down. If you press it, it won’t pop back. If it pops, it means no seal formed. Don’t fret if one doesn’t seal. Just refrigerate it. Enjoy those peaches within a few days. You can also reprocess it if you wish. Ensure your peaches stay covered in liquid. They should also keep their lovely bright color.
Storing Your Canned Peaches
Once fully cooled and sealed, remove the rings. Label your jars with the date. Store them in a cool, dry, dark place. They will keep their best quality for 12 to 18 months. Knowing how to can peaches means fresh flavor all year!
How to Store How to Can Peaches
Storing your home-canned peaches is super simple. Once they’ve completely cooled, check all the seals. I always remove the rings before storing. This way, if a seal fails later, you’ll know right away. Label each jar with the date you canned them. This helps you keep track. I store my jars in a cool, dry, dark place. A pantry or a cupboard works perfectly. Avoid direct sunlight or extreme temperature changes. This helps maintain their vibrant color. They’re best enjoyed within 12 to 18 months. Knowing how to can peaches means fresh fruit anytime.
Tips for Success
- Always use ripe, but firm, peaches for canning. This prevents mushy results.
- Don’t rush the peeling process; patience helps.
- Ensure your jars are always hot before filling.
- Leave proper headspace for safe processing.
- Use a jar funnel for less mess.
- For a clearer syrup, strain it.
- Let jars cool undisturbed for a strong seal.
- Double-check all seals before storing.
- Knowing how to can peaches is very rewarding.
Kitchen Tools You’ll Need
You don’t need a fancy kitchen to learn how to can peaches! Here’s what I find helpful:
- Water Bath Canner: Essential for safe canning. A large stockpot with a rack can work too.
- Jar Lifter: Safely moves hot jars. Tongs can be an alternative, just be very careful.
- Lid Wand: Magnetic for hot lids. Not crucial, but makes it easier.
- Large Stockpot: For blanching peaches.
- Kitchen Towels: For wiping jars and cooling.
- Cutting Board and Sharp Knife: For peach prep.
Serving Suggestions
So, you’ve mastered how to can peaches; now what? The possibilities are endless!
- Enjoy them straight from the jar. It’s my favorite simple treat.
- Serve them over vanilla ice cream. Add a dollop of whipped cream.
- Top your morning yogurt or oatmeal. It adds natural sweetness.
- Make a quick peach cobbler or pie. No need to thaw first.
- Blend them into smoothies. A taste of summer all year.
- Add them to roasted chicken or pork. It offers a surprising sweet and savory twist.
- Mix into fruit salads. These peaches are so versatile!
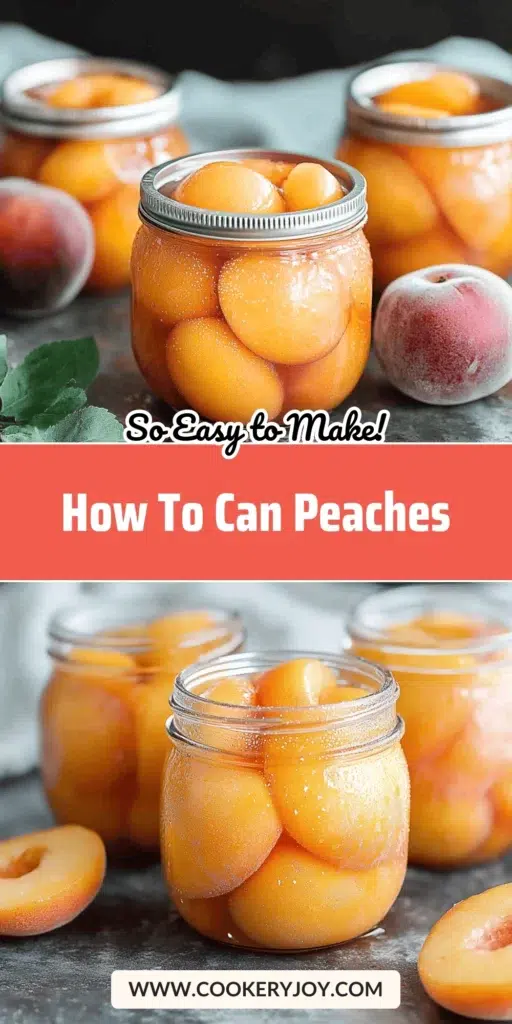

How to Can Peaches
- Prep Time: Not specified
- Cook Time: 25 minutes (processing)
- Total Time: Not specified
- Yield: 7 quart jars
- Category: Preserving
- Method: Water Bath Canning
- Cuisine: Not specified
- Diet: Vegetarian
Description
This recipe guides you through the process of canning peaches using a water bath method, ensuring they are preserved for long-term storage. It covers everything from preparing the peaches and jars to processing them and checking for proper seals.
Ingredients
- 17 lbs fresh and ripe peaches (preferably freestone, not white peaches)
- 7 quart jars with rings and new lids (sterilized)
- Water bath canner
- Granulated sugar
Instructions
- Sterilize Jars: Ensure jars and rings are clean and sterile (e.g., in the dishwasher an hour before starting). Use new, unused lids for a proper seal.
- Fill Water Bath Canner: Add enough water to the canner to cover the jars by 1-2 inches once they are immersed. Place on the stove and bring to a boil, then reduce to a simmer.
- Peel Peaches: Fill a separate large pot with water and bring to a high simmer. Add peaches in batches for about 30 seconds to loosen skins. Transfer peaches to an ice water bath, then peel them easily. Remove the pit and cut into large slices.
- Fill Jars with Peaches: As you slice, fill jars pretty full, gently tapping the bottom on the countertop to help peaches settle.
- Add Simple Syrup: For light syrup, mix 2 cups of sugar with 6 cups of very hot water. Stir well to dissolve sugar. Pour syrup into each jar, leaving 1/2” headspace. Gently tap jars to release air bubbles.
- Prepare for Processing: Wipe jar sides and rims with a clean rag. Place a clean lid securely on each jar and secure with rings.
- Process in Waterbath: Use jar lifters or tongs to gently place jars in the hot water bath (or use a rack if available). Add more water if needed to cover jar tops. Cover with the lid and bring water back to a boil. Once boiling, process jars for 25 minutes.
- Remove and Rest: Place a large towel or dishrag on your countertop. After 25 minutes, turn off the burner (or move the pot if electric flat top), remove the lid, and allow jars to rest in the pot for 5 minutes. Then, use tongs or jar lifters to move jars onto the towel to rest.
- Check Seals: After a few hours, check seals. The center of the lid should be sealed down; if it pops back, it didn’t seal. Ensure liquid covers peaches and they retain a bright color. Unsealed jars can be refrigerated and enjoyed within a few days or reprocessed.
- Store: Allow jars to cool completely before storing in a cool, dry place for 12-18 months (at best quality).
Notes
- Do not use white peaches for canning.
- A jar grabber or tongs are helpful for lifting hot jars.
- If peaches develop a foul odor, become discolored, or show mold, discard them.
- Refer to a syrup chart for variations in syrup sweetness.
Frequently Asked Questions
Can I use white peaches for How to Can Peaches?
I don’t recommend white peaches for canning. They have lower acidity than yellow peaches. This means they aren’t safe for water bath canning. Stick to yellow freestone peaches for best results.
What if my jar doesn’t seal properly?
Don’t worry if a jar doesn’t seal! It happens sometimes. Just place that unsealed jar in your refrigerator right away. Enjoy those delicious peaches within a few days. You can also reprocess it with a new lid.
How long do home-canned peaches last?
Properly canned peaches can last a good while. For the best quality, I suggest using them within 12 to 18 months. They are still safe after that point. But their flavor and texture might start to decline.
What is the best way to check if my peaches are safe to eat after storage?
Always check for signs of spoilage before opening. Look for a strong, off odor or discoloration. The lid should be sealed down and not bulging. If in doubt, it’s always best to discard. Your safety comes first.
Conclusion
Learning how to can peaches truly opened up a world of culinary independence for me. It’s more than just a recipe; it’s a beautiful journey. There’s such deep satisfaction in seeing those jars. Each one holds slices of summer sunshine. The simple act of preserving feels empowering. Plus, my family absolutely adores them. They are perfect on a dreary, cold winter day. Knowing I can pull a jar of sweet peaches from my pantry makes me smile. It’s a taste of home, anytime. I hope you find as much joy in this process as I do!


