
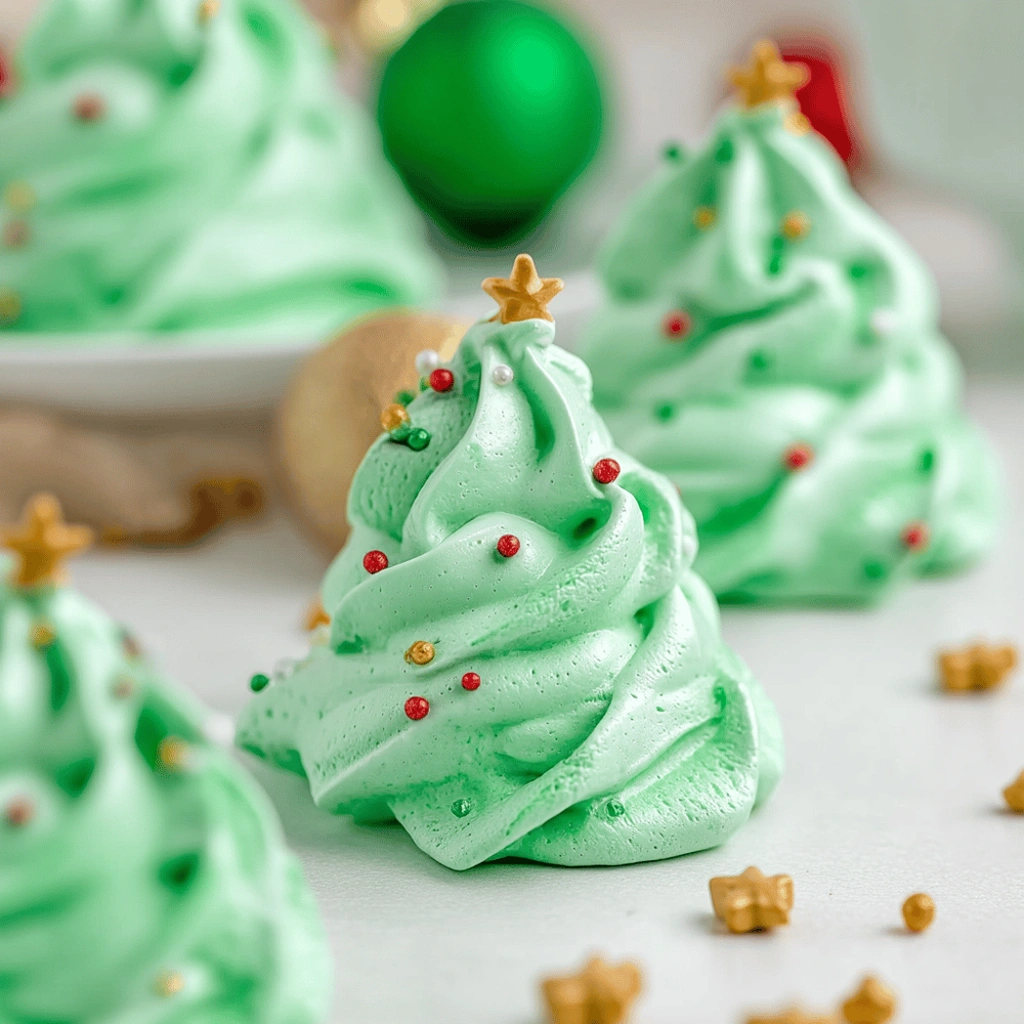
These holiday treats feel wonderfully delicate yet are remarkably simple to master. The light, airy texture simply melts the moment it hits your tongue. Crafting your own Meringue Christmas Trees brings a charming, homemade touch to any festive table. Truly, these little confections are pure magic.
I often pull these out after a big holiday dinner. They keep so beautifully, too. It means I can bake them ahead of time for easy entertaining. Plus, the kids always adore decorating these gluten-free sweets.
Why I Love This Recipe
Honestly, I adore how little effort this meringue recipe demands. It impresses everyone, yet it strains my budget very little. These are also fantastic for making ahead of time.
- Stunning Aesthetic: They look like professional bakery items.
- Quick Assembly: The piping goes surprisingly fast.
- Low-Calorie Treat: A guilt-free bite after all that heavy holiday food.
Making these Meringue Christmas Trees is such a joyful holiday tradition for us now.
Meringue Christmas Trees Ingredients
The beauty of these light and fluffy confections lies in their simplicity. We are creating structure from just a few humble pantry staples. These essential components work together perfectly to give us that crisp, light holiday dessert.
Here is what you will need for your glorious Meringue Christmas Trees.
- Egg Whites: These are the backbone of the meringue. They whip up into that incredible cloud-like structure we need for piping.
- Cream of Tartar: This little helper stabilizes the egg whites. It ensures your peaks stay firm and don’t collapse mid-pipe.
- Granulated Sugar: This sweetens the mixture, naturally. More importantly, it helps create that glossy, stiff texture.
- Vanilla Extract: Just a dash adds a lovely background warmth to the simple base flavor.
- Green Gel Food Coloring: Gel works best here. It tints our mixture green without adding unwanted liquid.
- Assorted Sprinkles: These are your decorations. Use stars, pearls, or nonpareils for fun ornaments.
Substitutions and Tips
If you forget the cream of tartar, lemon juice works in a pinch. About half a teaspoon of lemon juice substitutes well. For a flavor boost, try almond extract instead of vanilla. You can also use different piping tips for varied tree textures. Remember, always use room-temperature egg whites for the best volume.
See recipe card below for a full list of ingredients and measurements.
Kitchen Tools You’ll Need
- Electric Mixer: Essential for whipping those egg whites stiff. A hand mixer is fine too.
- Large, Clean Bowl: Absolutely no grease allowed! Glass or metal works best for volume.
- Piping Bags and Star Tip: Needed to sculpt your small trees.
- Baking Sheets: You will need two, lined with parchment paper for easy release.
How to Make Meringue Christmas Trees
Now for the fun part, creating these beautiful gluten-free sweets! We move from measuring to shaping these gorgeous holiday desserts. Follow these steps closely for the perfect crisp texture.
Preheat and Prep Your Pans
First things first, get your oven warming up. Set it to a low 200 degrees Fahrenheit, just barely warm. Next, grab your baking sheets. Be sure to line them completely with parchment paper. This prevents sticking, trust me on this one.
Whip the Egg Whites
Take your clean bowl now. It must be grease-free for success. Add your room-temperature egg whites. Also, toss in the cream of tartar. Beat these ingredients with your mixer. Start on medium speed initially. Keep going until you see soft peaks forming nicely.
Incorporate the Sugar Slowly
This next step builds stability into your pretty meringue. Start adding the granulated sugar. Only add one tablespoon at a time, please. Beat constantly on high speed while you pour. Continue mixing until the meringue becomes glossy. Look for stiff peaks that hold their own shape perfectly.
Color and Flavor the Meringue
Time to add the flavor foundation. Beat in the vanilla extract next. Now, introduce the green gel food coloring. Start with just a few drops. Mix the color in well. Keep adding drops until you hit your target shade of green.
Fill the Piping Bag
It is time to load up your decorating tool. Fit a piping bag with a star tip. I usually use a Wilton 1M size. Carefully fill the bag with your beautiful green meringue mixture. Make sure the tip is secure before squeezing.
Pipe Your Tree Shapes
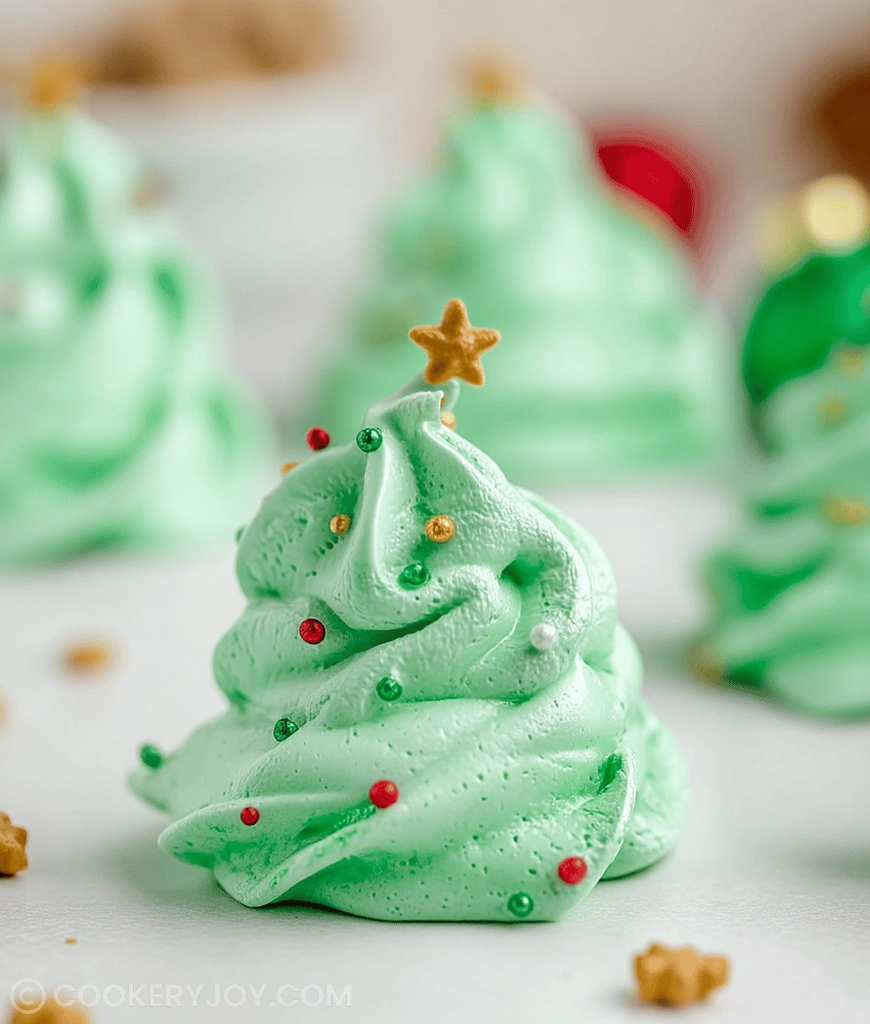
Position that piping bag over the parchment paper. Start piping your shapes now. Begin with a wider swirl for the bottom base. Then, gradually make smaller swirls moving upwards. This builds that classic cone shape very easily. Don’t hesitate to make different sized Meringue Christmas Trees!
Decorate Immediately
You must decorate right away, friends. Before the meringue sets up too much, add your sprinkles. Press on small edible pearls or star sprinkles. Think of these as tiny, colorful ornaments adorning your little trees.
Baking for Dryness
Bake time is slow and low for meringues. Place the sheets inside your warm oven. Bake for one hour to an hour and a half. You want them completely dry and crisp throughout. If they feel sticky, keep baking little longer.
Cool Slowly for Perfection
This slow cooling is critical for gorgeous results. When baking time is up, turn the oven off completely. Leave the meringues inside the turned-off oven. Prop the door slightly ajar. Let them cool there for at least half an hour, or maybe even an hour.
This gentle cooling prevents unsightly cracks from forming. Once fully cooled, they are ready for storage! These low-calorie treats store wonderfully too.
How to Store Meringue Christmas Trees
Storing these delicate delights correctly keeps them perfect. Absolutely store your cooled Meringue Christmas Trees in an airtight container. A simple cookie tin works wonders here. Keep them at room temperature, never the fridge. Refrigerators hold too much moisture for meringues. They stay delightfully crisp for almost a full week this way. Freezing is generally not recommended for the best texture.
Tips for Success
- Always ensure your mixing bowl is spotless. Even a tiny speck of grease ruins the beautiful foam structure.
- Use gel coloring, not liquid drops. Liquid coloring adds too much moisture to your stiff meringue.
- Piping is easier when the mixture feels thick, like toothpaste. If it slumps, keep beating briefly.
- Low and slow baking dries them out gently. Do not rush the oven part of this recipe.
- Cooling them inside the turned-off oven stops cracking. This slow temperature drop matters a lot.
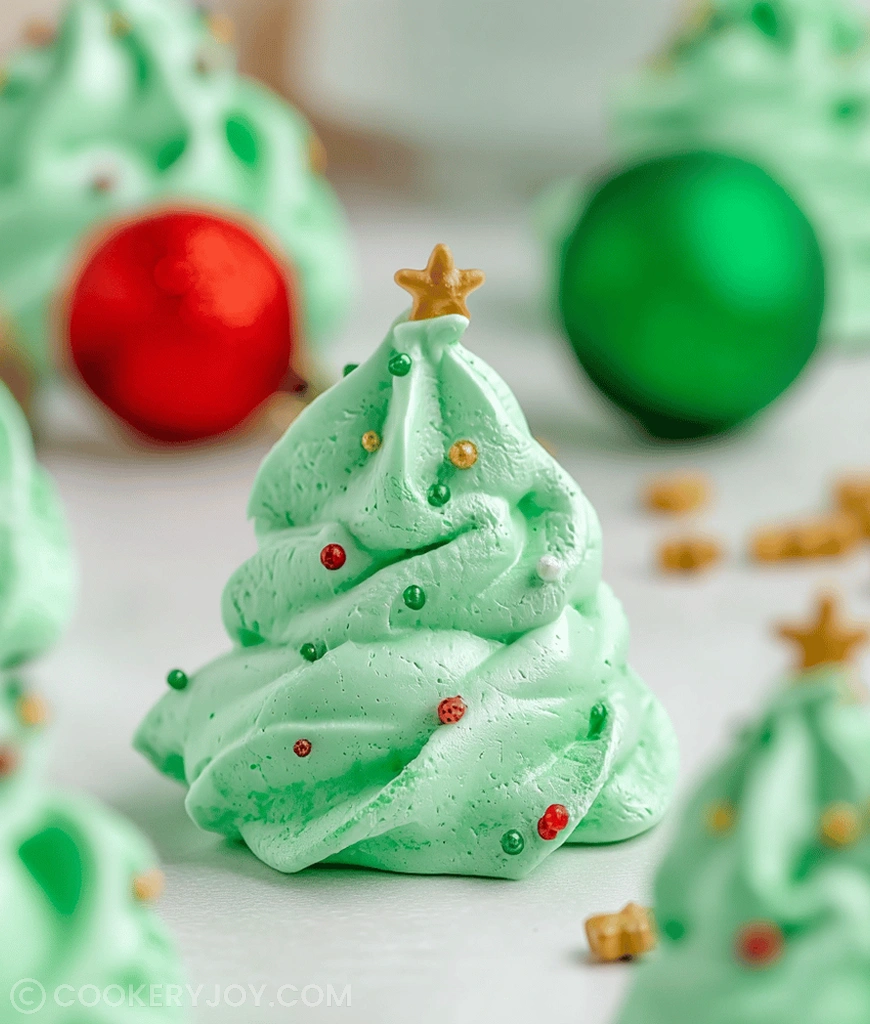
Serving Suggestions
- Present them on platters dusted with powdered sugar “snow.”
- Pair them with hot chocolate or strong, dark coffee.
- Use them as edible tree toppers on small holiday cupcakes.
- These gluten-free sweets look lovely alongside fresh berries.

Meringue Christmas Trees
- Prep Time: 20 minutes
- Cook Time: 1 to 1.5 hours
- Total Time: Approximately 1.5 to 2.5 hours (including cooling)
- Yield: Varies based on size
- Category: Dessert/Confectionery
- Method: Baking
- Cuisine: American/General
- Diet: Gluten Free
Description
A recipe for making delicate, festive Meringue Christmas Trees, perfect for holiday decorating.
Ingredients
- 3 large egg whites, at room temperature
- 1/2 teaspoon cream of tartar
- 1/4 teaspoon vanilla extract
- 3/4 cup granulated sugar
- Green gel food coloring
- Assorted sprinkles (star sprinkles, nonpareils, small edible pearls, etc.)
Instructions
- Preheat oven to 200°F (95°C). Line two baking sheets with parchment paper.
- In a very clean, dry bowl (preferably metal or glass), combine egg whites and cream of tartar. Beat with an electric mixer on medium speed until soft peaks form.
- Gradually add the granulated sugar, 1 tablespoon at a time, beating continuously on high speed. Continue beating until the meringue is glossy, thick, and stiff peaks form (when you lift the beaters, the peak holds its shape).
- Beat in the vanilla extract. Add a few drops of green gel food coloring and beat until the desired shade of green is achieved.
- Fit a piping bag with a star tip (such as Wilton 1M or 21). Fill the bag with the green meringue.
- Pipe Christmas tree shapes onto the prepared baking sheets. Start with a wider base and gradually make smaller swirls as you go up, forming a cone shape. You can make them varying sizes.
- Immediately decorate the piped meringue trees with sprinkles to resemble ornaments.
- Bake for 1 to 1 1/2 hours, or until the meringues are dry and crisp. They should lift easily from the parchment paper. If they feel soft or sticky, continue baking for a bit longer.
- Turn off the oven and leave the meringues inside with the oven door ajar for another 30 minutes to 1 hour to cool slowly and completely dry out. This helps prevent cracking.
- Store cooled meringues in an airtight container at room temperature for up to a week.
Notes
- Ensure the bowl and beaters are completely clean and free of any grease, as this will prevent the egg whites from whipping properly.
- Meringues bake at a very low temperature to dry them out rather than cook them.
- Cooling them slowly in the turned-off oven helps prevent the meringues from cracking due to rapid temperature change.


