
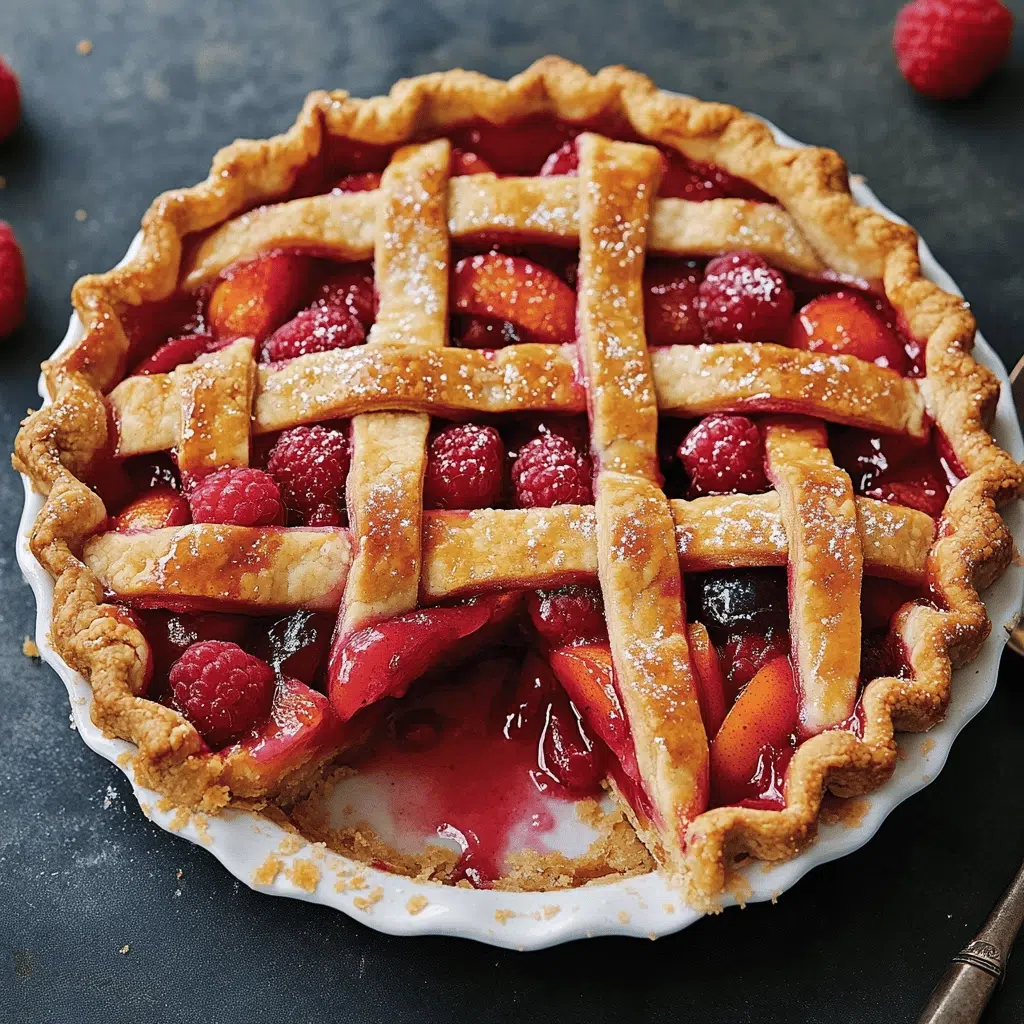
There’s nothing quite like a homemade pie, and this Nectarine Plum and Raspberry Pie truly captures the essence of summer.
Bursting with juicy fruit and wrapped in a tender, flaky crust that melts in your mouth, it’s the perfect comforting dessert. I often bake it for family gatherings, and it never fails to please. Plus, it fills the house with the most incredible aroma.
Why I Love This Recipe
This Nectarine Plum and Raspberry Pie quickly became a family favorite. Honestly, it’s just so forgiving. I love that it’s elegant enough for company yet simple for a weeknight treat. The vibrant fruit combination truly shines. It always impresses guests. Plus, the smells from the oven are pure bliss. It brings a cozy warmth to my kitchen.
Nectarine Plum and Raspberry Pie Ingredients
Crafting this incredible Nectarine Plum and Raspberry Pie starts with a few simple, wholesome ingredients. Each one plays a part in building those rich, comforting flavors we all crave. You’ll find everything you need right in your pantry or local grocery store.
Core Ingredients for Your Nectarine Plum and Raspberry Pie
- All-purpose flour: This forms the tender, flaky base of our homemade crust.
- Sugar: It sweetens both the crust and the juicy fruit filling.
- Kosher salt: Just a pinch enhances all the natural flavors.
- Cold butter: Essential for that perfect, flaky texture in the pie crust.
- Egg yolks: They give richness and structure to the pastry.
- Cold milk: This helps bring the dough together beautifully.
- Ripe plums: Sweet and slightly tart, they provide a lovely depth of flavor.
- Raspberries: These add a bright, fresh pop to our Nectarine Plum and Raspberry Pie.
- Cornstarch: This star ingredient thickens the fruit filling, so it’s perfectly set.
- Beaten egg (for egg wash): An optional touch, it gives the crust a gorgeous golden sheen.
Substitutions and Tips
Don’t sweat it if you’re missing something! You can absolutely make this Nectarine Plum and Raspberry Pie your own. If fresh plums aren’t available, peaches or even nectarines work wonderfully. For raspberries, frozen ones are fine; just don’t thaw them first. You can swap the cornstarch for arrowroot powder if needed. Remember, the exact amounts are all in the printable recipe card below! That’s where you’ll find all the nitty-gritty details.
How to Make Nectarine Plum and Raspberry Pie
Making any pie from scratch can feel daunting. But trust me, this Nectarine Plum and Raspberry Pie comes together easily. I’ll walk you through each step. You’ll soon have a beautiful, delicious pie.
Crafting the Perfect Crust
- Grab a medium bowl.
- Stir flour, sugar, and salt together.
- Add cold butter chunks.
- Cut them into the flour mixture.
- The butter should be pecan-sized.
- The flour will hold together a bit.
- Whisk egg yolks and milk.
- Do this in a small bowl.
- Pour this liquid into your flour mix.
- Stir until just combined.
- It will look like a shaggy mess.
- Turn the dough onto a cold surface.
- Don’t flour it yet.
- Gather the dough into a mound.
- Use your palm to smear dough down.
- Do this on each side.
- Move around the mound.
- This is called fraissage.
- Scrape the dough back into a mound.
- Repeat that process.
- The dough should be cohesive now.
- It will have butter streaks.
- Divide the dough into two.
- One piece should be larger.
- Wrap each in plastic wrap.
- Flatten them into disks.
- Refrigerate for at least four hours.
- This chilling time is important.
Preparing the Fruit Filling
- Preheat your oven to 350° F.
- Get a large mixing bowl.
- Add plum slices and raspberries.
- Toss with sugar and cornstarch.
- Mix until fruit is well coated.
- The cornstarch thickens the juice.
Assembling Your Nectarine Plum and Raspberry Pie
- Flour your work surface well.
- Roll out the larger dough disk.
- Aim for about 12 inches across.
- Carefully transfer it to a 9-inch pie pan.
- Gently press it into place.
- Leave a 1/4-inch lip.
- Pour the fruit mixture into the crust.
- Roll out the second dough piece.
- Make it about 10 inches across.
- Place this on top of the pie.
- Pinch the edges together tightly.
- Crimp them to seal the pie.
- Poke some slits in the center.
- Steam needs a way to escape.
- Place the assembled pie in the freezer.
- Freeze for about 30 minutes.
- This helps keep the crust flaky.
Baking to Golden Perfection
- Get a rimmed baking sheet.
- Put the pie on this sheet.
- This catches any fruit bubbles.
- It also catches butter leaks.
- Brush the top with egg wash.
- This is optional, but I love it.
- It gives a beautiful golden glow.
- Bake in the oven’s center.
- Bake until the crust is golden brown.
- The fruit should be bubbling.
- This takes about 1 1/2 hours.
- Allow the pie to cool.
- Give it at least one hour.
- Three hours is even better.
- This sets the Nectarine Plum and Raspberry Pie filling.
- Patience truly pays off here.
How to Store Nectarine Plum and Raspberry Pie
Once your beautiful Nectarine Plum and Raspberry Pie has cooled, you might have leftovers. Lucky you! To keep it fresh, I usually cover it loosely with plastic wrap or foil. You can leave it at room temperature for a day. For longer storage, you’ll want to pop it in the fridge. It will stay lovely for about 3 to 4 days there. If you’re planning way ahead, consider freezing individual slices. Just wrap them tightly in plastic, then foil. They’ll keep for up to 3 months. Thaw them gently in the fridge, or warm them up in the oven. It tastes almost as good as fresh-baked!
Tips for Success
- Don’t skip chilling the crust dough; cold butter equals flaky pie goodness.
- Use ripe, but firm, fruit to prevent a watery filling.
- Adjust sugar based on fruit sweetness.
- Don’t overmix the pie crust, a light hand is best!
- Freeze the pie briefly before baking for a crisper bottom crust.
- Always bake pies on a baking sheet to catch delicious, bubbling overflows.
- Patience is key; let the Nectarine Plum and Raspberry Pie cool completely for a set filling.
Kitchen Tools You’ll Need
- Large mixing bowls: For ingredients; any big basin works!
- Whisk: To combine liquids smoothly.
- Pie plate: A 9-inch ceramic or glass one.
- Rolling pin: To flatten dough; a wine bottle can substitute.
- Plastic wrap: For chilling dough.
- Rimmed baking sheet: Essential for catching drips.
Serving Suggestions
- Serve warm with a scoop of vanilla bean ice cream.
- A dollop of fresh whipped cream is always a good idea.
- Pair with a cup of hot coffee for breakfast.
- Enjoy with a glass of crisp, sweet sparkling wine.
- Garnish with a few extra fresh raspberries.
- It’s delightful on its own too!


Nectarine Plum and Raspberry Pie
- Prep Time: 4 hours 30 minutes
- Cook Time: 1 hour 30 minutes
- Total Time: 6 hours
- Yield: 8 servings
- Category: Dessert
- Method: Baking
- Cuisine: American
- Diet: Vegetarian
Description
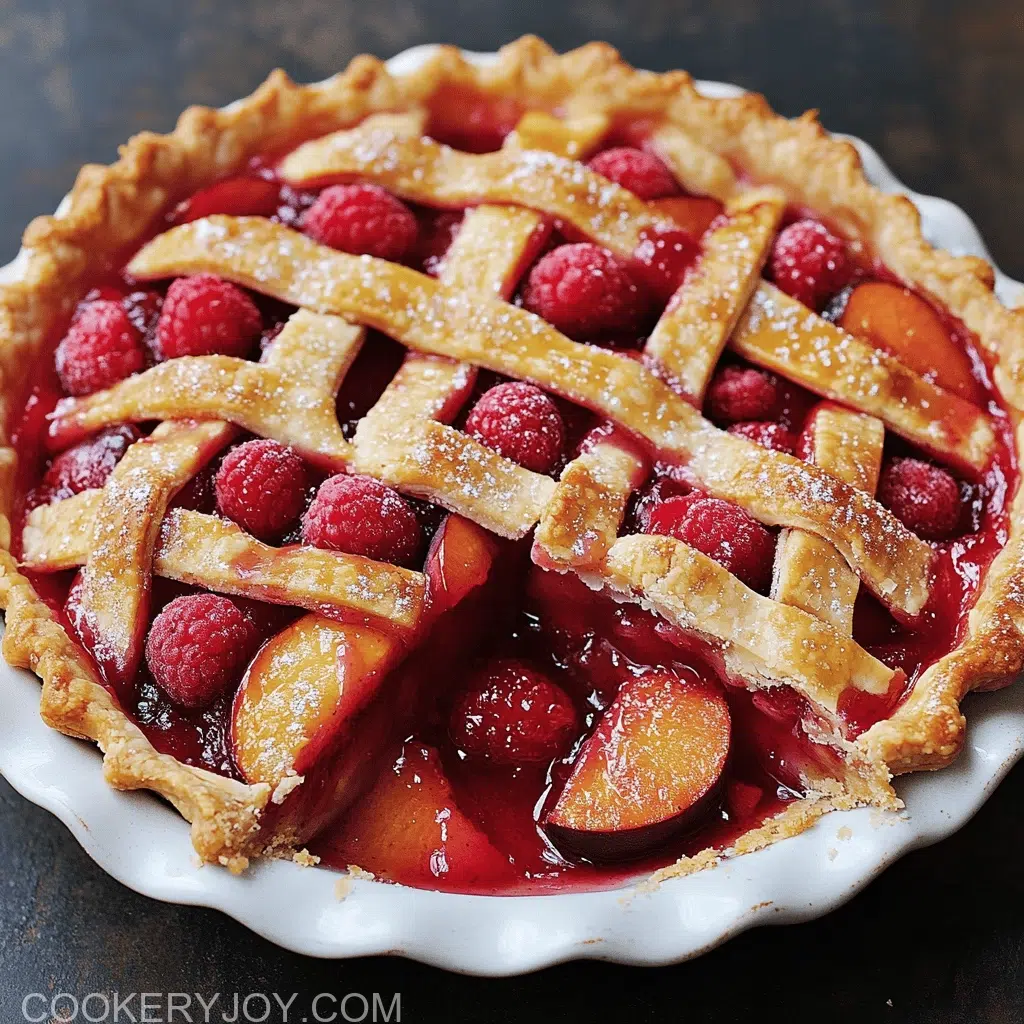
This recipe makes a delicious Nectarine Plum and Raspberry Pie with a homemade crust. The filling is sweet and fruity, and the crust is golden brown and flaky.
Ingredients
- 1 3/4 cup all-purpose flour
- 1 tablespoon sugar
- 1 teaspoon kosher salt
- 1 cup (2 sticks) cold butter, cut into chunks
- 2 egg yolks
- 3 tablespoon cold milk
- 8 ripe plums, pitted and sliced into 1 inch-thick slices (no need to peel them)
- 1 cup raspberries
- 1 cup sugar
- 2 tablespoon cornstarch
- 1 beaten egg, for an egg wash (optional)
Instructions
- For the crust: Stir the flour, sugar, and salt together in a medium mixing bowl. Cut in the butter chunks just until they are about the size of pecans and the flour will hold together a bit when you clump it.
- Whisk together the egg yolks and milk in another small bowl, then dump this into the flour mixture and stir until the dough just comes together in a shaggy mess.
- Turn your shaggy mess out onto a cold, un-floured work surface. Gather the dough into a tight mound, then using the palm of your hand, smear the dough down the side of the mound on each side, moving around the mound so all the dough gets smeared. This is a process called fraissage. Scrape the dough back into a mound and repeat. At this point the dough should have come together into a pretty cohesive mass streaked with butter.
- Gather the dough, divide it into 2 pieces with one just a bit larger than the other (the bottom crust needs to be a little larger than the top), wrap each tightly in plastic wrap and flatten them into disks. Refrigerate for at least 4 hours before using.
- For the filling and assembly: Heat your oven to 350° F. In a large bowl, toss together the plum slices, raspberries, sugar, and cornstarch until the fruit is coated.
- On a well-floured work surface, roll out the larger of your crust disks into a circle that’s about 12 inches across. Transfer the dough circle into a 9-inch pie pan, gently pressing it into place, and leaving a 1/4-inch lip around the edge of the pie plate.
- Transfer the fruit mixture into the pie plate. Roll out the other piece of dough into a circle that’s about 10 inches across. Place this on top of the pie, pinch the edges together and crimp them to seal the pie. Poke some slits in the center of the pie to allow steam to escape. Freeze the pie for about 30 minutes.
- Put the pie on a rimmed baking sheet to catch the mess of fruit that always bubbles out (the crust sometimes leaks some butter too). Brush the top with your egg wash, if you’ve made one, then bake it in the center of the oven until the crust is golden brown and the fruit is bubbling (about 1 1/2 hours). Allow to cool at least one hour (and preferably more like 3 hours) before eating, to give the filling time to set.
Notes
- The egg wash makes the pie look nicer, but it’s optional.
- Allow the pie to cool for at least one hour (preferably 3 hours) before eating to allow the filling to set.
Frequently Asked Questions
Can I make the Nectarine Plum and Raspberry Pie ahead of time?
Absolutely, you can! You can prepare the pie crust dough up to two days in advance. Just wrap it tightly. Keep it in the fridge. You can also assemble the entire pie and freeze it unbaked. Then bake it straight from frozen. It’s a great time-saver!
What if I don’t have fresh raspberries?
No problem at all! Frozen raspberries work wonderfully in this Nectarine Plum and Raspberry Pie. There is no need to thaw them beforehand. Just toss them in frozen with the plums and cornstarch. The pie will still be delicious and fruit-filled. This swap won’t affect the cook time much either.
How do I know when my Nectarine Plum and Raspberry Pie is fully baked?
Look for a few key signs. The crust should be beautifully golden brown. You’ll see the fruit juices bubbling up. They will be thick, not watery. An instant-read thermometer helps too. The internal temperature in the center should reach about 200°F.
Can I use a store-bought crust for this Nectarine Plum and Raspberry Pie?
You certainly can! While I love a homemade crust, a good quality store-bought one works. It will still make a delicious Nectarine Plum and Raspberry Pie. Just follow the package directions. Ensure it’s suitable for a double-crust pie. This is a great shortcut for busy days.
Conclusion
Making this Nectarine Plum and Raspberry Pie truly brings me so much joy. Every time I bake it, my kitchen fills with the sweetest smells. They remind me of warm, sunny days. This pie isn’t just a dessert; it’s a labor of love. It’s perfect for sharing with people you cherish. It’s about creating memories around the table. I hope this recipe brings as much warmth to your home as it does to mine. Happy baking, my friends!


