
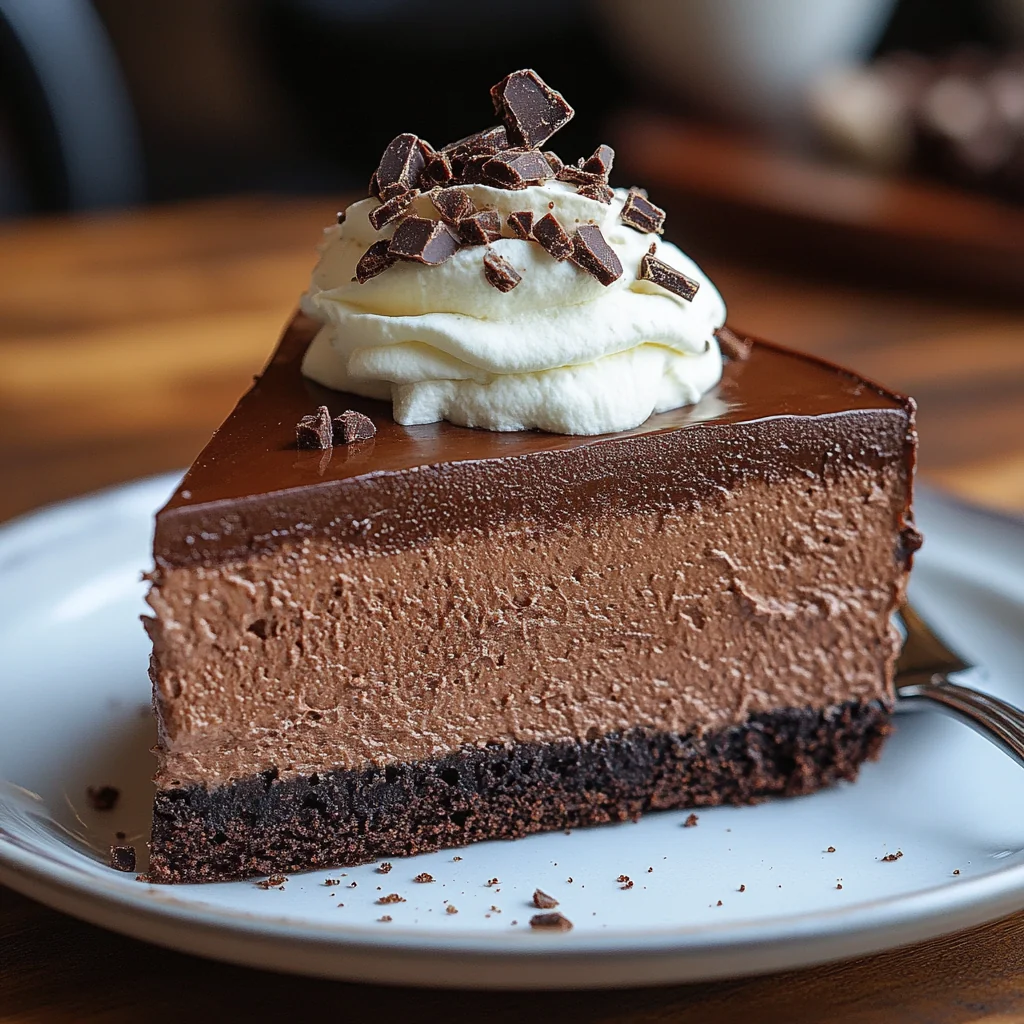
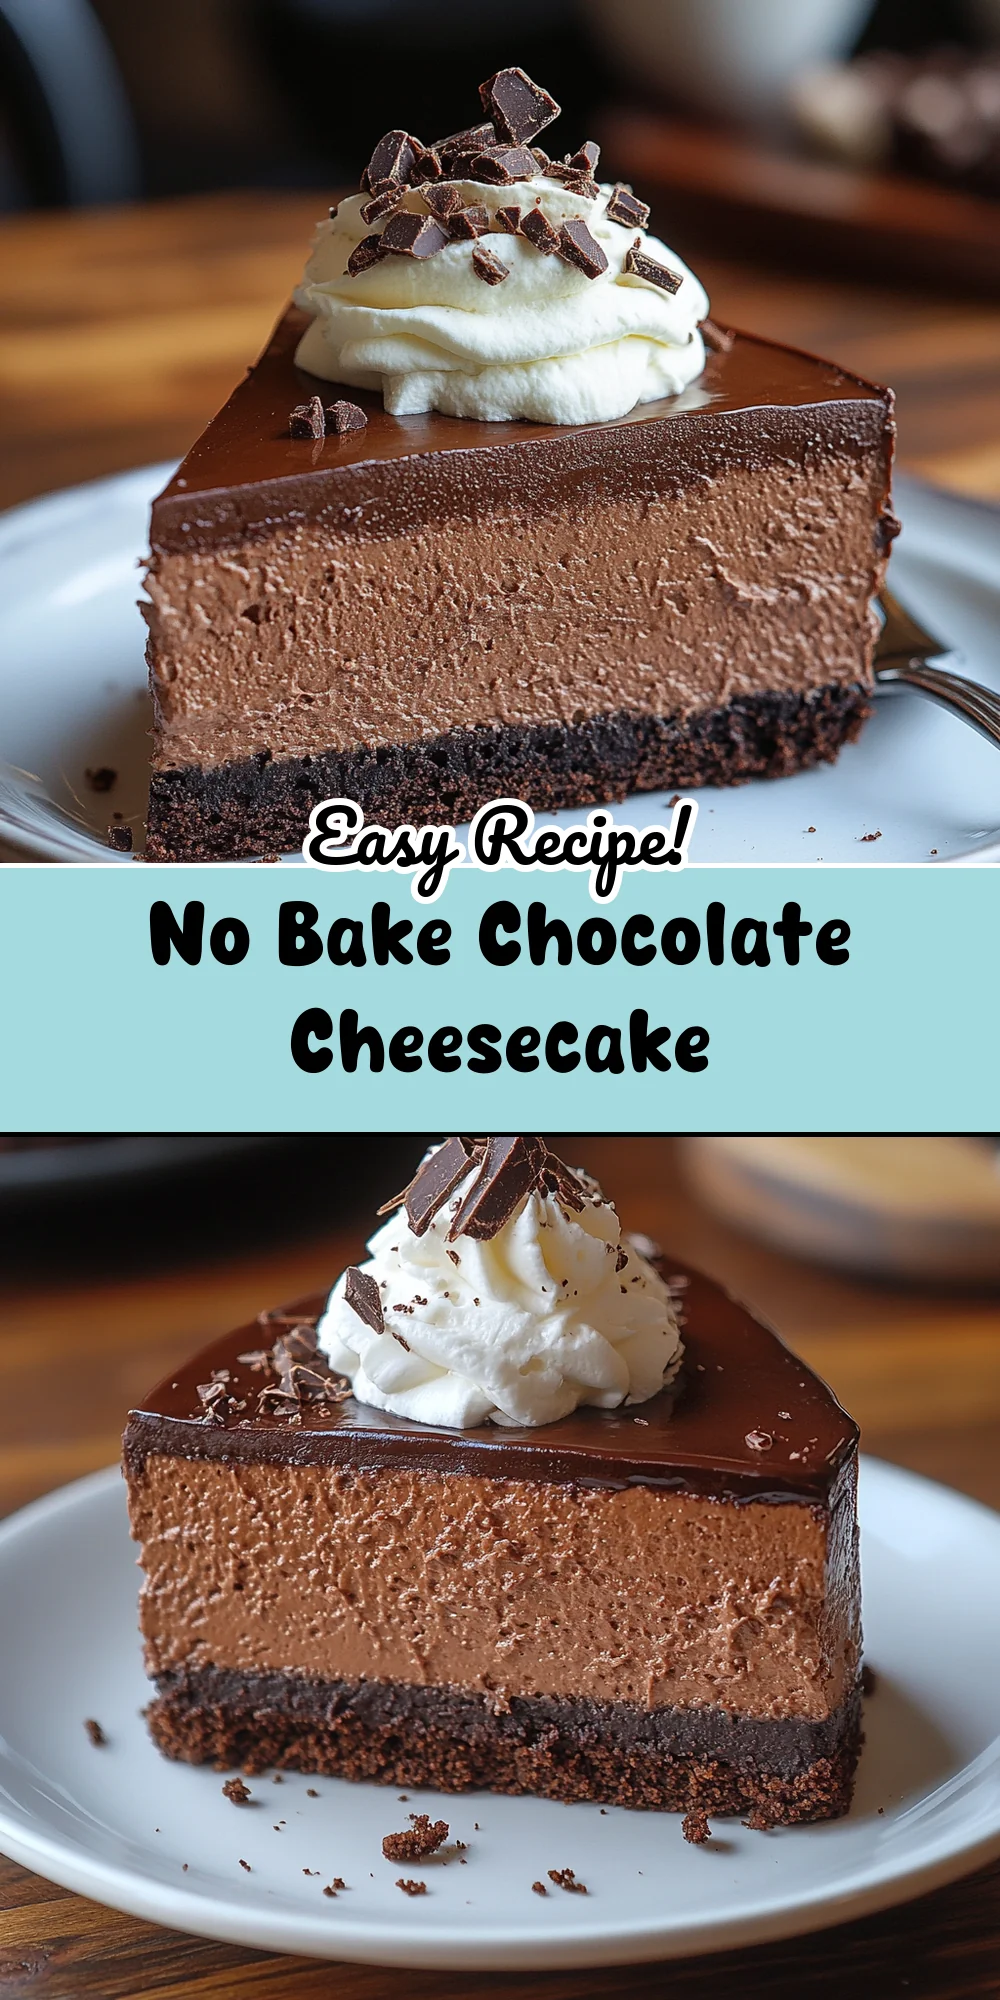
That first bite of a truly decadent dessert can transport you, can’t it? I remember one particularly scorching summer afternoon, a family barbecue in full swing, when my aunt unveiled her legendary no-bake creation. The collective sigh of bliss as everyone dug in was unforgettable. This No Bake Chocolate Cheesecake recipe captures that same magic – a surprisingly simple yet incredibly luxurious treat that has become a staple for my own gatherings, especially when I want to impress without spending hours in a hot kitchen.
This No Bake Chocolate Cheesecake is a marvel of rich, velvety chocolate flavor and a cool, creamy texture, all nestled on a buttery crust. It’s the kind of dessert that shines at holiday feasts, offers a sophisticated end to a weeknight dinner, or simply provides a moment of pure indulgence on a cozy Sunday. Its beauty lies not only in its taste but also in its effortless preparation, making it a true hero for home cooks who crave elegance without complexity.
Why You’ll Love This Recipe
This No Bake Chocolate Cheesecake isn’t just another dessert; it’s a game-changer for busy hosts and chocolate lovers alike.
- Effortlessly Elegant: Achieve a show-stopping dessert with minimal effort. There’s no oven required, making it perfect for warmer months or when your oven is already occupied.
- Intensely Chocolatey: We’re talking deep, rich chocolate flavor that will satisfy even the most ardent chocoholic. The texture is unbelievably smooth and melts in your mouth.
- Crowd-Pleasing Favorite: Whether it’s a family dinner, a potluck, or a special celebration, this cheesecake is always a hit. Its universally loved flavor profile appeals to all ages.
- Customizable & Adaptable: From the crust to the toppings, you can easily tweak this recipe to suit your preferences or dietary needs. It’s a fantastic base for your culinary creativity.
- Perfect for Meal Preppers: Since this No Bake Chocolate Cheesecake needs to chill, it’s an ideal make-ahead dessert, freeing you up on the day of serving.
Ingredients for No Bake Chocolate Cheesecake
Let’s gather what you’ll need for this luscious No Bake Chocolate Cheesecake. Quality ingredients are key to that unforgettable taste.
Core Ingredients
- 1 cup chocolate chips: Good quality semi-sweet or dark chocolate chips work best for a rich flavor. Choose a brand you enjoy eating on its own.
- 2 cups cream cheese (full-fat): This is the heart of your cheesecake. Full-fat, brick-style cream cheese will give you the creamiest, most stable result. Ensure it’s softened to room temperature for smooth blending.
- 2/3 cup confectioners’ sugar: Also known as powdered sugar. This dissolves easily, ensuring a smooth, non-gritty texture. Sift it if it’s lumpy.
- 1 cup heavy cream: Chilled heavy cream is essential for creating a light yet stable filling. Don’t substitute with half-and-half or milk.
- 1 teaspoon vanilla extract: Pure vanilla extract enhances the chocolate flavor beautifully.
Optional Additions & Variations:
- For an Oreo Cookie Crust (Highly Recommended!):
- 3 cups Oreo crumbs: You can buy pre-made crumbs or make your own by pulsing whole Oreo cookies (filling and all!) in a food processor.
- 5 tbsp melted butter: Unsalted butter is preferred, but salted will also work if that’s what you have.
- Toppings Galore:
- Fresh berries (raspberries, strawberries, blueberries)
- More crushed Oreos
- A dusting of cocoa powder
- Chocolate shavings or curls
- A drizzle of caramel or chocolate sauce
- Whipped cream dollops
Substitutions and Tips
- Vegan No Bake Chocolate Cheesecake: This recipe is wonderfully adaptable! Use good quality vegan chocolate chips, your favorite dairy-free cream cheese alternative (ensure it’s a firm, block-style one), and dairy-free whipped cream (coconut cream whipped firm is a great option, or a store-bought vegan whipping cream).
- Chocolate Choice: While semi-sweet is classic, you can use milk chocolate for a sweeter cheesecake or bittersweet for a more intense, darker flavor.
- Crust Variations: Don’t love Oreos? Graham cracker crumbs, digestive biscuits, or even Biscoff cookies make excellent crusts. Use the same crumb-to-butter ratio.
- Flavor Boosters: A teaspoon of instant espresso powder dissolved in the vanilla extract can further intensify the chocolate flavor without making it taste like coffee. A pinch of salt in the filling also helps balance the sweetness.
- Chef Insight: Soften your cream cheese thoroughly. This is crucial for a lump-free cheesecake. Let it sit at room temperature for at least an hour, or carefully microwave it in very short bursts (10-15 seconds) until just softened, not melted.
Best Type of Chocolate and Cream Cheese to Use
Choosing the right foundational ingredients will elevate your No Bake Chocolate Cheesecake from good to truly exceptional.
For the chocolate chips, the quality makes a significant difference. Look for brands that use real cocoa butter and have a good percentage of cocoa solids (for semi-sweet, usually around 45-60%). Ghirardelli, Guittard, or Callebaut are excellent choices. If you prefer, you can also use a good quality chocolate bar, chopped finely, instead of chips. The better the eating quality of the chocolate, the better your No Bake Chocolate Cheesecake will taste. Avoid “baking melts” or “chocolate flavored chips” which often contain vegetable oils instead of cocoa butter and won’t melt as smoothly or taste as rich.
When it comes to cream cheese, always opt for full-fat, brick-style cream cheese. Brands like Philadelphia are reliable. The lower-fat versions or those sold in tubs often have a higher water content and added stabilizers that can result in a runnier, less stable cheesecake. The richness of full-fat cream cheese is what gives this No Bake Chocolate Cheesecake its signature decadent texture. Ensure it’s properly softened to room temperature before you begin, as this allows it to blend smoothly with the other ingredients, preventing any unwanted lumps.
Kitchen Tools You’ll Need
You don’t need any fancy equipment to make this delicious No Bake Chocolate Cheesecake, which is part of its charm!
Must-Have Tools
- 9-inch Springform Pan: This is highly recommended as it makes removing the cheesecake without damaging it incredibly easy. A regular 9-inch pie dish will also work, though serving neat slices might be a bit trickier.
- Electric Mixer: A hand mixer or a stand mixer will make whipping the cream cheese and heavy cream much easier and ensure a smooth, airy consistency. You can do it by hand with a whisk, but it will require significant effort.
- Mixing Bowls: You’ll need a couple of different sizes – one for melting the chocolate, one for the crust (if making), and a large one for combining the cheesecake filling.
- Spatula: A rubber or silicone spatula is essential for scraping down the sides of the bowl and ensuring all ingredients are well combined.
- Measuring Cups and Spoons: Accurate measurements are key in baking, even no-bake recipes!
Nice-to-Have Extras
- Food Processor: If you’re making your own Oreo crumbs, a food processor makes quick work of it.
- Offset Spatula: This tool is fantastic for smoothing the top of the cheesecake filling for a professional finish.
- Piping Bag and Tip: If you want to decorate your No Bake Chocolate Cheesecake with whipped cream swirls.
- Microwave-Safe Bowl: For easily melting the chocolate chips.
How to Make No Bake Chocolate Cheesecake
Ready to create some magic? This No Bake Chocolate Cheesecake comes together surprisingly quickly.
Step 1: Prepare the Crust (If Using)
If making the Oreo crust, combine the 3 cups of Oreo crumbs with 5 tbsp of melted butter in a medium bowl. Stir until the crumbs are evenly moistened – they should look like damp sand. Press this mixture firmly and evenly into the bottom of your 9-inch springform pan. You can use the bottom of a glass or measuring cup to help pack it down tightly. Place the crust in the refrigerator to chill and firm up while you prepare the filling. Pro-chef tip: Chilling the crust helps prevent it from crumbling when you add the filling.
Step 2: Melt the Chocolate
Place the 1 cup of chocolate chips in a microwave-safe bowl. Microwave in 30-second intervals, stirring well after each interval, until the chocolate is completely melted and smooth. Be careful not to overheat or seize the chocolate. Alternatively, you can melt the chocolate in a heatproof bowl set over a pan of simmering water (double boiler method). Set aside to cool slightly – you want it melted, but not piping hot when you add it to the cream cheese. Sensory cue: The chocolate should be glossy and pourable.
Step 3: Beat the Cream Cheese and Sugar
In a large mixing bowl, combine the 2 cups of softened cream cheese and 2/3 cup of confectioners’ sugar. Using an electric mixer on medium speed, beat until the mixture is completely smooth, creamy, and free of lumps, scraping down the sides of the bowl as needed. This usually takes about 2-3 minutes. Pro-chef tip: Start with the mixer on low speed to prevent the powdered sugar from flying everywhere, then increase to medium.
Step 4: Incorporate the Melted Chocolate and Vanilla
Add the slightly cooled melted chocolate and 1 teaspoon of vanilla extract to the cream cheese mixture. Beat on low speed until just combined and the mixture is a uniform chocolate color. Be careful not to overmix at this stage. Scrape down the sides of the bowl again to ensure everything is incorporated. Sensory cue: The batter will look rich, thick, and incredibly tempting!
Step 5: Whip the Heavy Cream
In a separate, clean mixing bowl (preferably chilled), pour in the 1 cup of cold heavy cream. Using clean beaters, whip the cream on medium-high speed until stiff peaks form. Stiff peaks mean that when you lift the beaters, the cream holds its shape and the peaks stand straight up or curl over slightly at the very tip. Pro-chef tip: A chilled bowl and beaters will help the cream whip up faster and more voluminously.
Step 6: Fold in the Whipped Cream
Gently fold about one-third of the whipped cream into the chocolate-cream cheese mixture using a spatula. This lightens the base. Then, add the remaining whipped cream and continue to fold gently until just combined and no white streaks remain. The goal is to keep the mixture airy, so avoid overmixing or stirring vigorously. Sensory cue: The filling should now be lighter in texture, almost mousse-like, but still rich.
Step 7: Assemble and Chill the Cheesecake
Pour the No Bake Chocolate Cheesecake filling over your chilled crust in the springform pan. Use your spatula or an offset spatula to spread the filling evenly and smooth the top. Cover the pan loosely with plastic wrap (try not to let it touch the surface of the cheesecake).
Chill the No Bake Chocolate Cheesecake in the refrigerator for at least 6 hours, or preferably overnight, to allow it to firm up completely. This chilling time is crucial for the cheesecake to set properly and for the flavors to meld.
Step 8: Serve and Enjoy!
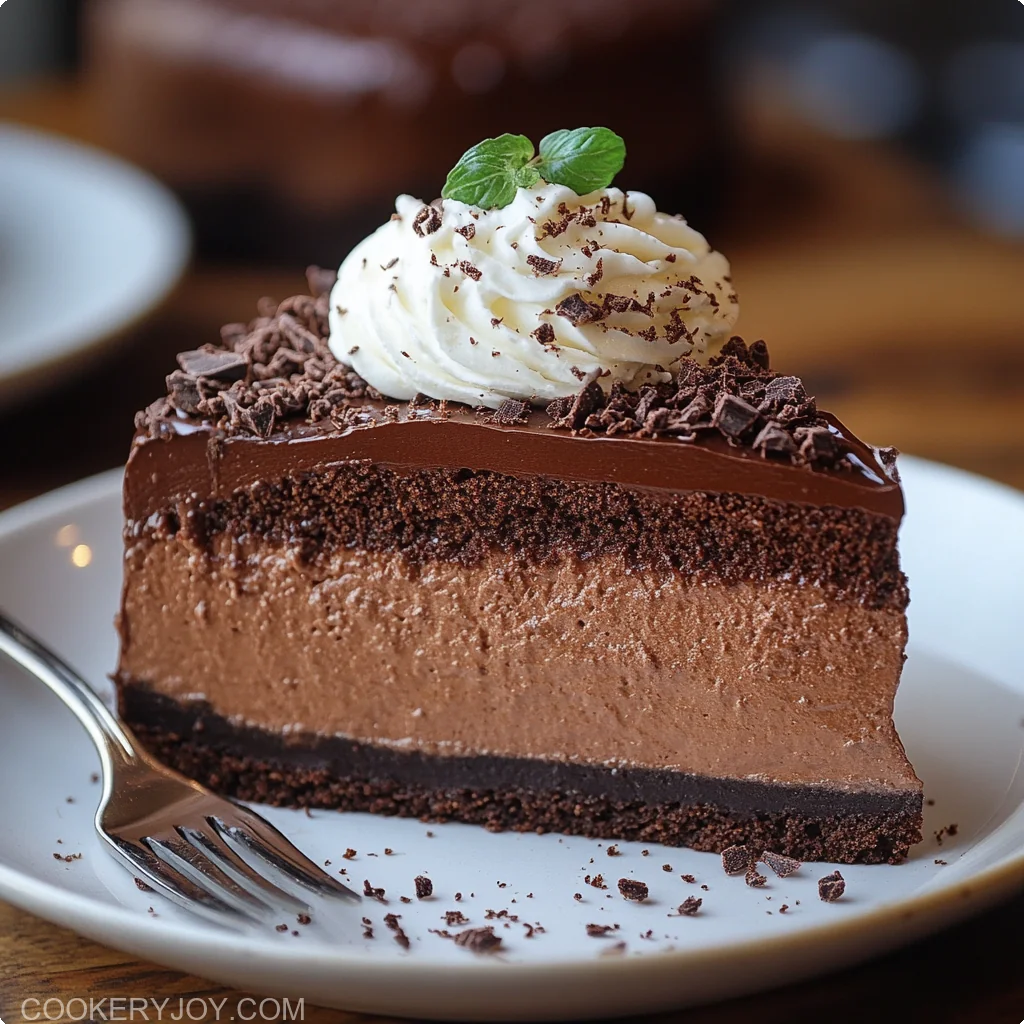
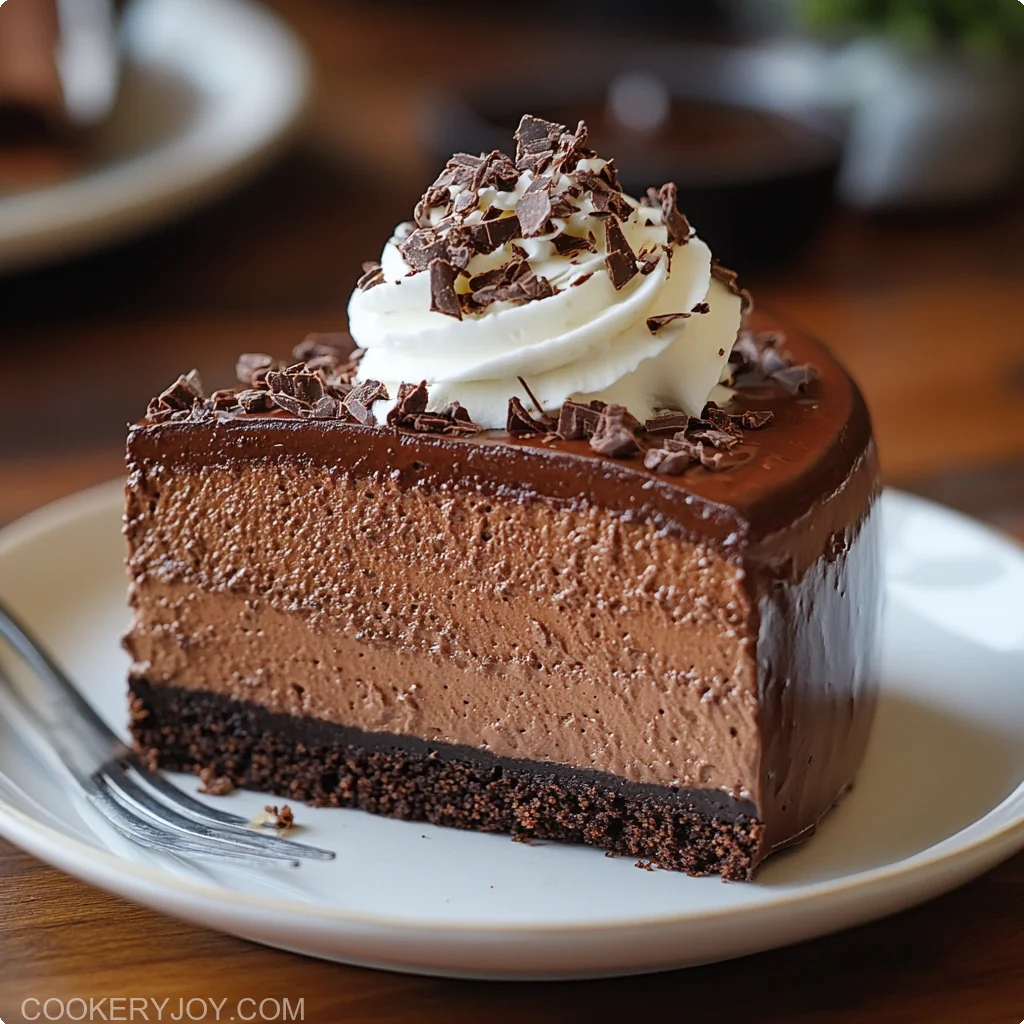
Once fully chilled and firm, carefully run a thin knife around the edge of the springform pan before releasing the ring. If using a pie dish, simply slice and serve. Decorate your No Bake Chocolate Cheesecake with your favorite toppings – fresh berries, a dusting of cocoa powder, crushed Oreos, or a drizzle of chocolate sauce are all wonderful options. Slice, serve, and watch it disappear!
Tips for Success
Want to ensure your No Bake Chocolate Cheesecake is perfect every time? Here are a few key pointers:
- Use Room Temperature Cream Cheese: This cannot be stressed enough! Cold cream cheese will result in a lumpy filling. Allow it to soften on the counter for at least an hour. Don’t try to rush this by overheating it in the microwave, or it can become oily.
- Don’t Overwhip or Undermix: When beating the cream cheese and sugar, aim for smooth and lump-free. When folding in the whipped cream, be gentle to maintain the airy texture. Overmixing after adding the whipped cream can deflate it, leading to a denser cheesecake.
- Chill Adequately: Patience is key! The 6-hour minimum chilling time (preferably overnight) is essential for the No Bake Chocolate Cheesecake to set properly. Cutting into it too soon will result in a soft, soupy mess.
- Quality Chocolate Matters: The flavor of your chocolate will shine through, so use good quality chocolate chips or a baking bar for the best results. This really elevates the entire dessert.
- Properly Whipped Cream: Ensure your heavy cream is cold and whipped to stiff peaks. This provides structure and lightness to the No Bake Chocolate Cheesecake. Under-whipped cream will result in a softer, less stable set.
How to Store No Bake Chocolate Cheesecake
Proper storage will keep your delicious No Bake Chocolate Cheesecake fresh and delightful.
- Room Temperature: Due to the dairy content, this cheesecake should not be left at room temperature for more than 2 hours. For serving at parties, it’s best to bring it out just before guests are ready for dessert.
- In the Refrigerator: This is the best way to store your No Bake Chocolate Cheesecake. Cover it loosely with plastic wrap or store it in an airtight container. It will keep well in the refrigerator for up to 5 days. Some sources mention it can last up to 2 weeks, but for optimal freshness and texture, consuming within 5 days is recommended. The flavors often meld and become even better by the second day! To serve, simply slice and enjoy chilled.
- Freezing Tips: Yes, you can freeze this No Bake Chocolate Cheesecake! For best results, freeze it without any fresh fruit toppings (add those after thawing).
- To Freeze: Chill the cheesecake completely as per the recipe. Once firm, you can freeze it whole in the springform pan (wrap well in plastic wrap, then a layer of aluminum foil) or slice it into individual portions. For slices, place them on a parchment-lined baking sheet to flash freeze until solid, then wrap each slice individually in plastic wrap and foil, and store in a freezer-safe container or bag.
- Storage Time: It can be frozen for up to 1-2 months.
- Thawing: Thaw the No Bake Chocolate Cheesecake overnight in the refrigerator. Thawing at room temperature can affect the texture. Avoid refreezing once thawed.
FAQs
Here are answers to some common questions about making this delightful No Bake Chocolate Cheesecake:
Can I make this No Bake Chocolate Cheesecake ahead of time?
Absolutely! This No Bake Chocolate Cheesecake is perfect for making ahead. It needs at least 6 hours to chill and set properly, but making it the day before you plan to serve it is ideal, as this allows the flavors to fully develop.
What if I don’t have a springform pan?
No problem! You can make this No Bake Chocolate Cheesecake in a standard 9-inch pie dish or a square baking dish. It might be a little trickier to get perfectly neat slices out of a pie dish, but it will taste just as delicious.
My No Bake Chocolate Cheesecake isn’t setting, what did I do wrong?
There are a few potential culprits. Ensure you used full-fat brick-style cream cheese (not spreadable or low-fat), that your heavy cream was whipped to stiff peaks, and that you allowed the cheesecake to chill for the minimum recommended time (at least 6 hours). Also, make sure your chocolate wasn’t too hot when added to the cream cheese mixture.
Can I use a different type of cookie for the crust?
Yes, definitely! Graham cracker crumbs, digestive biscuits, or even shortbread cookies would all make a delicious crust for your No Bake Chocolate Cheesecake. Use roughly the same amount of crumbs and melted butter as the Oreo crust calls for.
How do I prevent lumps in my cheesecake filling?
The most common reason for lumps is using cream cheese that is still too cold. Make sure your cream cheese is fully softened to room temperature. Also, sift your confectioners’ sugar if it appears lumpy before adding it to the cream cheese. Beat the cream cheese and sugar together until completely smooth before adding other ingredients.
Can I make this No Bake Chocolate Cheesecake gluten-free?
Easily! Use your favorite gluten-free chocolate sandwich cookies (like gluten-free Oreos) for the crust, or opt for a naturally gluten-free crust made from ground nuts and butter. Ensure all your other ingredients, particularly chocolate chips and vanilla extract, are certified gluten-free.
Conclusion
This No Bake Chocolate Cheesecake is truly a dessert hero. It’s remarkably easy to whip up, yet it delivers a sophisticated, deeply satisfying chocolate experience that rivals any oven-baked counterpart. Whether you’re a seasoned baker or new to making desserts, this recipe for No Bake Chocolate Cheesecake is foolproof and guaranteed to impress. Its creamy texture and rich flavor make it an unforgettable treat for any celebration, or simply a delightful way to indulge your chocolate cravings. Give this No Bake Chocolate Cheesecake a try – you’ll be amazed at how simple and delicious it is!


