
The aroma of freshly baked cookies, a universal signal of comfort and joy, takes on a wonderfully wholesome note with these oat flour cookies. I remember quiet Saturday afternoons, the kind where the sun slants just right through the kitchen window, and the gentle hum of the mixer was the soundtrack to creating something special. That’s precisely the feeling these cookies evoke – simple, heartwarming, and utterly delightful.
These oat flour cookies are more than just a gluten-free alternative; they’re a celebration of nutty, slightly rustic flavor and a beautifully soft, chewy texture that rivals any traditional cookie. Perfect for an after-school snack, a cozy Sunday baking project, or even a thoughtful homemade gift, these cookies are designed to please. Their inherent charm lies in their simplicity and the wholesome goodness of oat flour, making them a treat you can feel good about enjoying and sharing.
Why You’ll Love This Recipe
These oat flour cookies are a staple in my kitchen, and I’m confident they’ll become a favorite in yours too. Here’s why:
- Incredibly Flavorful: The oat flour lends a subtle, nutty sweetness that elevates the classic cookie taste. It’s a flavor that’s both familiar and refreshingly different.
- Wonderfully Chewy Texture: If you’re a fan of soft, chewy cookies with slightly crisp edges, you’ve come to the right place. These oat flour cookies deliver that perfect textural balance that keeps you coming back for more.
- Gluten-Free Goodness: Made entirely with oat flour, these cookies are a fantastic option for those avoiding gluten without compromising on taste or texture. They prove that gluten-free can be absolutely delicious.
- Quick & Easy to Make: With straightforward steps and common pantry ingredients, this recipe is approachable for bakers of all skill levels. You can whip up a batch of these oat flour cookies in no time!
- Perfect for Everyone: Whether you have dietary restrictions, are baking for a crowd with diverse needs, or simply appreciate a more wholesome treat, these cookies are a winner. They are particularly great for busy parents looking for a healthier snack for kids or anyone craving a guilt-free indulgence.
Ingredients for Oat Flour Cookies
Let’s gather what you’ll need to create these delightful oat flour cookies.
Core Ingredients
- 2 cups oat flour (store-bought or homemade – see notes below)
- Note: Oat flour provides the structure and that signature nutty flavor. If making your own, ensure it’s finely ground for the best texture.
- 1/2 teaspoon baking soda
- Note: This helps the cookies rise and spread perfectly.
- 1/2 teaspoon salt
- Note: Balances the sweetness and enhances the overall flavor profile.
- 1/2 cup unsalted butter, softened
- Note: Make sure your butter is properly softened to room temperature for easy creaming. This is crucial for the cookie’s texture.
- 1/2 cup packed light brown sugar
- Note: Adds moisture and a lovely molasses depth to your oat flour cookies.
- 1/4 cup granulated white sugar
- Note: Contributes to the sweetness and helps create those desirable crisp edges.
- 1 large egg, at room temperature
- Note: Binds the ingredients together. Having it at room temperature helps it incorporate more smoothly into the batter.
- 1 teaspoon vanilla extract
- Note: A must for almost any cookie recipe, vanilla enhances all the other flavors.
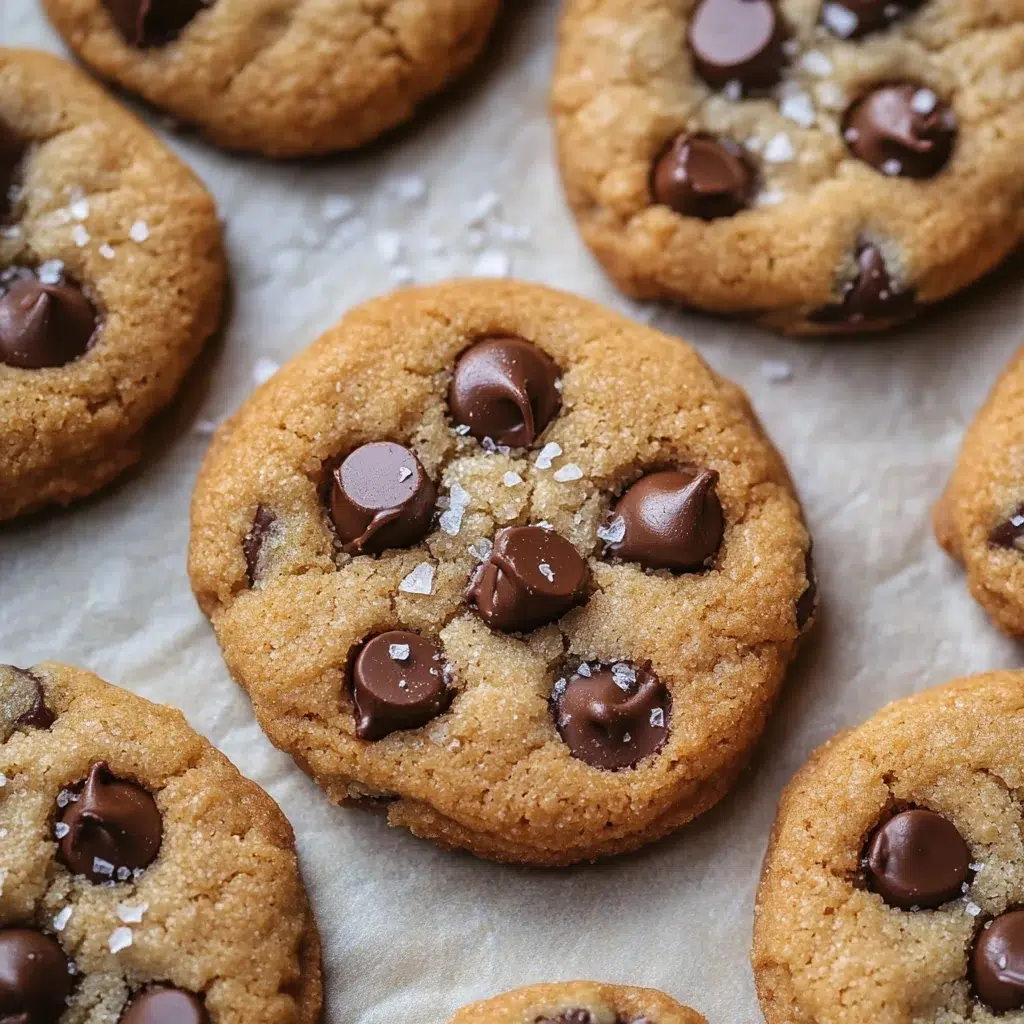
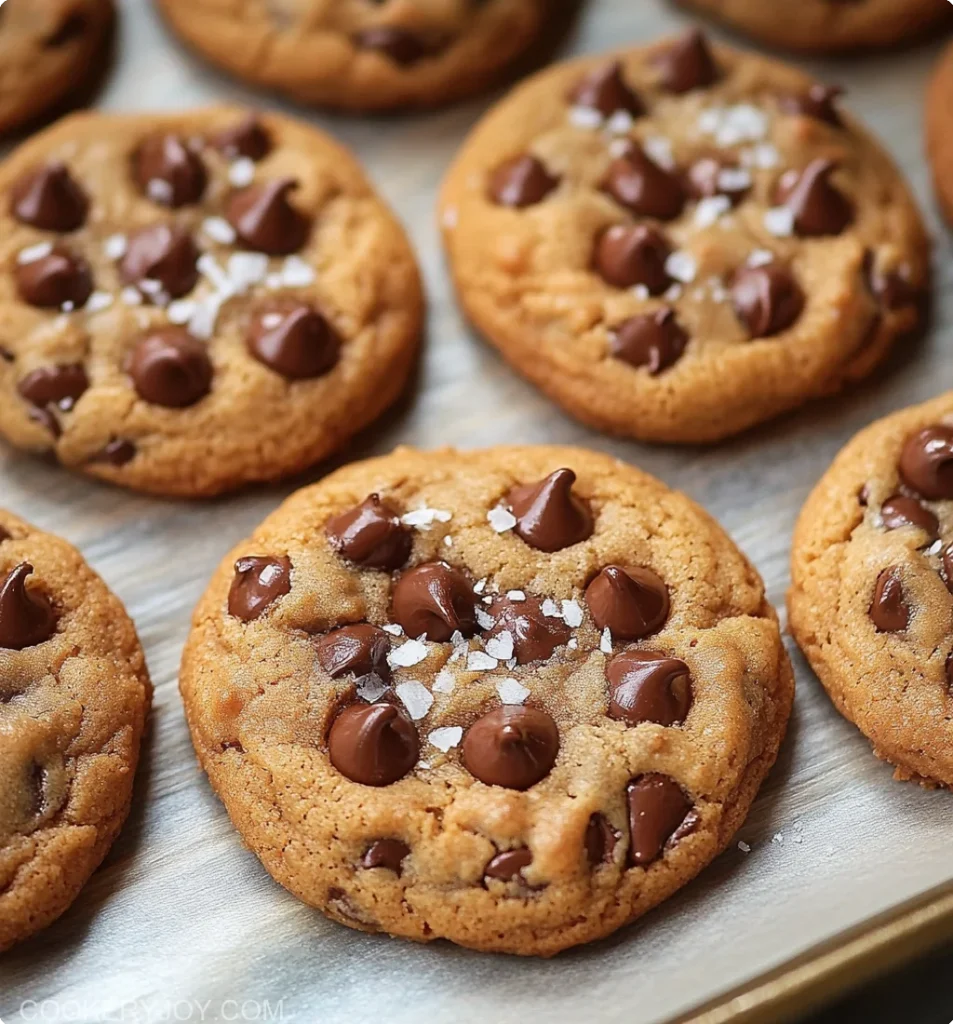
- 1/2 cup chocolate chips (semi-sweet, milk, or dark, your preference!)
- Note: Because what’s a cookie without a little chocolatey goodness? Use good quality chips for the best melt and flavor in your oat flour cookies.
Substitutions and Tips
- Oat Flour: If you don’t have pre-made oat flour, you can easily make your own! Simply blend rolled oats (not instant) in a high-speed blender or food processor until they reach a fine, flour-like consistency. Measure after blending. For a certified gluten-free cookie, ensure you use certified gluten-free rolled oats.
- Sugars: Coconut sugar can be substituted for both brown and white sugar in a 1:1 ratio if you prefer an unrefined option. The cookies might be slightly less sweet and have a more pronounced caramel note.
- Butter: For a dairy-free version, use your favorite dairy-free butter substitute in stick form, ensuring it’s softened. Coconut oil (solid, not melted) can also work, though it will impart a slight coconut flavor.
- Egg: A flax egg can be used as a vegan substitute. Mix 1 tablespoon of ground flaxseed with 3 tablespoons of water and let it sit for 5-10 minutes to thicken.
- Chocolate Chips: Feel free to get creative! Chopped nuts (walnuts, pecans), raisins, dried cranberries, or even white chocolate chips would be delicious additions or substitutions for the chocolate chips in these oat flour cookies.
- Spice it Up: Add 1/2 teaspoon of ground cinnamon or a pinch of nutmeg to the dry ingredients for a warmer, spicier oat flour cookie.
Best Type of Oat Flour to Use
When it comes to making exceptional oat flour cookies, the type of oat flour you choose (or make) can make a difference. For the best texture and flavor, finely ground oat flour is preferred. If the flour is too coarse, the cookies might have a slightly grittier texture.
Most store-bought oat flours are finely milled and work perfectly. If you’re making your own from rolled oats (old-fashioned or quick oats, but not steel-cut or instant), ensure you blend them thoroughly until they resemble a soft, powdery flour. Sifting it after blending can help remove any larger pieces, leading to smoother oat flour cookies.
Viable Alternatives:
- Store-Bought Oat Flour: This is the most convenient option. Look for brands that specify “gluten-free” if that’s a requirement for you, as oats can sometimes be cross-contaminated with wheat during processing.
- Homemade Oat Flour from Rolled Oats: As mentioned, this is a great, cost-effective alternative. It allows you to control the fineness and ensures freshness.
- Homemade Oat Flour from Quick Oats: Quick oats can also be blended into flour. They are simply rolled oats that have been cut into smaller pieces, so they’ll break down into flour more quickly.
Avoid using steel-cut oats to make oat flour for this oat flour cookies recipe, as they are much harder and won’t grind down as finely without a very powerful mill, potentially resulting in a less desirable texture.
Kitchen Tools You’ll Need
Having the right tools makes the baking process for these oat flour cookies smooth and enjoyable.
Must-Have Tools
- Mixing Bowls: You’ll need at least one large bowl for combining the wet ingredients and creaming the butter and sugar, and a medium bowl for whisking together the dry ingredients.
- Measuring Cups and Spoons: Accurate measurements are key to successful baking.
- Electric Mixer (Handheld or Stand Mixer): While you can mix by hand, an electric mixer makes creaming the butter and sugar much easier and ensures a lighter cookie texture.
- Whisk: For combining the dry ingredients thoroughly.
- Rubber Spatula or Wooden Spoon: For scraping down the sides of the bowl and folding in the chocolate chips.
- Baking Sheets (2): Lined with parchment paper or silicone baking mats for easy cleanup and to prevent sticking.
- Cookie Scoop (Optional but Recommended): A medium-sized cookie scoop (about 1.5 to 2 tablespoons) helps ensure uniformly sized oat flour cookies, which means they’ll bake evenly.
- Wire Cooling Rack: Essential for allowing the cookies to cool properly, preventing them from becoming soggy on the bottom.
Nice-to-Have Extras
- Sifter: If your oat flour (especially homemade) seems a bit clumpy, sifting it with the other dry ingredients can lead to a finer crumb.
- Oven Thermometer: Ovens can be notoriously inaccurate. An oven thermometer helps you ensure your oven is at the correct temperature for perfectly baked oat flour cookies.
- Parchment Paper or Silicone Baking Mats: These are game-changers for non-stick baking and super easy cleanup. They also promote more even baking.
How to Make Oat Flour Cookies

Get ready to fill your kitchen with the wonderful aroma of baking! Follow these simple steps for perfect oat flour cookies every time.
Step 1: Prep Oven and Baking Sheets
Preheat your oven to 350°F (175°C). Line two baking sheets with parchment paper or silicone baking mats. This prevents your oat flour cookies from sticking and makes cleanup a breeze.
Step 2: Combine Dry Ingredients
In a medium bowl, whisk together the oat flour, baking soda, and salt. Whisking helps to evenly distribute the baking soda and salt, ensuring every cookie is perfectly leavened and seasoned. Set aside.
Step 3: Cream Butter and Sugars
In a large mixing bowl, using an electric hand mixer or a stand mixer fitted with the paddle attachment, beat the softened butter, brown sugar, and granulated sugar together on medium speed until light and fluffy. This usually takes about 2-3 minutes. You’ll notice the mixture become paler in color. Pro-chef tip: Don’t skimp on this step! Proper creaming incorporates air into the dough, which contributes to a lighter, chewier oat flour cookie.
Step 4: Add Egg and Vanilla
Add the room temperature egg and vanilla extract to the creamed butter mixture. Beat on low speed until just combined. Scrape down the sides of the bowl with a rubber spatula to ensure everything is incorporated. Sensory cue: The mixture should look smooth and well-blended.
Step 5: Gradually Add Dry Ingredients
With the mixer on low speed, gradually add the dry ingredient mixture to the wet ingredients. Mix until just combined. Be careful not to overmix at this stage. Overmixing can develop the gluten (even though it’s oat flour, some structure develops) and lead to tougher oat flour cookies. Mix until you no longer see streaks of flour.
Step 6: Fold in Chocolate Chips
Remove the bowl from the mixer (if using a stand mixer) and fold in the chocolate chips using a rubber spatula or wooden spoon. Ensure they are evenly distributed throughout the dough. The dough for your oat flour cookies will be soft.
Step 7: Scoop and Bake
Drop rounded tablespoons of dough (or use a medium cookie scoop) onto the prepared baking sheets, placing them about 2 inches apart to allow for spreading.
Bake for 10-13 minutes, or until the edges are lightly golden brown and the centers are just set. The exact baking time will depend on your oven and the size of your oat flour cookies. Sensory cue: The cookies should look slightly puffy and the edges will just be starting to turn a beautiful golden hue. They might look slightly underdone in the very center when you pull them out, but they will continue to cook a bit on the hot baking sheet.
Step 8: Cool Cookies
Let the oat flour cookies cool on the baking sheets for 5 minutes. This allows them to firm up slightly before you move them. Then, carefully transfer the cookies to a wire cooling rack to cool completely. This prevents the bottoms from getting soggy and ensures a perfectly chewy texture throughout.
Tips for Success
Achieving the perfect batch of oat flour cookies is easy with these handy tips:
- Measure Your Flour Correctly: When measuring oat flour (especially if it’s homemade and fluffy), use the “spoon and level” method. Gently spoon the flour into your measuring cup and then level off the excess with a straight edge. Do not scoop directly from the bag or container, as this can compact the flour and result in too much flour, making your cookies dry.
- Don’t Overbake: This is key for chewy oat flour cookies! Pull them from the oven when the edges are just golden and the centers look set but still slightly soft. They will continue to firm up as they cool on the baking sheet.
- Chill the Dough (Optional, for Thicker Cookies): If you prefer thicker, less spread-out oat flour cookies, or if your kitchen is very warm, chill the dough for at least 30 minutes before scooping and baking. This helps the fat solidify, reducing spread.
- Room Temperature Ingredients are Important: Using softened butter and room temperature eggs ensures they emulsify properly, leading to a smoother, more uniform cookie dough and a better final texture for your oat flour cookies.
- Use Parchment Paper or a Silicone Mat: Not only does this prevent sticking, but it also helps the oat flour cookies bake more evenly and can contribute to a better bottom crust. Avoid greasing the pan directly if possible, as this can cause excessive spreading.
How to Store Oat Flour Cookies
Proper storage will keep your delicious oat flour cookies fresh and enjoyable for as long as possible.
Room Temperature:
Once completely cooled, store your oat flour cookies in an airtight container at room temperature. They will generally stay fresh and maintain their chewy texture for up to 3-4 days. Placing a slice of bread in the container can help keep them soft, though with oat flour cookies, they tend to retain moisture well.
In the Refrigerator:
While you can store oat flour cookies in the refrigerator, it’s generally not recommended as it can make them a bit hard and dry out faster than at room temperature. If you do choose to refrigerate them (perhaps in a very warm, humid climate), ensure they are in a tightly sealed airtight container. They might last up to a week, but their texture is best when brought back to room temperature or slightly warmed before eating.
Freezing Tips:
Oat flour cookies freeze wonderfully!
- Freezing Baked Cookies: Allow the cookies to cool completely. Then, place them in a single layer on a baking sheet and freeze until solid (about 1-2 hours). Once frozen, transfer them to a freezer-safe zip-top bag or airtight container, separating layers with parchment paper if desired to prevent sticking. They can be frozen for up to 2-3 months.
- Freezing Cookie Dough: You can also freeze the oat flour cookie dough. Scoop the dough balls onto a parchment-lined baking sheet and freeze until solid. Transfer the frozen dough balls to a freezer-safe bag or container. When ready to bake, you can bake them directly from frozen; just add an extra 2-3 minutes to the baking time. No need to thaw!
- Reheating Frozen Cookies: Thaw frozen baked oat flour cookies at room temperature for about 30 minutes to an hour, or reheat them in a 300°F (150°C) oven for 5-7 minutes, or until warmed through, for that fresh-baked taste and texture.

Frequently Asked Questions (FAQs)
Here are some common questions about making these tasty oat flour cookies:
Can I make my own oat flour for these cookies?
Absolutely! To make oat flour, simply blend rolled oats (old-fashioned or quick-cooking, not steel-cut) in a high-speed blender or food processor until they reach a fine, powdery consistency. For this oat flour cookies recipe, measure the flour after blending. Using certified gluten-free oats will ensure your cookies are gluten-free.
Are these oat flour cookies gluten-free?
Yes, if you use certified gluten-free oat flour or make your own oat flour from certified gluten-free rolled oats, these oat flour cookies will be gluten-free. Oats themselves are naturally gluten-free, but they can be cross-contaminated with wheat during processing, so checking the label is important for those with celiac disease or severe gluten sensitivity.
Why are my oat flour cookies dry or crumbly?
The most common reasons for dry oat flour cookies are measuring too much oat flour or overbaking. Oat flour is very absorbent. Ensure you’re using the “spoon and level” method for measuring flour. Also, pull the cookies from the oven when the edges are set and lightly golden, but the centers still look a little soft. They’ll firm up as they cool.
Can I use a different type of sugar in this recipe?
Yes, you can experiment. Using all brown sugar will result in a chewier, more moist cookie with a stronger molasses flavor. Using all granulated sugar might make them a bit crispier. Coconut sugar can be used as a 1:1 substitute for both sugars combined for an unrefined option, which will slightly alter the flavor and texture of your oat flour cookies.
What mix-ins can I add to these oat flour cookies?
Besides chocolate chips, feel free to add about 1/2 to 3/4 cup of other mix-ins. Chopped nuts like walnuts or pecans, dried fruit such as raisins or cranberries, or even different flavored baking chips like white chocolate or butterscotch would be delicious additions to these oat flour cookies.
How do I know when the oat flour cookies are done baking?
Look for lightly golden brown edges and centers that appear set but are still soft. They might look slightly underbaked in the very middle, but they will finish cooking from the residual heat on the baking sheet after you remove them from the oven. Overbaking will lead to harder, drier oat flour cookies.
Conclusion
These oat flour cookies are more than just a sweet treat; they’re a testament to how simple ingredients can come together to create something truly special and satisfying. With their delightful chewiness, nutty undertones, and the comforting presence of chocolate chips, they are a go-to recipe for any occasion. Whether you’re a seasoned baker or just starting, you’ll find joy in making and sharing these wonderful oat flour cookies. They are proof that wholesome and delicious can go hand in hand, offering a comforting bite that everyone will love. I hope these oat flour cookies become a cherished recipe in your home, just as they are in mine.


