
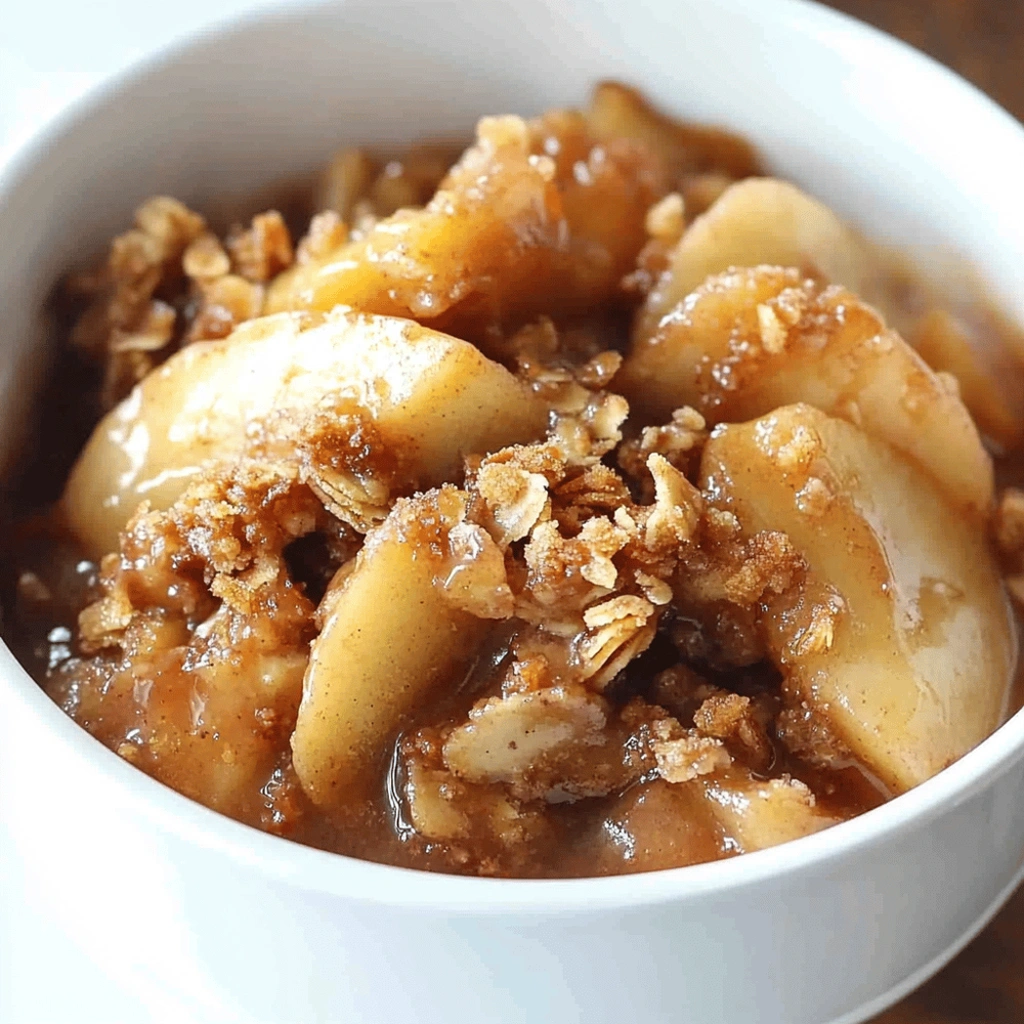
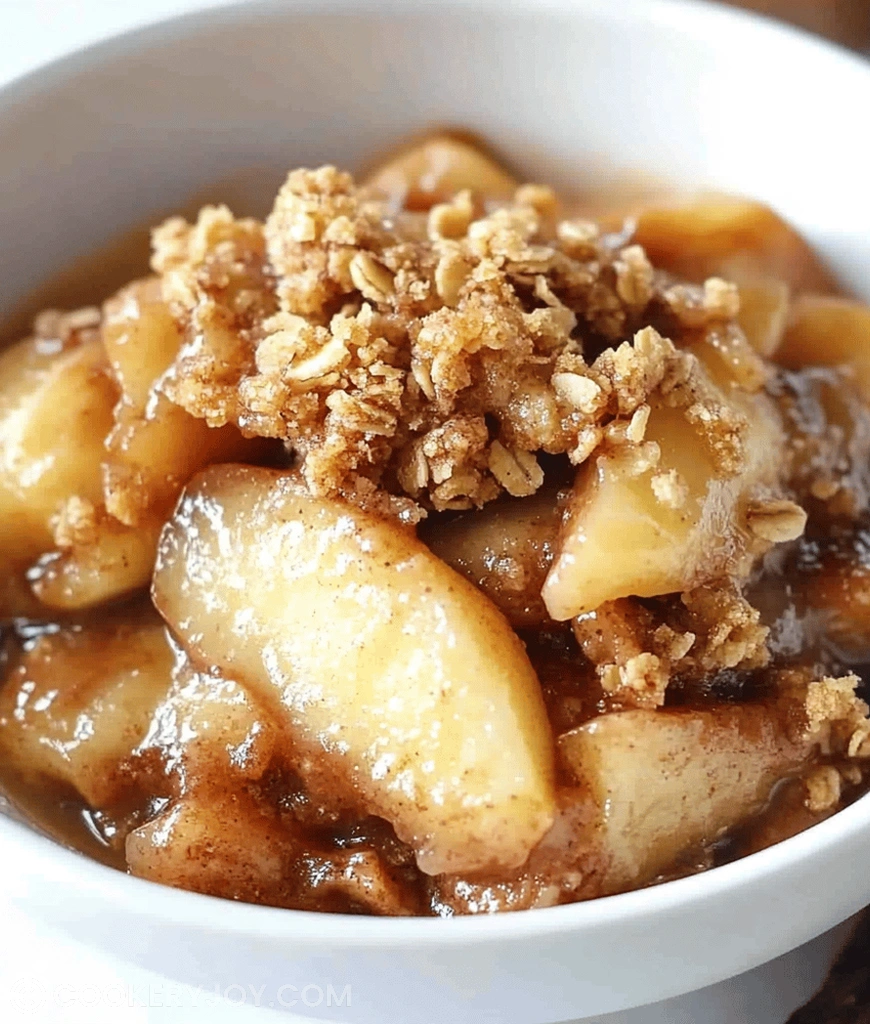
There’s a special kind of magic in a classic baked dessert. This Old Fashioned Apple Crisp brings that comfort right to your table. Imagine tender, juicy apples baked until they’re perfectly soft. Then, picture a sweet, golden topping with just the right amount of cinnamon spice. It’s a truly delightful treat.
I love making this for cozy evenings. It’s wonderful served warm with a dollop of ice cream. This simple recipe fills my home with the sweetest aromas. It’s a crowd-pleaser that always feels like home.
Why I Love This Old Fashioned Apple Crisp
Honestly, what’s not to love? This Old Fashioned Apple Crisp is a weeknight savior. It comes together so quickly. The flavor is pure comfort. Plus, it always impresses guests. It’s just so darn easy to make. And the smell? Divine. It’s a favorite for so many good reasons. It hits all the right notes for a perfect dessert.
Old Fashioned Apple Crisp Ingredients
The beauty of an Old Fashioned Apple Crisp lies in its simple, wholesome ingredients. Together, they create a symphony of sweet, tart, and spiced flavors. You get tender baked apples under a delightful, crumbly topping. It’s a classic combination for a reason!
Let’s talk about what goes into this lovely dessert:
- Apples: These are the heart of our crisp! Use about 6 medium apples. Granny Smith, Honeycrisp, or Fuji are fantastic choices. They offer a good balance of tartness and sweetness. Plus, they hold their shape well when baked.
- Granulated Sugar: This sweetens the apple filling. It also helps create a nice, syrupy texture.
- All-Purpose Flour: Used in both the filling and the topping. It thickens the apple juices. It also provides the structure for that wonderful crumble.
- Cinnamon & Nutmeg: These are our spice powerhouses. They give the filling that warm, cozy flavor. So important for that classic taste!
- Lemon Juice: A little bit brightens the apple flavor. It also helps prevent the apples from browning too much.
- Brown Sugar: Packed brown sugar adds moisture and a caramel-like depth to the topping. It’s key for that rich flavor.
- Salt: Just a pinch in the topping enhances all the other flavors. It balances the sweetness perfectly.
- Unsalted Butter: Cold butter is crucial for a tender, crumbly topping. When it bakes, it creates those delicious little pockets of goodness.
Substitutions and Tips
Don’t have a specific apple? No problem! Feel free to mix and match. Any baking apple will work well. Want more spice? Add a tiny bit more cinnamon to the topping. For a richer topping, you can also add a handful of chopped nuts like pecans or walnuts. Just stir them in with the flour mixture. If you’re short on time, you can often find pre-sliced apples at the grocery store. This recipe is quite forgiving. Exact quantities are in the printable recipe card below!
How to Make Old Fashioned Apple Crisp
Making this delightful Old Fashioned Apple Crisp is super simple. You will have a wonderful dessert ready in no time. Let’s walk through each step together. We’ll create a truly delicious baked apple treat.
Step 1: Prepare Your Oven and Dish
First, let’s get our oven ready. Preheat it to 375°F (190°C). This temperature is perfect for baking. Grab an 8×8 or 9×9 inch baking dish. A quick grease is all it needs. This stops our crisp from sticking.
Step 2: Mix the Apple Filling
Now, grab a big bowl. Add your peeled, cored, and sliced apples. These should be about 2.5 pounds. Toss them with 1/4 cup granulated sugar. Add 1 tablespoon of all-purpose flour. Stir in 1 teaspoon of ground cinnamon. Don’t forget the nutmeg and that splash of lemon juice. Mix everything well. Ensure every apple slice is coated. This makes for evenly flavored apples.
Step 3: Assemble the Base
Pour your coated apple mixture into the greased baking dish. Spread the apples out evenly. This ensures they bake uniformly. You want a nice, even layer of fruit. It’s the foundation of our easy apple crisp.
Step 4: Create the Topping Mixture
Time for that irresistible topping! In a separate bowl, combine 1 cup of all-purpose flour. Measure in 1/2 cup of packed light brown sugar. Add 1/2 cup of granulated sugar too. Sprinkle in 1 teaspoon of ground cinnamon. A half teaspoon of salt is important. This balances the sweetness nicely.
Step 5: Cut in the Butter
Add the cold, cubed butter to the topping ingredients. This is key for a crumbly topping. Use your fingertips. A pastry blender works well. Even a fork can do the job. Work the butter into the dry ingredients. Keep going until it looks like coarse crumbs. Some small pea-sized bits of butter are fine. They help make it tender.
Step 6: Top the Apples
Now, take your delicious crumble topping. Sprinkle it evenly over the apples in the dish. Make sure to cover the whole surface. This creates that beautiful golden crown. It protects the apples as they bake.
Step 7: Bake to Perfection
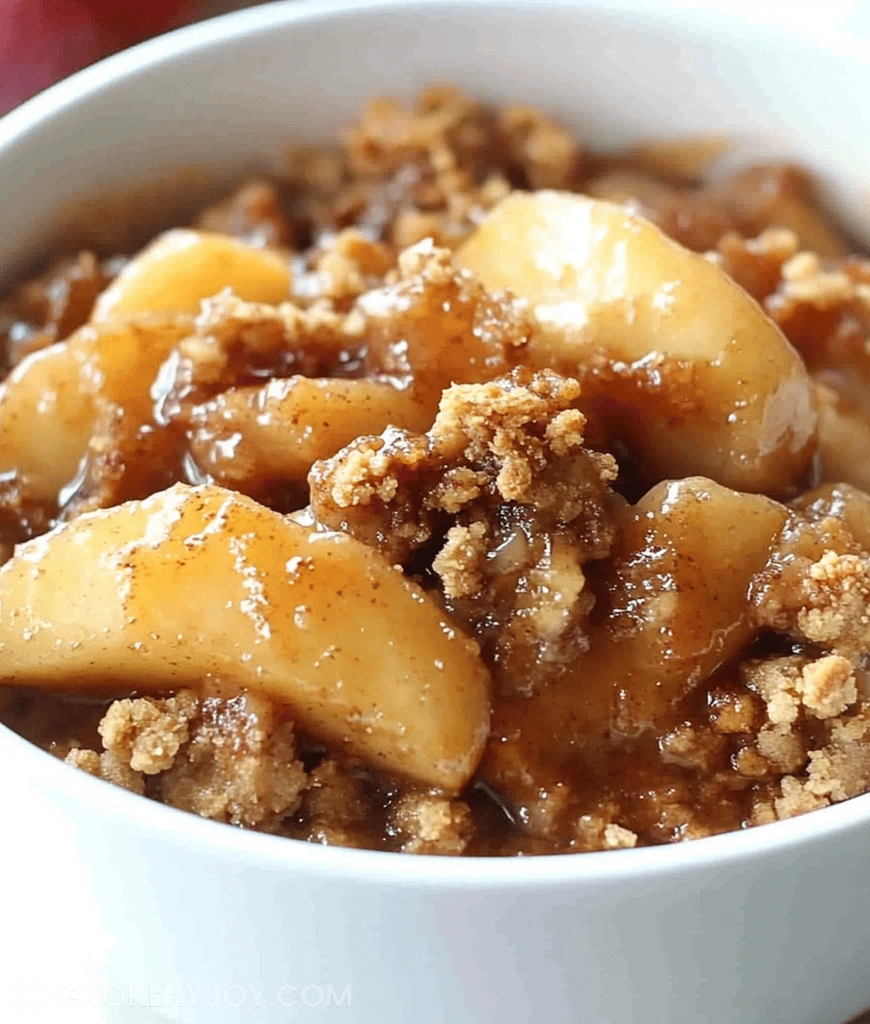
Place the dish in your preheated oven. Bake for about 40 to 50 minutes. You are looking for a few signs. The topping should be golden brown. The apples underneath should be tender. You’ll see them bubbling around the edges. This bubbly goodness means it’s ready!
Step 8: Cool and Serve
Once out of the oven, let your Old Fashioned Apple Crisp cool a bit. This allows the juices to settle. It makes serving much easier. It is best served warm. A scoop of vanilla ice cream is heavenly. Whipped cream also works wonderfully. Enjoy this amazing comfort food!
How to Store Old Fashioned Apple Crisp
Leftover Old Fashioned Apple Crisp is a treasure. Store it in an airtight container. You can keep it at room temperature for a day. For longer freshness, refrigerate it. It will stay delicious for about 3-4 days. Reheat gently in the oven or microwave. Freezing is also an option. Wrap individual portions tightly. Frozen crisp lasts up to 2 months. It’s perfect for future sweet cravings.
Tips for Success
- Use cold butter for the topping. This ensures a deliciously crumbly texture.
- Don’t overmix the topping. Coarse crumbs are just what you want.
- Slice apples evenly. This helps them bake at the same rate.
- Let the crisp cool slightly before serving. It allows the juices to thicken up.
- Taste your apples first. Adjust sugar if they are very tart or very sweet.
Kitchen Tools You’ll Need
- Baking dish (8×8 or 9×9 inch). Any oven-safe dish works too.
- Large bowl for the apples.
- Medium bowl for the topping.
- Measuring cups and spoons.
- Peeler and knife.
- Pastry blender or fork (optional). Your fingers work great!
Serving Suggestions
- Serve warm with a generous scoop of vanilla ice cream.
- Top with a dollop of fresh whipped cream.
- A drizzle of caramel sauce adds extra sweetness.
- Enjoy with a cup of hot apple cider or tea.
Frequently Asked Questions
Can I make this Old Fashioned Apple Crisp ahead of time?
Yes, you can absolutely prep elements of this easy apple crisp ahead! You can peel and slice your apples a day in advance, storing them in water with a little lemon juice to prevent browning. The topping can also be made a day ahead and stored in the fridge. Assemble just before baking for the best texture.
What are the best apples for apple crisp?
For a delicious baked apples texture and flavor, a mix of apples is often best! Granny Smith offers a lovely tartness that balances the sweet topping. Honeycrisp or Fuji provide a nice sweetness and hold their shape well. Using a combination ensures a complex and satisfying taste in your old fashioned apple crisp.
Can I use gluten-free flour for the topping?
You certainly can! For a gluten-free Old Fashioned Apple Crisp, simply swap the all-purpose flour in the topping with a good quality 1:1 gluten-free baking blend. You might need to slightly adjust the liquid or add a binder like xanthan gum if your blend doesn’t already include it. The result will still be wonderfully crumbly!
How do I prevent the topping from burning before the apples are cooked?
If you notice your crumble topping browning too quickly, you can loosely tent the baking dish with aluminum foil. This allows the apples to finish cooking and tenderizing without the topping getting too dark. Keep an eye on it, and remove the foil for the last 10 minutes of baking if you want it extra golden.
Print
Old Fashioned Apple Crisp
- Prep Time: 15 minutes
- Cook Time: 40-50 minutes
- Total Time: 55-65 minutes
- Yield: 6-8 servings
- Category: Dessert
- Method: Baking
- Cuisine: American
- Diet: Vegetarian
Description
A classic and comforting Old Fashioned Apple Crisp recipe featuring tender baked apples with a sweet, crumbly cinnamon-spiced topping.
Ingredients
- For the Filling:
- 6 medium apples (about 2.5 pounds), peeled, cored, and sliced (Granny Smith, Honeycrisp, or Fuji work well)
- 1/4 cup granulated sugar
- 1 tablespoon all-purpose flour
- 1 teaspoon ground cinnamon
- 1/4 teaspoon ground nutmeg
- 1 tablespoon lemon juice
- For the Topping:
- 1 cup all-purpose flour
- 1/2 cup packed light brown sugar
- 1/2 cup granulated sugar
- 1 teaspoon ground cinnamon
- 1/2 teaspoon salt
- 1/2 cup (1 stick) unsalted butter, cold and cut into small pieces
Instructions
- Preheat oven to 375°F (190°C). Lightly grease an 8×8 inch or 9×9 inch baking dish.
- In a large bowl, combine the sliced apples, 1/4 cup granulated sugar, 1 tablespoon flour, 1 teaspoon cinnamon, nutmeg, and lemon juice. Toss until the apples are evenly coated.
- Pour the apple mixture into the prepared baking dish and spread evenly.
- In a separate medium bowl, combine 1 cup flour, brown sugar, 1/2 cup granulated sugar, 1 teaspoon cinnamon, and salt for the topping.
- Add the cold butter pieces to the dry ingredients. Using your fingers, a pastry blender, or a fork, cut the butter into the flour mixture until it resembles coarse crumbs.
- Sprinkle the topping evenly over the apple mixture in the baking dish.
- Bake for 40-50 minutes, or until the topping is golden brown and the apples are tender and bubbly.
- Let cool slightly before serving. Delicious warm with a scoop of vanilla ice cream.
Notes
- Apples like Granny Smith, Honeycrisp, or Fuji are recommended for their texture and flavor.
- Serve warm, ideally with vanilla ice cream or whipped cream.


