

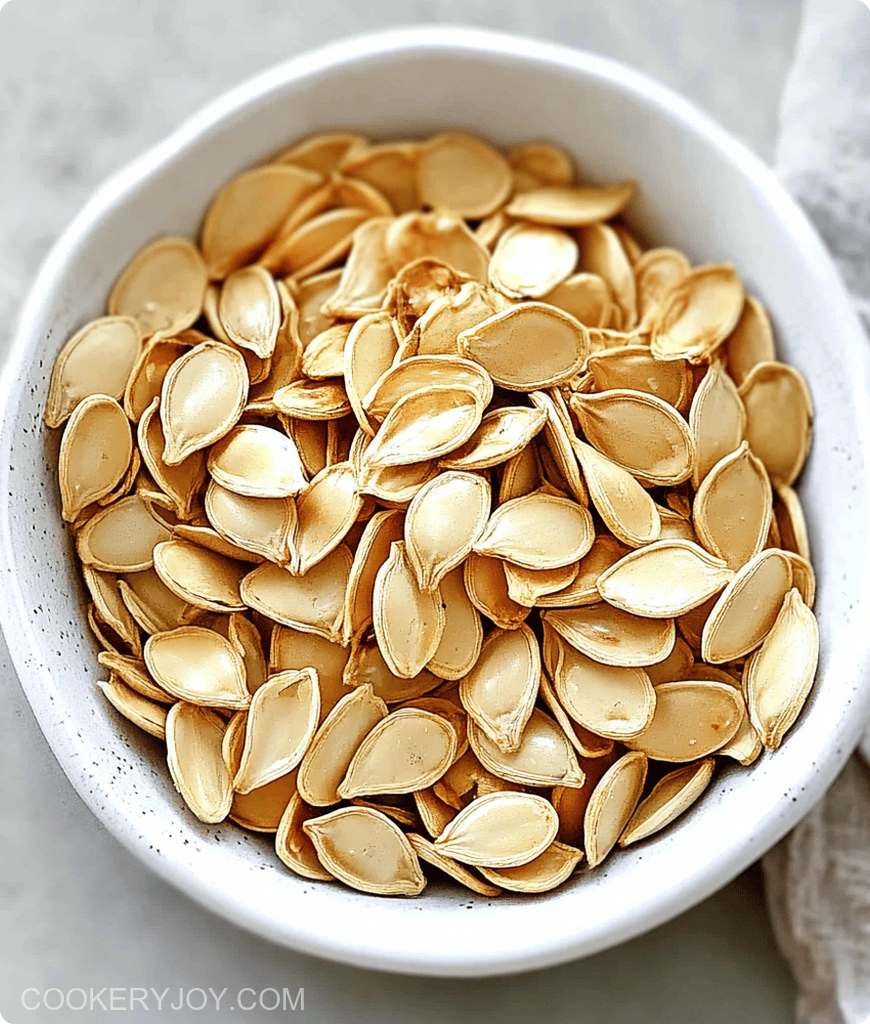
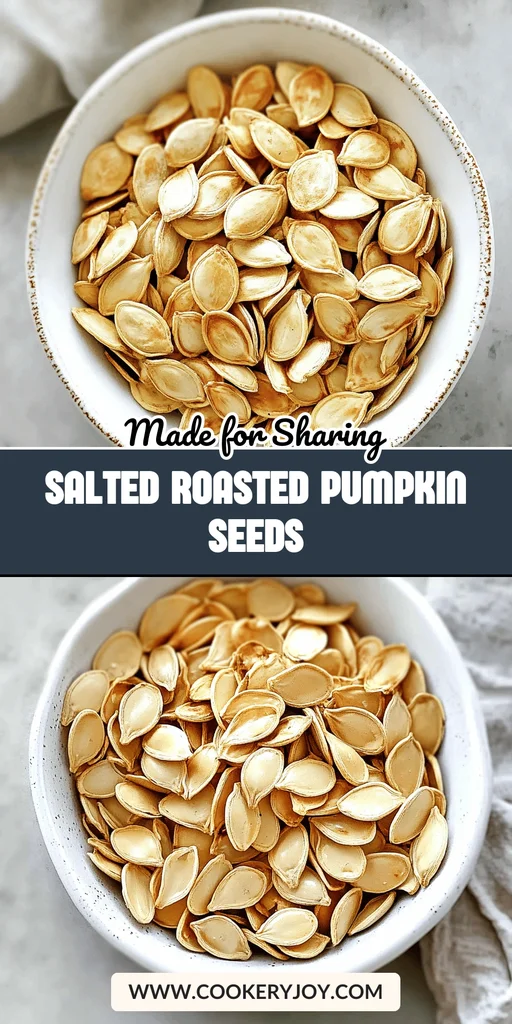
There’s a simple, satisfying joy that comes from transforming humble pumpkin seeds into a wonderfully crunchy and flavorful snack. These Salted Roasted Pumpkin Seeds offer a perfect balance of savory sea salt and the natural, nutty essence of the pumpkin, creating a treat that’s both addictive and wholesome. They are incredibly easy to prepare, making them an ideal addition to your fall baking repertoire or a delightful year-round snack.
I love having a batch of these ready to go for an afternoon pick-me-up or to share with friends when they drop by unexpectedly. They store beautifully, retaining their crispness for days, and are a fantastic way to use up those seeds you might otherwise discard after carving pumpkins. This recipe has become a go-to for its simplicity and the sheer deliciousness it delivers.
Why I Love This Recipe
This recipe for Salted Roasted Pumpkin Seeds is a true winner in my kitchen. It’s wonderfully effortless, requiring minimal prep work for maximum flavor payoff. Plus, it’s quick; you can have these ready in under an hour, which is perfect for those busy weeknights. They deliver that ideal salty, nutty crunch that’s incredibly satisfying. Beyond just snacking, they are so versatile – I love sprinkling them over salads or topping hearty soups. And selfishly, it feels great to use up the pumpkin pulp instead of tossing it!
Salted Roasted Pumpkin Seeds Ingredients
The magic of these Salted Roasted Pumpkin Seeds truly lies in their simplicity. They rely on just a few core ingredients. This combination creates something wonderfully addictive. The fresh pumpkin seeds, simple salt, and a touch of oil transform them. They become a delightful snack.
- Pumpkin Seeds: These are the star of the show. They provide that satisfying crunch. They also offer an earthy, nutty flavor.
- Water: Used for a quick boil. This helps soften the shells slightly. It also infuses them with salt. This leads to more even seasoning.
- Sea Salt: This is essential for flavor. It brings out the natural taste of the seeds. It also provides that signature salty taste.
- Olive Oil: This helps the salt adhere. It also promotes beautiful, even browning during roasting.
Substitutions and Tips:
Feel free to experiment with different types of salt. You could use kosher salt or flaky sea salt for finishing. For a flavor boost, consider adding a pinch of garlic powder. Onion powder is also a good choice. Even a touch of cayenne pepper before roasting works well. Ensure your seeds are thoroughly patted dry after boiling. Excess moisture is the enemy of crispiness! The exact quantities for these ingredients are in the recipe card below.
How to Make Salted Roasted Pumpkin Seeds
Making these simple Salted Roasted Pumpkin Seeds is quite straightforward. You’ll transform ordinary pumpkin seeds into a delightful treat. Let’s get started on this easy recipe.
Step 1: Prepare the Pumpkin Seeds
Begin by carefully removing the seeds from your pumpkin. Rinse them thoroughly under cool water. This removes any lingering pulp or membrane. It’s important to separate the seeds from the stringy bits as much as possible. This initial prep is key for clean, flavorful seeds.
Step 2: Boil the Seeds
For every half cup of cleaned pumpkin seeds, bring 2 cups of water to a boil. Add 1 tablespoon of sea salt to the water. Use a medium pot for this. Add the prepared pumpkin seeds to the boiling salted water. Let them boil for about 10 minutes. This step softens the shells slightly. It also infuses the seeds with salt. This ensures a more evenly seasoned final product.
Step 3: Dry the Seeds Thoroughly
After boiling, drain the seeds using a colander. Spread them out on a clean kitchen towel. You can also use several layers of paper towels. Pat them as dry as possible. Ensure you remove as much excess moisture as you can. This step is vital for achieving that perfect crispy texture in your roasted pumpkin seeds.
Step 4: Season and Prepare for Roasting
Preheat your oven to 350 degrees F (175 degrees C). In a bowl, toss the dried pumpkin seeds. Use a tablespoon of olive oil for this. Ensure they are evenly coated. If you like them extra salty, sprinkle with a little more sea salt at this stage.
Step 5: Roast to Perfection
Spread the seasoned seeds in a single layer on a baking sheet. Place them in the preheated oven. Roast for 12 to 25 minutes. It’s important to stir the seeds every 5 minutes. This promotes even toasting. It also prevents any from burning. Keep an eye on them. They are ready when they turn a beautiful golden brown. A warm, nutty aroma will fill the air. You can taste one to check for crispness.
Step 6: Cool and Enjoy
Once they are perfectly roasted and crisp, remove the baking sheet from the oven. Let the Salted Roasted Pumpkin Seeds cool completely on the baking sheet. As they cool, they will become even crispier. Once cooled, they are ready to be enjoyed. They make a delicious homemade snack.
How to Store Salted Roasted Pumpkin Seeds
To keep your Salted Roasted Pumpkin Seeds wonderfully crisp, store them in an airtight container. A resealable bag at room temperature also works. They will maintain their best quality for up to two weeks. For longer storage, you can freeze them. Use a freezer-safe bag for up to three months. Just ensure they are completely cooled before freezing. Avoid refrigerating them. The moisture there can make them lose their crunch.
Tips for Success
Achieving perfectly crisp Salted Roasted Pumpkin Seeds is easy with these simple tips. Follow these pointers for the best results:
- Thoroughly drying seeds after boiling is key to crispiness.
- Stirring during roasting ensures even browning and prevents burning.
- Roasting times can vary; watch for golden color and nutty aroma.
- Don’t overcrowd the baking sheet for better air circulation.
- Taste a seed towards the end of roasting to check for doneness.
Kitchen Tools You’ll Need
Gathering the right tools makes preparing these Salted Roasted Pumpkin Seeds a breeze. You likely have most of these essentials already in your kitchen.
- Medium Pot: For boiling the seeds.
- Colander: Perfect for draining the water.
- Paper Towels or Kitchen Towel: Essential for drying the seeds well.
- Baking Sheet: To roast the seeds evenly.
- Measuring Cups and Spoons: For accurate ingredient proportions.
- Mixing Bowl: Handy for tossing the seeds with oil.
Serving Suggestions
These versatile Salted Roasted Pumpkin Seeds are wonderful in many ways. Enjoy them simply on their own as a satisfying snack. Sprinkle them over salads for an extra layer of crunchy texture. They also make a fantastic topping for creamy soups or a hearty bowl of chili. Consider adding them to a fall-themed appetizer platter. They pair beautifully with warm apple cider or a crisp white wine.
Frequently Asked Questions
Can I skip the boiling step for these Salted Roasted Pumpkin Seeds?
While you can roast pumpkin seeds without boiling, the boiling step helps to infuse them with salt. It can also contribute to a slightly more tender shell. This makes them easier to eat. It also ensures a more consistent flavor throughout your snack.
How do I know when my roasted pumpkin seeds are done?
Your Salted Roasted Pumpkin Seeds are ready when they turn a beautiful golden brown color. You will also smell a distinct nutty aroma. They should feel dry and firm to the touch. Taste one to check for crispness before removing them from the oven.
Can I make these Salted Roasted Pumpkin Seeds ahead of time?
Absolutely! These roasted pumpkin seeds are perfect for making ahead. Once cooled, store them in an airtight container at room temperature. They’ll stay delicious and crunchy for up to two weeks. This makes them a convenient snack to have on hand.
Print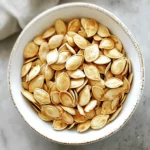
Salted Roasted Pumpkin Seeds
- Prep Time: 15 minutes
- Cook Time: 35 minutes
- Total Time: 50 minutes
- Yield: Varies based on pumpkin size
- Category: Snacks/Appetizers
- Method: Roasting
- Cuisine: General
- Diet: Vegetarian
Description
Learn how to make delicious salted roasted pumpkin seeds with this easy recipe. Perfect for snacking!
Ingredients
- Pumpkin seeds (quantity varies by pumpkin)
- Water (2 cups for every half cup of seeds, for boiling)
- Sea salt (1 Tablespoon for every half cup of seeds for boiling, plus more for sprinkling)
- Olive oil (1 Tablespoon for 2 cups of seeds)
Instructions
- Remove seeds from pumpkin, rinse clean, and separate from pulp.
- For every half cup of pumpkin seeds, measure 2 cups of water and 1 tablespoon of sea salt. Bring the salted water to a boil in a pot.
- Add the pumpkin seeds to the boiling water and boil for 10 minutes to soften shells and infuse salt.
- Drain the seeds in a colander and pat dry with paper towels, removing excess moisture.
- Preheat oven to 350 degrees F.
- Spread the pumpkin seeds onto a baking sheet. Drizzle with olive oil and toss to coat evenly. Sprinkle with additional sea salt if desired.
- Spread the seeds in a single layer on the baking sheet.
- Roast for 12-25 minutes (depending on seed size and oven) at 350 degrees F, stirring every 5 minutes to ensure even toasting and prevent burning.
- Seeds are done when golden brown and a nutty aroma is present. Taste to check for crispness.
- Remove from oven and let cool on the baking sheet before serving.
Notes
- Ensure seeds are thoroughly dried after boiling to achieve maximum crispness.
- Stirring the seeds during roasting is crucial for even browning.
- Roasting time may vary, so keep an eye on them to prevent burning.


