
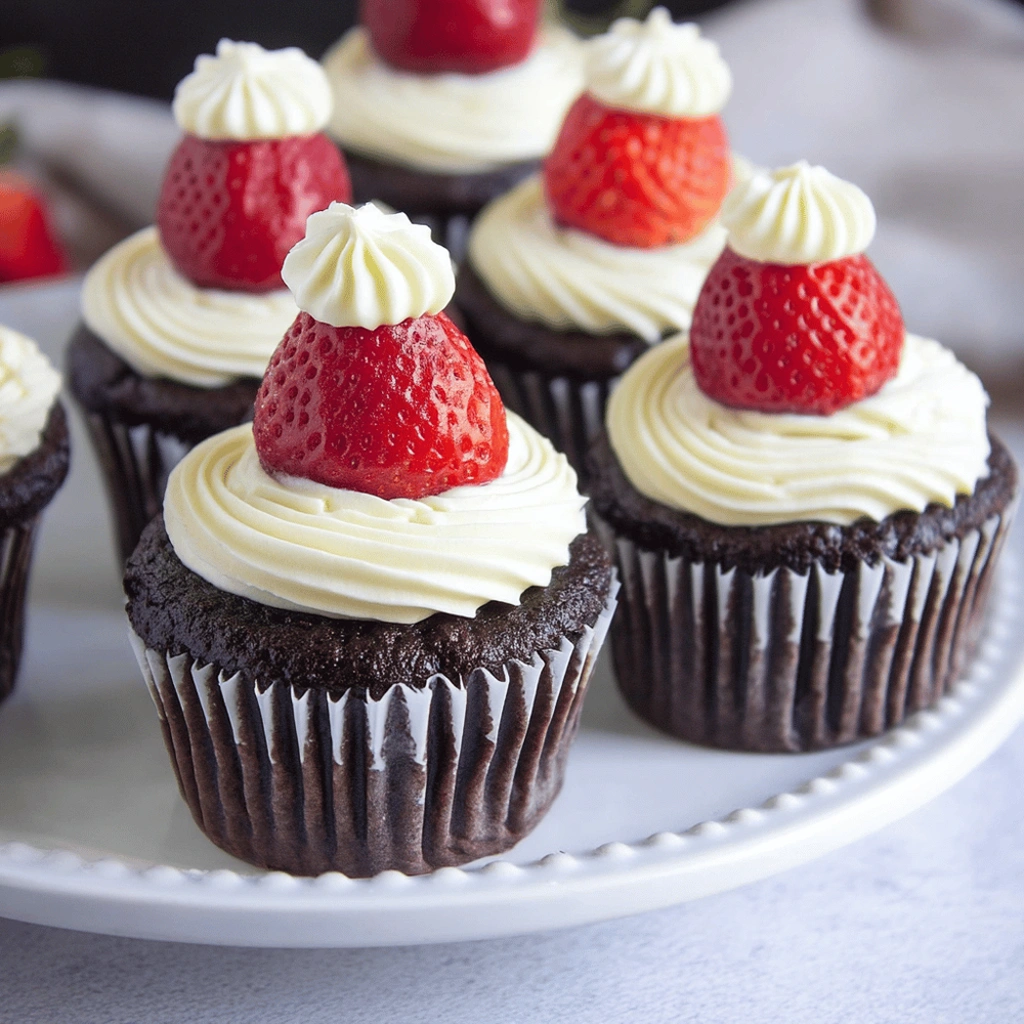
These festive treats bring pure joy to any holiday table. The combination of tender, sweet cake and creamy frosting is always a winner. Moreover, assembling these Santa Hat Cupcakes is surprisingly simple for such a cute result. We combine moist cake with bright, fresh strawberries for a delightful bite. This dessert truly captures the spirit of Christmas baking without demanding hours in the kitchen.
I often whip up a batch right before school lets out for winter break. They hold up well, too, making them perfect for potlucks later in the week. Truly, these little hats bring big smiles to everyone who sees them.
why i love this recipe
Honestly, the speed is why these Santa Hat Cupcakes land on my weekly rotation. They transform basic cupcakes instantly. Plus, the fresh fruit element lightens up a heavy dessert.
- Super Fast Assembly: Decorating takes mere minutes after baking.
- Impressive Look: Guests always ask how long the decorating took.
- Kid-Friendly: My little helpers can easily place the strawberry tops.
It’s truly a showstopper treat that requires minimal fuss!
Santa Hat Cupcakes Ingredients
Mixing these few simple elements creates miniature edible works of art. We are balancing the rich, creamy frosting against the bright tang of fresh berries. This combination is what makes assembling these Santa Hat Cupcakes feel like Christmas magic made easy.
We rely on just a few key players here. You will need your standard vanilla or chocolate cake base for the foundation. Next, the buttercream frosting gives us the fluffy white brim and pom-pom. Most importantly, the fresh strawberries serve as Santa’s vibrant red hat, adding moisture and flavor. We keep things simple! We also include optional food coloring for a traditional red hat look.
See recipe card below for a full list of ingredients and measurements.
Substitutions and Tips
Don’t worry if you need to switch things up a bit! I always encourage using what you have on hand. For instance, if you have cream cheese on hand, you can swap half the butter in the frosting for cream cheese for a slightly tangier flavor profile. If you dislike strawberries, small raspberries can sometimes work for the pom-pom detail, though strawberries create the best hat shape. Remember, using a box mix for the cupcakes saves valuable time, too. A trick I use is adding a splash of vanilla extract to any store-bought frosting for an instant flavor boost.
Kitchen Tools You’ll Need
- Mixing bowls for preparing your batter and frosting.
- A standard baking pan for your desired cupcake size.
- A wire cooling rack is essential for proper cooling.
- Offset spatula or butter knife for easy frosting spreading.
- Piping bag with tips, if you prefer neat frosting application.
How to Make Santa Hat Cupcakes
Now we move to the fun part: putting these lovely Santa Hat Cupcakes together! I find this assembly process flows much smoother if you have everything ready first. Patience during the cooling phase is key here, believe me. Follow these simple steps for beautiful results every time.
Prepare the Base
First, bake your vanilla or chocolate cupcakes. Follow your chosen recipe directions carefully. Once baked, pull them carefully from the oven. Place them right onto a wire rack. They absolutely must cool completely before frosting. Warm cakes mean melted frosting ruins everything. This cooling part cannot be rushed!
Frosting Preparation
Next, get your delicious buttercream ready for action. Divide the frosting into two bowls if you want the classic look. Use red food coloring in the larger portion. This red frosting will form Santa’s main hat area later. Keep a small amount of white frosting untouched for the trim. Set these bowls aside near your cooled treats.
Assembling the Brim
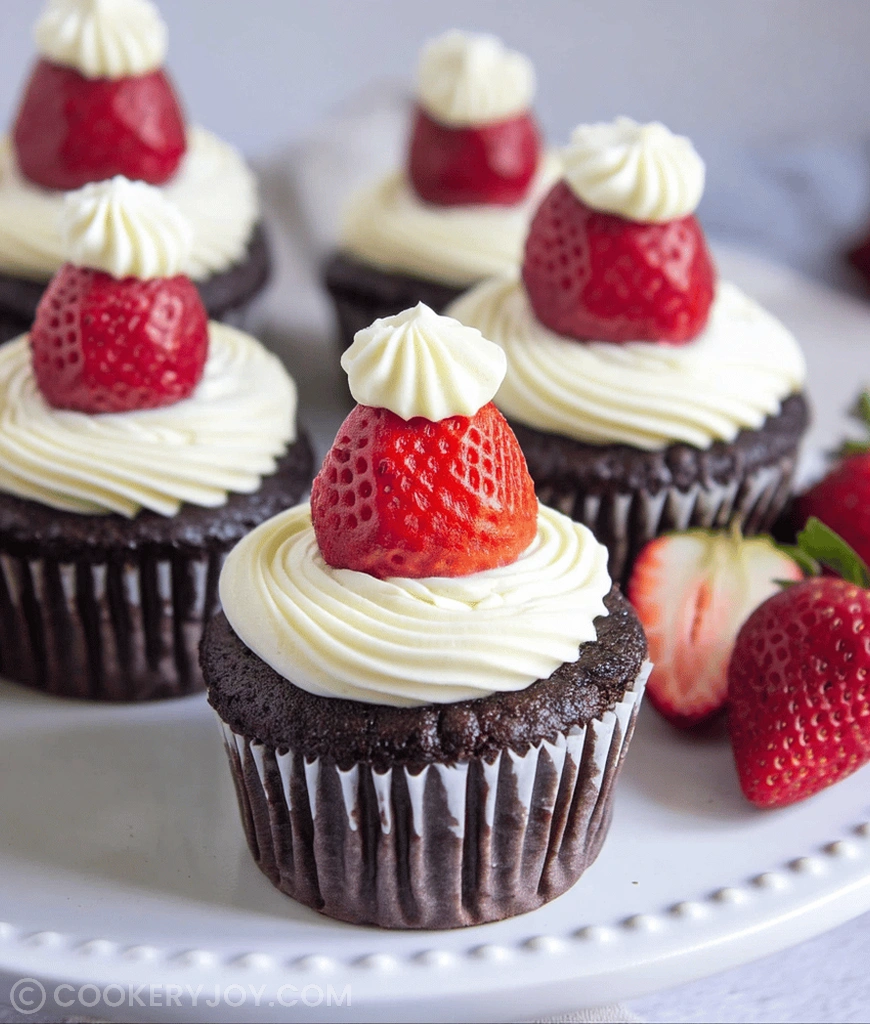
It is time to frost your cupcake bases now. I use an offset spatula for a smooth finish. Spread a generous layer of white frosting over the top. This layer will act as the thick, fluffy brim of the hat. Make sure this brim is wide enough to look balanced beneath the strawberry. This starts the amazing transformation into a cute holiday treat.
Placing the Strawberry Hat
Take your beautiful, hulled strawberries next. If the berries are large, slice them gently in half lengthwise. Place one strawberry half, cut-side down, onto the white frosting. Position it right in the center above the brim. This instantly turns your cupcake into a little Santa hat shape. It looks so festive already!
Finishing Touches
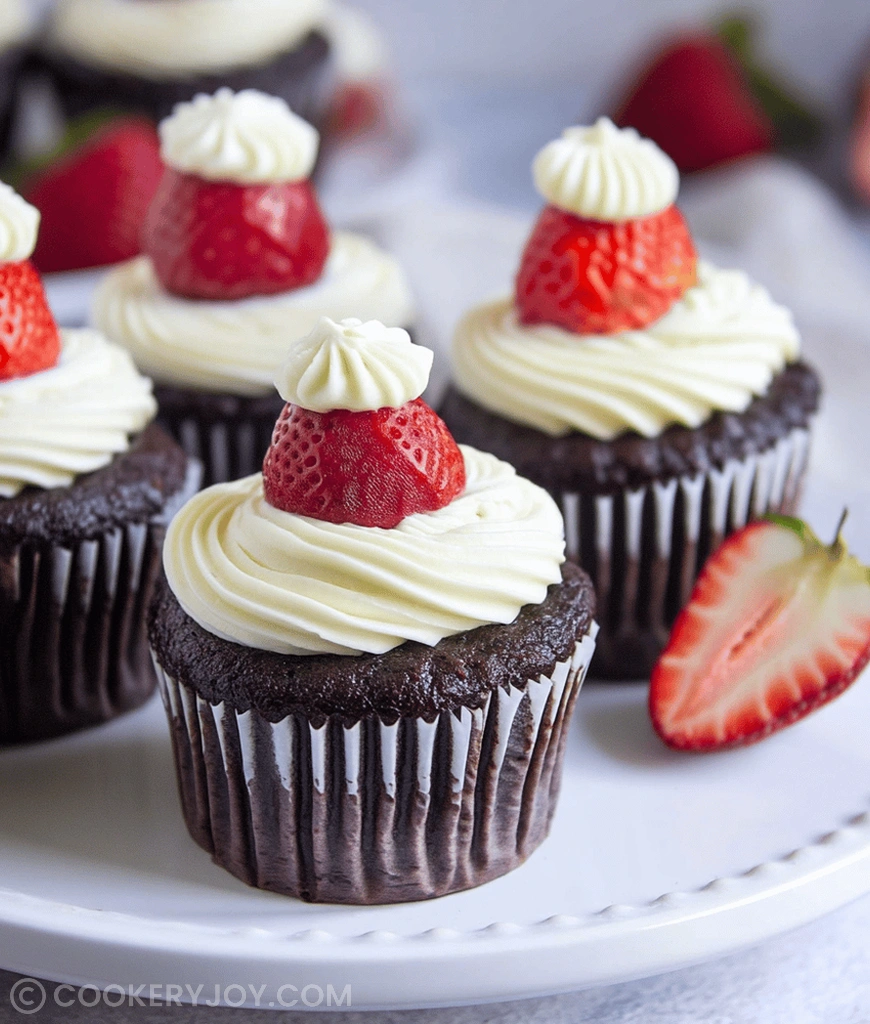
We need that final white flourish now! Use a small piping tip or even a plastic bag corner for this. Pipe a tiny swirl of that reserved white frosting onto the very tip of the strawberry. This dot creates Santa’s playful pom-pom. If you want extra sparkle, quickly sprinkle decorating sugar over the white frosting now. Serve these easy holiday treats right away for maximum enjoyment.
How to Store Santa Hat Cupcakes
Storing these beautiful Santa Hat Cupcakes is straightforward since they contain fresh fruit. Keep them in an airtight container at room temperature for up to two days. However, because of the strawberries, refrigeration is actually best for longer shelf life. Place them gently in the fridge for up to four days total. Freezing is not ideal here; the strawberries get soft upon thawing. Always bring them toward room temperature before serving for the best texture.
Tips for Success
- Choose strawberries that are uniform in size and vibrant red color. Look for firm berries.
- Chill your frosting briefly before piping the small pom-poms. This helps them hold their shape better.
- Use a sharp, thin knife when slicing strawberries for the best clean cuts.
- Make sure the cake bases are completely cooled. This prevents a messy, sliding hat situation.
Serving Suggestions
- Serve these treats alongside classic hot cocoa or warm spiced cider.
- Arrange them on a simple white platter for maximum visual pop.
- Present them as the grand finale to a family holiday meal.
- Consider adding a dusting of powdered sugar around the base for snow.

Santa Hat Cupcakes
- Prep Time: 20 minutes (assumed based on general cupcake/frosting prep)
- Cook Time: Varies (based on cupcake recipe)
- Total Time: 30 minutes + cooling time (assumed)
- Yield: Varies based on cupcake batch size
- Category: Dessert
- Method: Assembly
- Cuisine: American
- Diet: Vegetarian
Description
A festive and easy-to-make dessert featuring vanilla or chocolate cupcakes topped with buttercream frosting and fresh strawberries arranged to look like Santa hats.
Ingredients
- 1 batch prepared vanilla or chocolate cupcakes (from scratch or box mix)
- 1 batch prepared buttercream frosting (white, or tinted red for Santa’s hat)
- 1–2 pounds fresh strawberries, washed and hulled
- Optional: Red food coloring (if tinting frosting)
- Optional: Decorating sugar for sparkle
Instructions
- Prepare your favorite vanilla or chocolate cupcakes according to recipe or package directions. Allow them to cool completely on a wire rack.
- Prepare your buttercream frosting. If you want a red hat, tint a portion of the frosting red with food coloring. Keep a small amount of white frosting aside for the ‘pom-pom’ and ‘brim’ of the hat.
- Once cupcakes are cool, spread or pipe a generous amount of white frosting onto each cupcake to create the ‘brim’ of Santa’s hat. You can use a piping bag with a round tip for a neat circle, or just spread with an offset spatula.
- Carefully slice the hulled strawberries in half lengthwise if they are very large, or leave whole if they are smaller. Place a strawberry, cut-side down, on top of the white frosting, positioning it like Santa’s hat.
- Using the white frosting (or a little red frosting if you chose that color for the hat), pipe a small dollop onto the tip of each strawberry to create the ‘pom-pom’ of the hat.
- If desired, sprinkle a little decorating sugar over the white frosting for a snowy effect.
- Serve immediately or refrigerate until ready to serve.
Notes
- The color of the frosting used for the main hat portion can be red for a traditional look, or you can use white frosting throughout for a simpler appearance.
- Ensure cupcakes are completely cool before frosting to prevent melting.


