
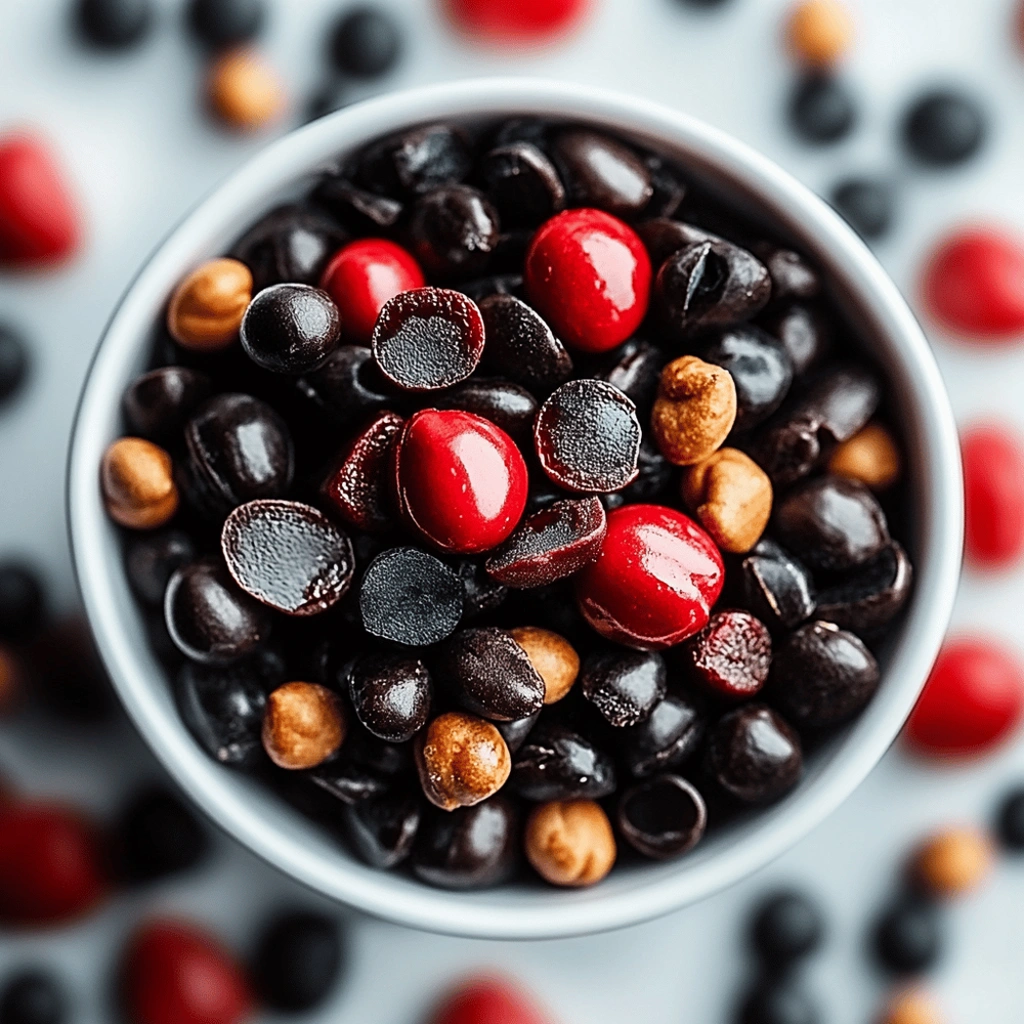
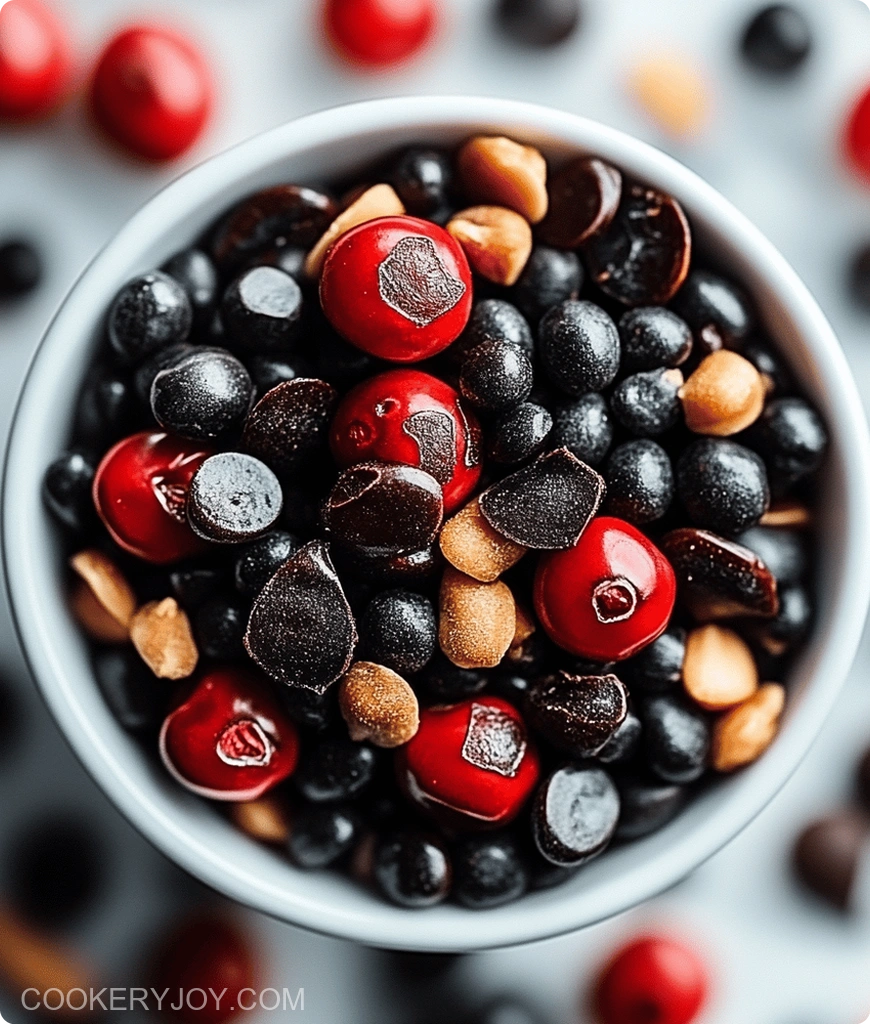
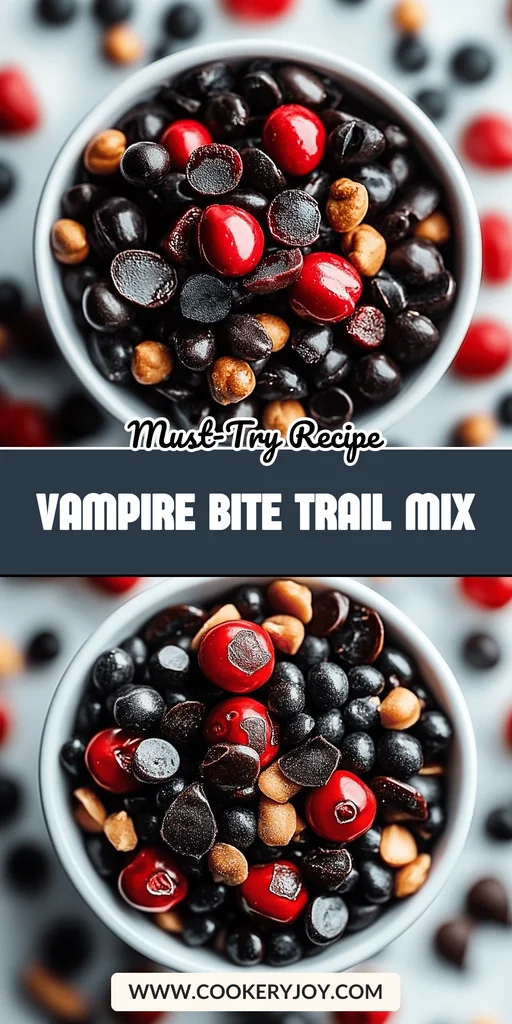
This Vampire Bite Trail Mix is a delightful blend of sweet and chewy textures, perfect for those moments when you crave a little something special. The rich dark chocolate, tart cranberries, and bursts of cherry candy create a symphony of flavors that’s both satisfying and fun. It’s a simple yet impactful treat that brings a touch of magic to any occasion.
I love having this mix on hand for after-school snacks or to share with friends during movie nights. It’s incredibly easy to assemble, making it a go-to when time is tight. Plus, its vibrant colors make it a festive addition to any gathering, especially around Halloween.
Why I Love This Recipe
This Vampire Bite Trail Mix is a winner for so many reasons. Its utter simplicity is key for busy weeks.
- Effortless Assembly: Ready in just 10 minutes!
- Crowd-Pleasing Flavors: A perfect mix of sweet and tart goodness.
- Versatile Treat: Great for parties, filling lunchboxes, or a personal pick-me-up.
- Spooky Fun: Adds a festive touch to Halloween or any spooky-themed event.
Vampire Bite Trail Mix Ingredients
The magic of this Vampire Bite Trail Mix truly shines through its simple, yet impactful, blend of textures and flavors. Each element works in harmony to craft a wonderfully balanced and deeply satisfying snack. You’ll find precise quantities listed in the printable recipe card at the end of this post.
Here’s what makes this mix so special:
- Dried Cranberries: These offer a lovely chewiness. They also bring a delightful tartness that perfectly balances out the sweetness.
- Dark Chocolate Chips: The rich, deep taste of dark chocolate is a timeless favorite. It adds a wonderful touch of indulgence to your trail mix.
- Cherry-Flavored Candies: Expect bright, fruity bursts with these. They provide a satisfying chew that fits right into our spooky theme.
- Dark Chocolate Covered Almonds: Get ready for a delightful crunch. These provide an extra layer of rich chocolatey goodness.
- Red Candy-Coated Chocolates: These add a vibrant pop of color. They finish each bite with a smooth, sweet note.
Substitutions and Tips
Want to amp up the spooky factor? Definitely add some candy eyeballs! Can’t find cherry candies? Strawberry or raspberry flavored ones are fantastic substitutes. They’ll still give you that fruity burst. For a dairy-free treat, just double-check that your chocolate chips and chocolate almonds are made with dairy-free chocolate. If you have a sweeter tooth, feel free to swap the dark chocolate chips for milk chocolate chips.
How to Make Vampire Bite Trail Mix
Step 1: Gather Your Ingredients
Before you begin assembling your delightful Vampire Bite Trail Mix, make sure all your ingredients are at room temperature. This ensures everything mixes together smoothly. It also prevents the chocolate from melting prematurely. Have your 2 cups of dried cranberries ready. Also, get your 1 cup each of dark chocolate chips. Have your cherry-flavored candies and chocolate-covered almonds at the ready. Measure your 1/2 cup of red candy-coated chocolates too. Everything should be prepped and waiting.
Step 2: Combine in a Large Bowl
Choose a spacious mixing bowl. It should give you ample room to combine all components. Start by adding the dried cranberries to the bowl. Next, layer in the dark chocolate chips. Then add the cherry candies. Add the chocolate-covered almonds after that. Finish by gently adding the red candy-coated chocolates on top. This layering makes mixing easier. It also creates a nice visual before everything is combined.
Step 3: Gently Mix Everything Together
Now it’s time to bring all the delicious elements together. Use a large wooden spoon. Your clean hands work well too. Gently fold the ingredients in the bowl. The goal is even distribution. Try not to crush the candies or almonds. A gentle approach maintains component integrity. This ensures the best texture in every bite of your Vampire Bite Trail Mix.
Step 4: Serve or Package
Your Vampire Bite Trail Mix is now ready to be enjoyed! You can serve it immediately. Use a large, attractive bowl. Guests can help themselves from there. Alternatively, portion it into individual treat bags. This makes it a perfect grab-and-go snack. It’s ideal for busy days. It’s also great for school lunches or themed party favors.
How to Store Vampire Bite Trail Mix
To keep your Vampire Bite Trail Mix tasting its best, store it in an airtight container. A resealable bag works perfectly too. Keep it at room temperature. It will stay deliciously fresh for about two weeks. This makes it a fantastic make-ahead snack option. Avoid refrigerating this trail mix, though. Cold temperatures can make the chocolate harden. They also change the textures of the other ingredients. Freezing this particular mix is also not ideal.
Tips for Success
- Ensure all ingredients are at room temperature for even mixing.
- Use a large bowl to prevent spills. This makes tossing easier.
- Gently fold ingredients. This maintains texture and prevents crushing.
- Consider adding candy eyeballs for an extra festive, spooky touch.
- Taste and adjust sweetness. Add more cherry candies if sweetness is desired.
Kitchen Tools You’ll Need
Gathering the right tools makes preparing your Vampire Bite Trail Mix a breeze. Here’s what you’ll want to have on hand:
- A large mixing bowl is essential for easy tossing. Any big bowl will work fine.
- Measuring cups are key for getting the ingredient ratios just right.
- A large spoon or your own clean hands work perfectly for mixing.
- Airtight containers or resealable bags are needed for storing your delicious trail mix.
Serving Suggestions
Presenting your Vampire Bite Trail Mix is part of the fun! Here are a few ideas to make it even more special.
- Serve this delicious trail mix with a cool glass of milk. Spiced apple cider is also a wonderful pairing.
- For party favors, portion it into little cellophane bags. Tie them with festive ribbon. It makes a cute take-home treat!
- Enjoy this sweet mix during Halloween parties. It’s also perfect for casual movie nights with family or friends.
- Want a more balanced snack? Pair your Vampire Bite Trail Mix with a simple cheese and cracker platter.
Frequently Asked Questions
Can I make this Vampire Bite Trail Mix ahead of time?
Yes, absolutely! This trail mix is perfect for making ahead. Store it in an airtight container at room temperature. It will stay fresh and delicious for up to two weeks. This makes it a very convenient snack option.
What if I can’t find cherry-flavored candies?
No problem at all! You can easily substitute other fruity candies. Strawberry or raspberry flavors work great. The key is that fruity sweetness burst. Any red or dark-colored candy will maintain your trail mix’s “vampire” theme.
Is this recipe suitable for kids to help make?
This Vampire Bite Trail Mix is a fantastic recipe for kids! They can help measure ingredients. Pouring them into the bowl is fun too. Gently mixing everything works well. It’s an easy way for them to join you in the kitchen.
Can I add other ingredients to my Vampire Bite Trail Mix?
Certainly! Feel free to customize your Vampire Bite Trail Mix. Consider adding pretzel pieces for salty crunch. A handful of pumpkin seeds adds texture and nutrients. Candy eyeballs are also a popular choice for a festive look.
Print
Vampire Bite Trail Mix
- Prep Time: 10 minutes
- Cook Time: 0 minutes
- Total Time: 10 minutes
- Yield: Approximately 6.5 cups
- Category: Snack
- Method: Mixing
- Cuisine: American
- Diet: Vegetarian
Description
A spooky and delicious trail mix perfect for Halloween or any time you want a sweet and chewy treat.
Ingredients
- 2 cups dried cranberries
- 1 cup dark chocolate chips
- 1 cup cherry-flavored candies
- 1 cup dark chocolate covered almonds
- 1/2 cup red candy-coated chocolates
Instructions
- Ensure all components are at room temperature for best mixing. You want 2 cups cranberries, 1 cup each of chocolate chips, cherry candies, and chocolate almonds, and 1/2 cup red candy chocolates all ready to go.
- Select a large mixing bowl with plenty of room for tossing. Pour each ingredient in one at a time, starting with the larger items like cranberries and ending with smaller pieces like the candy-coated chocolates. The layering creates a beautiful visual effect before mixing.
- Using a large wooden spoon or clean hands, gently fold the ingredients together.
- Serve in a large dish or divide into individual treat bags for a grab-and-go snack.
Notes
For an extra spooky touch, you can add some candy eyeballs.


