
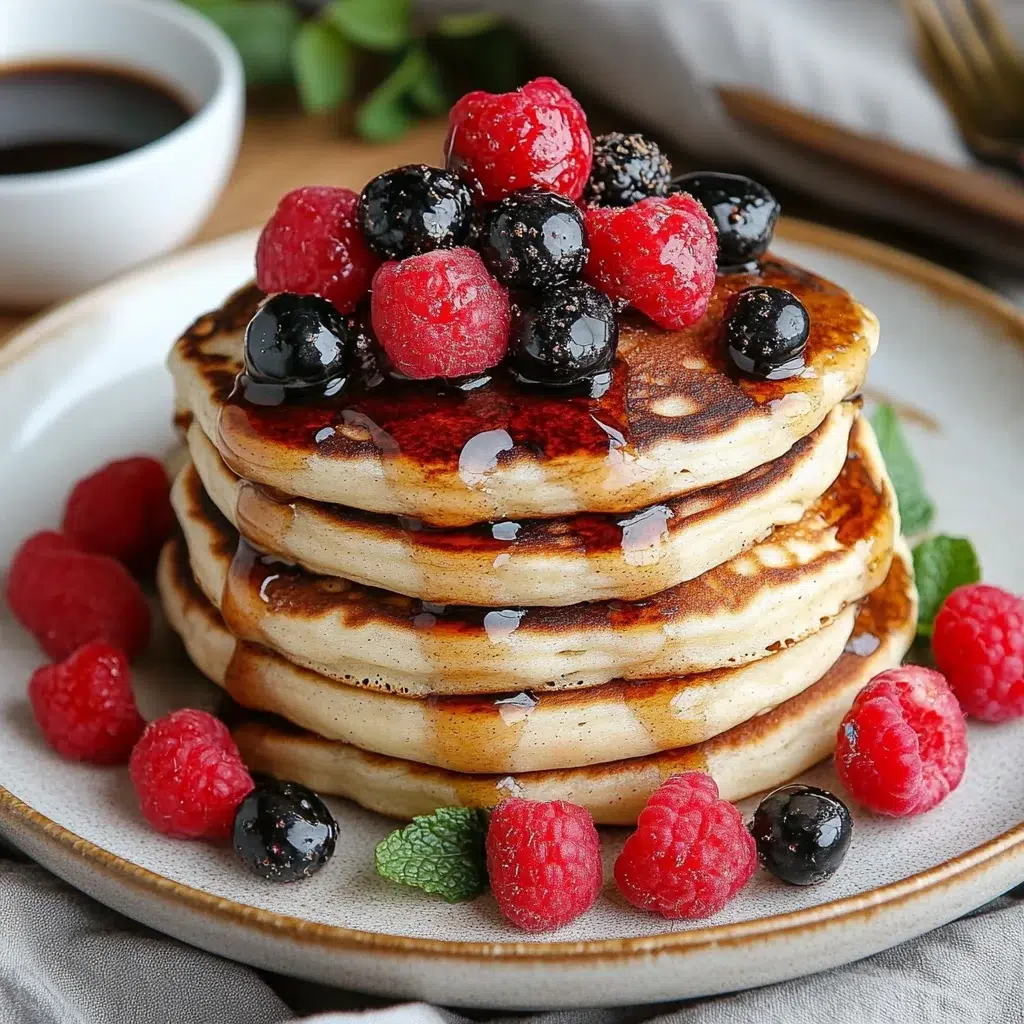
There’s a unique kind of joy that fills the kitchen when pancakes are sizzling on the griddle – the sweet, warm aroma, the gentle hiss of batter meeting heat, and the anticipation of that first, perfectly golden bite.
These Fluffy Yogurt Pancakes take that delightful experience to a whole new level. They aren’t just any pancakes; they are exceptionally light, incredibly tender, and boast a subtle, pleasant tang from the yogurt that beautifully balances any sweet toppings you choose.
Why You’ll Love This Recipe
These Fluffy Yogurt Pancakes are more than just a breakfast item; they are an experience. Here are a few compelling reasons why this recipe will quickly become a favorite in your household:
- Incredibly Fluffy Texture: The star of this show is, without a doubt, the texture. Thanks to the yogurt and the careful balance of leavening agents, these Yogurt Pancakes are extraordinarily light and airy. Each bite is like a soft cloud.
- Delightful Tangy Flavor: Unlike traditional pancakes, the yogurt introduces a subtle, pleasing tang that adds a layer of complexity. This makes these Yogurt Pancakes interesting on their own and a perfect canvas for both sweet and even slightly savory toppings.
- Simple to Make & Customize: With straightforward ingredients and easy-to-follow steps, these Yogurt Pancakes are accessible even for novice cooks. Plus, the recipe is wonderfully adaptable – try different flours, add mix-ins, or adjust sweetness to your liking.
- A More Wholesome Option: Incorporating yogurt adds a bit of protein and can introduce beneficial probiotics (depending on the yogurt used), making these Yogurt Pancakes a slightly more nutritious choice compared to standard recipes. They’ll keep you feeling satisfied longer.
- Perfect for Everyone: Whether you’re a busy parent needing a quick yet impressive breakfast, a meal prepper looking for freezable options, or simply a lover of comforting, delicious food, these Yogurt Pancakes will hit the spot.
Ingredients for Fluffy Yogurt Pancakes
Crafting the perfect stack of Yogurt Pancakes starts with quality ingredients. Each component plays a crucial role in achieving that signature fluffiness and flavor.
Core Ingredients:
- 1 cup (120 g) all-purpose flour: This forms the structure of our pancakes. You can also use 3/4 cup all-purpose flour plus 1/4 cup cornmeal for a slightly heartier texture with a hint of rustic charm. Using good quality all-purpose flour is key for tender Yogurt Pancakes.
- 2 tablespoons granulated sugar: This adds a touch of sweetness. Feel free to adjust this amount based on your preference or the toppings you plan to use.
- 1 1/4 teaspoons baking powder: This is our primary leavening agent, responsible for creating those wonderful air pockets that make the pancakes rise and become fluffy. Always ensure your baking powder is fresh for maximum lift.
- 1/4 teaspoon baking soda: Working in tandem with the acidic yogurt, baking soda provides an extra boost of leavening, contributing to the super light texture of these Yogurt Pancakes.
- 1/4 teaspoon kosher salt: Salt is a flavor enhancer; it balances the sweetness and brings out the subtle tang of the yogurt.
- 1 cup plain yogurt (full fat or non-fat): The hero ingredient! Full-fat plain yogurt will yield the richest, most tender Yogurt Pancakes. Non-fat also works well, creating a slightly lighter pancake.
- 2 large eggs: Eggs bind the ingredients together, add richness, and contribute to the structure and lift. For best results, use room temperature eggs.
- 2 tablespoons melted unsalted butter (or vegetable oil): Butter adds a classic, rich flavor, while oil can make them exceptionally moist. I personally prefer butter for the taste it lends to Yogurt Pancakes.
- 1/4 to 1/3 cup whole milk (optional, depending on yogurt consistency): This is used to adjust the batter’s thickness. The amount you need will vary based on how thick your yogurt is.
- Salted butter, maple syrup, honey, fresh fruit, and/or jam, for serving: The delicious finishing touches for your perfect stack of Yogurt Pancakes!
Substitutions and Tips:
- Flour Power: For a heartier, slightly nuttier flavor, substitute up to 1/2 cup of the all-purpose flour with whole wheat flour or oat flour. If using oat flour, the resulting Yogurt Pancakes will be a bit denser but wonderfully flavorful and satisfying. Gluten-free all-purpose blends can also be used for gluten-free Yogurt Pancakes; ensure your blend contains xanthan gum or add as per package instructions.
- Yogurt Variations: Greek yogurt is a fantastic option for an extra protein punch and an even tangier flavor. Since it’s considerably thicker than regular yogurt, you’ll likely need the full 1/3 cup of milk, perhaps even a touch more, to achieve the right batter consistency for your Yogurt Pancakes. Vanilla yogurt can also be used; if so, consider reducing the granulated sugar slightly.
- Sweetener Swaps: For a different flavor profile, replace the granulated sugar with an equal amount of brown sugar for molasses notes, or use slightly less maple syrup or honey (about 1.5 tablespoons) if using liquid sweeteners in your Yogurt Pancakes.
- Making Them Dairy-Free: This recipe is easily adaptable! Use your favorite dairy-free yogurt (such as coconut, almond, or soy-based) and a plant-based milk. Dairy-free butter alternatives or vegetable oil work perfectly for the fat component.
- Egg-Free Option: To make egg-free Yogurt Pancakes, you can replace the two large eggs with 1/2 cup of unsweetened applesauce or two flax eggs. To make a flax egg, mix 1 tablespoon of ground flaxseed with 3 tablespoons of water and let it sit for 5-10 minutes to thicken before adding to the batter. The texture will be slightly different but still delicious.
- Flavor Boosters (Chef Insight): For an irresistible aroma and enhanced taste, incorporate 1/2 teaspoon of vanilla extract into the wet ingredients. A pinch of ground cinnamon or nutmeg (about 1/4 teaspoon) added to the dry ingredients also beautifully complements the flavors of these Yogurt Pancakes.
Best Type of Yogurt to Use
The “yogurt” in Yogurt Pancakes is more than just a name; it’s a key player in flavor and texture. Choosing the right type can elevate your pancakes from good to truly exceptional.
For this Fluffy Yogurt Pancakes recipe, full-fat plain yogurt is generally my top recommendation. The higher fat content contributes to a richer flavor and an incredibly tender, moist crumb. It provides a lovely, subtle tang that isn’t overpowering but beautifully complements sweet toppings like maple syrup or fresh berries.
Plain yogurt is preferred over flavored varieties because it gives you complete control over the sweetness and overall flavor profile of your Yogurt Pancakes. If you only have vanilla yogurt on hand, it can certainly work; just remember to reduce the amount of added sugar in the recipe to compensate. I’d advise against using yogurts with fruit mixed in, as they can alter the pancake’s texture and may cause them to cook unevenly due to the extra sugar and moisture from the fruit.
What about Greek yogurt versus regular plain yogurt? Regular plain yogurt (the kind that is pourable or easily scoopable from a tub) has a higher moisture content and works wonderfully in this recipe, often requiring less additional milk. Greek yogurt, on the other hand, is much thicker because much of the whey has been strained out. It’s also more concentrated in flavor, offering a tangier punch, and packs more protein. If you choose to use Greek yogurt for your Yogurt Pancakes, be prepared to add more milk to the batter – likely the full 1/3 cup specified in the ingredients, or potentially a bit more – to reach that ideal, pourable yet thick consistency. The resulting Greek Yogurt Pancakes will be delightfully tangy and slightly denser, yet still wonderfully fluffy.
If you find yourself without yogurt, buttermilk is a classic substitute that also provides acidity for tenderizing the pancakes and reacting with the baking soda. Sour cream can also be used in a pinch, offering a similar tang; you might need to thin it with a little milk, much like Greek yogurt, to get the right batter consistency for your Yogurt Pancakes. Each of these options will lend a slightly different character to your pancakes, but the fundamental deliciousness will remain.
Kitchen Tools You’ll Need
You don’t need fancy equipment to whip up a batch of these delightful Yogurt Pancakes. Here are the essentials and a few extras that can make the process even smoother:
Must-Have Tools:
- Large Mixing Bowl: This will be for combining your dry ingredients. Ensure it’s big enough to allow for easy whisking without spillage.
- Medium Mixing Bowl: For whisking together the wet ingredients before they meet the dry.
- Whisk: Essential for thoroughly blending the dry ingredients and combining the wet ingredients. A good whisk also helps incorporate a little air.
- Measuring Cups and Spoons: Precision is important in any baking recipe, including these Yogurt Pancakes, to ensure consistent results every time.
- Large Non-Stick Skillet or Griddle: This is where the magic happens! A quality non-stick surface will make flipping your Yogurt Pancakes a breeze and help them cook evenly. A well-seasoned cast-iron skillet is also an excellent choice, as it retains heat beautifully.
- Spatula (Turner): A thin, flexible spatula is your best friend for getting under those delicate pancakes and flipping them perfectly.
Nice-to-Have Extras:
- Electric Hand Mixer: While a whisk works perfectly fine, an electric hand mixer can make combining the wet ingredients, or even the full batter (on low speed, being careful not to overmix!), a bit quicker.
- Ice Cream Scoop or 1/4 Cup Measure: Using a consistent measure like an ice cream scoop (a standard #16 scoop is about 1/4 cup) ensures all your Yogurt Pancakes are uniform in size, which not only looks appealing but also helps them cook evenly.
- Wire Rack: If you’re making a large batch and not serving them immediately, placing cooked Yogurt Pancakes in a single layer on a wire rack (perhaps in a warm oven) helps prevent them from getting soggy on the bottom. However, these are best enjoyed fresh!
How to Make Fluffy Yogurt Pancakes

Follow these simple steps, and you’ll be enjoying a stack of perfect, fluffy Yogurt Pancakes in no time. Remember, the key is gentle mixing and proper heat.
Step 1: Combine Dry Ingredients
In a large mixing bowl, add the all-purpose flour, granulated sugar, baking powder, baking soda, and kosher salt. Whisk these dry ingredients together thoroughly for about 30 seconds. Chef Tip: This step is more important than it looks! Thoroughly whisking ensures that the leavening agents (baking powder and baking soda) are evenly distributed throughout the flour. This even distribution is crucial for achieving uniformly fluffy and well-risen Yogurt Pancakes. You should see a consistent color and texture in your dry mix.
Step 2: Combine Wet Ingredients
In a separate medium mixing bowl, add the plain yogurt and the large eggs. Whisk them together until they are well combined and the mixture is smooth. Then, gently whisk in the melted unsalted butter (or vegetable oil). Sensory Cue: The wet mixture should look emulsified and homogenous, with no streaks of egg yolk or clumps of yogurt visible. If your butter was warm, make sure the yogurt-egg mixture isn’t too cold, or the butter might re-solidify into small bits; room temperature ingredients help here.
Step 3: Combine Wet and Dry Ingredients
Pour the prepared wet ingredients into the bowl containing the dry ingredients. Using your whisk or a spatula, gently combine the two mixtures until they are just incorporated. It is perfectly okay – in fact, it’s preferable – for the batter to have some small lumps. Do not overmix! Overmixing is the primary enemy of light and fluffy Yogurt Pancakes. It develops the gluten in the flour, which will result in tough, rubbery pancakes instead of the tender, airy ones we’re aiming for.
Step 4: Adjust Consistency (If Needed)
Check the consistency of your Yogurt Pancake batter. It should be thick yet still pourable, able to slowly drip from a whisk or spoon. If your batter seems overly thick (this can often happen if your plain yogurt is particularly dense, or if you’re using Greek yogurt), gradually whisk in the whole milk, starting with just a tablespoon or two. Continue adding milk, a little at a time, until the batter reaches the desired consistency. Pro Tip: A slightly thicker batter will generally produce fluffier Yogurt Pancakes. If it’s too thin, they may spread too much and become flat.
Step 5: Heat the Skillet or Griddle
Place your large non-stick skillet or griddle over medium heat. Allow it to preheat thoroughly. If your pan isn’t perfectly non-stick, or if you like a little extra crisp on the edges, you can add a very small amount of butter or a light spray of cooking oil to the surface. Sensory Cue: The pan is at the correct temperature when a droplet of water flicked onto the surface sizzles immediately and evaporates within a second or two. If the water disappears instantly with a loud crackle, your pan might be too hot.
Step 6: Cook the Pancakes
Once the skillet is properly heated, pour or scoop the Yogurt Pancake batter onto the hot surface. A 1/4 cup measure per pancake usually yields a nicely sized pancake. Cook the first side for about 2-3 minutes. You’re looking for bubbles to start appearing on the surface of the pancake, and for the edges to begin looking set and slightly matte. The underside should be a beautiful golden brown. Chef Tip: Avoid overcrowding the pan. Cooking too many Yogurt Pancakes at once will lower the skillet’s temperature, leading to uneven cooking and less fluffy results. Cook in batches for the best outcome.
Step 7: Flip and Cook the Other Side
Once the underside is golden and bubbles have surfaced, gently slide your thin spatula under the pancake and confidently flip it over. Cook the second side for another 1-2 minutes, or until it’s also golden brown and the pancake is cooked through. Sensory Cue: A perfectly cooked Yogurt Pancake will feel light and springy to a gentle touch in the center. It should rise nicely during cooking.
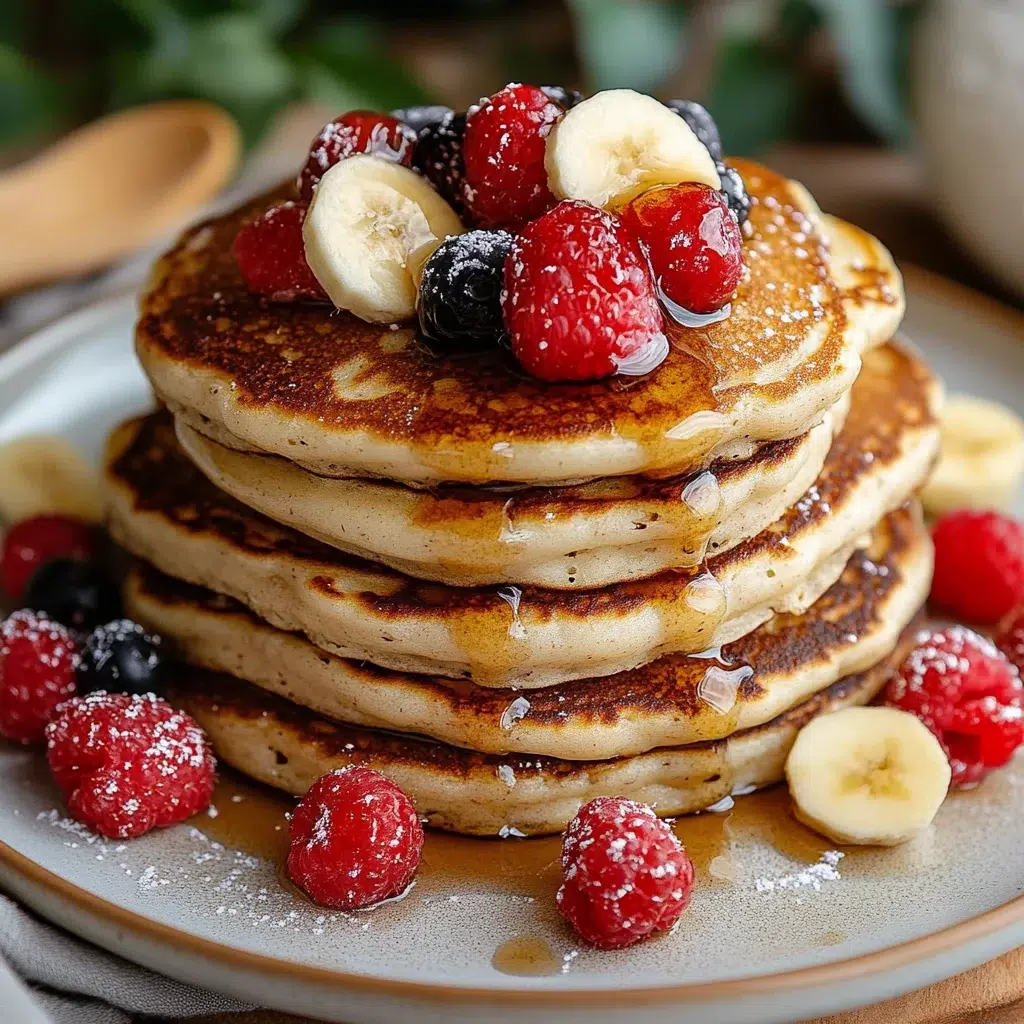
Step 8: Serve Warm
As the Yogurt Pancakes are cooked, transfer them to a plate. If you’re making multiple batches, you can keep the cooked pancakes warm by placing them on a baking sheet in a preheated oven set to a low temperature (around 200°F or 90°C). Serve your fresh, Fluffy Yogurt Pancakes immediately with your favorite accompaniments. Salted butter melting into a warm stack, a generous drizzle of pure maple syrup, a dollop of extra yogurt, fresh berries, or a spoonful of homemade jam all make wonderful partners.
Tips for Success
To ensure your Yogurt Pancakes are perfectly fluffy and delicious every single time, keep these key tips in mind:
- Resist the Urge to Overmix the Batter: This is arguably the most crucial tip for achieving tender Yogurt Pancakes. Mix only until the wet and dry ingredients are just combined. A few lumps are not only acceptable but desirable. Overmixing develops too much gluten in the flour, leading to pancakes that are tough and chewy rather than light and airy.
- Check the Freshness of Your Leavening Agents: Baking powder and baking soda are the powerhouses behind fluffy pancakes, but they do lose their potency over time. Using fresh, active leaveners is absolutely essential for that beautiful lift in your Yogurt Pancakes. To test baking powder, drop about 1/2 teaspoon into a cup of hot water; it should bubble vigorously. To test baking soda, add a few drops of vinegar or lemon juice to 1/2 teaspoon of baking soda; it should fizz enthusiastically.
- Master Pan Temperature Control: Cooking Yogurt Pancakes at the correct temperature is vital. If the pan is too hot, the outsides will cook too quickly (or even burn) before the inside is cooked through. If it’s too cool, the pancakes won’t get that lovely golden color, may absorb too much fat, and won’t puff up properly. Medium heat is generally the sweet spot. Always preheat your skillet thoroughly and test it with a small drop of batter or a flick of water before cooking your first Yogurt Pancake.
- Embrace Room Temperature Ingredients: While not always feasible on busy mornings, bringing your eggs and yogurt to room temperature before mixing can make a noticeable difference. Room temperature ingredients incorporate more easily and smoothly, creating a more uniform batter which, in turn, often leads to lighter and more tender Yogurt Pancakes. Cold ingredients can sometimes cause melted butter to re-solidify, creating small clumps.
- Give the Batter a Short Rest (Optional but Beneficial): If you have an extra 10-15 minutes, allow the prepared Yogurt Pancake batter to rest at room temperature before cooking. This short resting period allows the flour to fully hydrate and the gluten strands that were developed during mixing to relax. This simple step can often result in an even more tender crumb and slightly fluffier Yogurt Pancakes.
How to Store Fluffy Yogurt Pancakes
While these Yogurt Pancakes are undeniably best enjoyed fresh off the griddle, they also store and reheat beautifully, making them a great option for meal prep or enjoying leftovers.
- Room Temperature: If you plan to eat any leftover Yogurt Pancakes within a couple of hours, they can be kept at room temperature. Cover them loosely with a clean kitchen towel or place them in a container to prevent them from drying out.
- In the Refrigerator:
- How to Store: Allow the Yogurt Pancakes to cool completely to room temperature before storing. This prevents condensation from making them soggy. Once cooled, stack them with a small square of parchment paper or wax paper between each pancake to prevent them from sticking together. Place the stack in an airtight container or a resealable plastic bag. Properly stored, they will keep well in the refrigerator for up to 3-4 days.
- Reheating: You have several options for reheating your refrigerated Yogurt Pancakes. For the best texture (slightly crispy edges), reheat them in a toaster or a toaster oven. You can also warm them in a dry skillet over medium-low heat for a minute or two per side. Microwaving works for a quick reheat, but they may become a bit softer and chewier.
- Freezing Tips:
- Freezability: Yes, these Yogurt Pancakes freeze exceptionally well! This is fantastic for busy mornings – homemade pancakes in minutes!
- Storage Suggestions: Ensure the Yogurt Pancakes are completely cool. Stack them as you would for refrigeration, with parchment or wax paper between each one. Place the entire stack into a heavy-duty freezer-safe bag or an airtight freezer container. Label with the date and they will maintain their best quality for up to 2-3 months in the freezer.
- Reheating Instructions: There’s no need to thaw your frozen Yogurt Pancakes before reheating. The most convenient ways are to pop them directly into a toaster or toaster oven until heated through and slightly crisp. Alternatively, you can arrange them in a single layer on a baking sheet and warm them in a preheated oven at 350°F (175°C) for about 5-10 minutes, or until hot. Microwaving from frozen is also an option, though again, the texture will be softer.
Frequently Asked Questions (FAQs)
Here are answers to some common questions you might have about making these delightful Fluffy Yogurt Pancakes:
Can I use Greek yogurt for these Yogurt Pancakes?
Yes, you can definitely use Greek yogurt! Just be aware that Greek yogurt is much thicker than regular plain yogurt, so you’ll likely need to add more milk (closer to 1/3 cup or even a bit more) to get the batter to the right consistency for perfect Yogurt Pancakes. They’ll also be a bit tangier and higher in protein, which many people enjoy.
How do I make my Yogurt Pancakes even fluffier?
The key to fluffy Yogurt Pancakes lies in a few crucial elements: not overmixing the batter (lumps are good!), ensuring your baking powder is fresh and active, and leveraging the chemical reaction between the acidic yogurt and the baking soda. For an extra boost in fluffiness, some home chefs like to separate the eggs, beat the egg whites until stiff peaks form, and then gently fold them into the finished batter as the very last step. This incorporates even more air for maximum lightness.
Can I add mix-ins to this Yogurt Pancake recipe?
Absolutely! This Yogurt Pancake recipe is a wonderful base for all sorts of delicious additions. Gently fold in about 1/2 to 3/4 cup of your favorite mix-ins right after the wet and dry ingredients are just combined. Classic choices include fresh or frozen blueberries (if using frozen, don’t thaw them first to prevent a purple batter), chocolate chips (milk, semi-sweet, or dark), chopped nuts like pecans or walnuts, or even a sprinkle of desiccated coconut. You could also swirl a little cinnamon sugar into the batter on the griddle for a lovely effect.
Why are my Yogurt Pancakes tough or rubbery?
The most common reason for tough or rubbery Yogurt Pancakes is overmixing the batter. When you stir or whisk flour with liquid, gluten begins to develop. A little gluten is good for structure, but too much (from overmixing) makes baked goods like pancakes chewy and tough instead of light and tender. Remember to mix your Yogurt Pancake batter only until the ingredients are just combined – a few lumps are perfectly fine and actually a sign you haven’t overdone it!
Can I make the Yogurt Pancake batter ahead of time?
You can prepare the batter for these Yogurt Pancakes a few hours in advance, or even the night before, and store it covered in the refrigerator. The batter might thicken slightly upon chilling due to the flour absorbing more liquid and the cold temperature; if so, you can gently stir in a teaspoon or two of milk to bring it back to the desired consistency just before cooking. While the baking powder’s leavening power might diminish very slightly over an extended period, your pancakes will still be incredibly delicious and a fantastic time-saver for busy mornings.
Conclusion
These Fluffy Yogurt Pancakes truly are a game-changer for any breakfast or brunch spread. With their unbelievably light and airy texture, a subtle, pleasing tang from the yogurt, and remarkably simple preparation, they are destined to become a cherished favorite in your home. The beauty of this Yogurt Pancakes recipe lies in its ability to deliver consistently delicious results, making even an ordinary morning feel a little more special.
Whether you’re looking to impress guests at a weekend brunch, treat your family to a delightful breakfast, or simply craving a comforting and satisfying meal, whipping up a stack of these golden, fluffy Yogurt Pancakes is always a wonderful choice. So, gather your ingredients, follow these easy steps, and prepare to taste the remarkable difference that yogurt can make. Enjoy every fluffy, flavorful bite!


