Skip to content
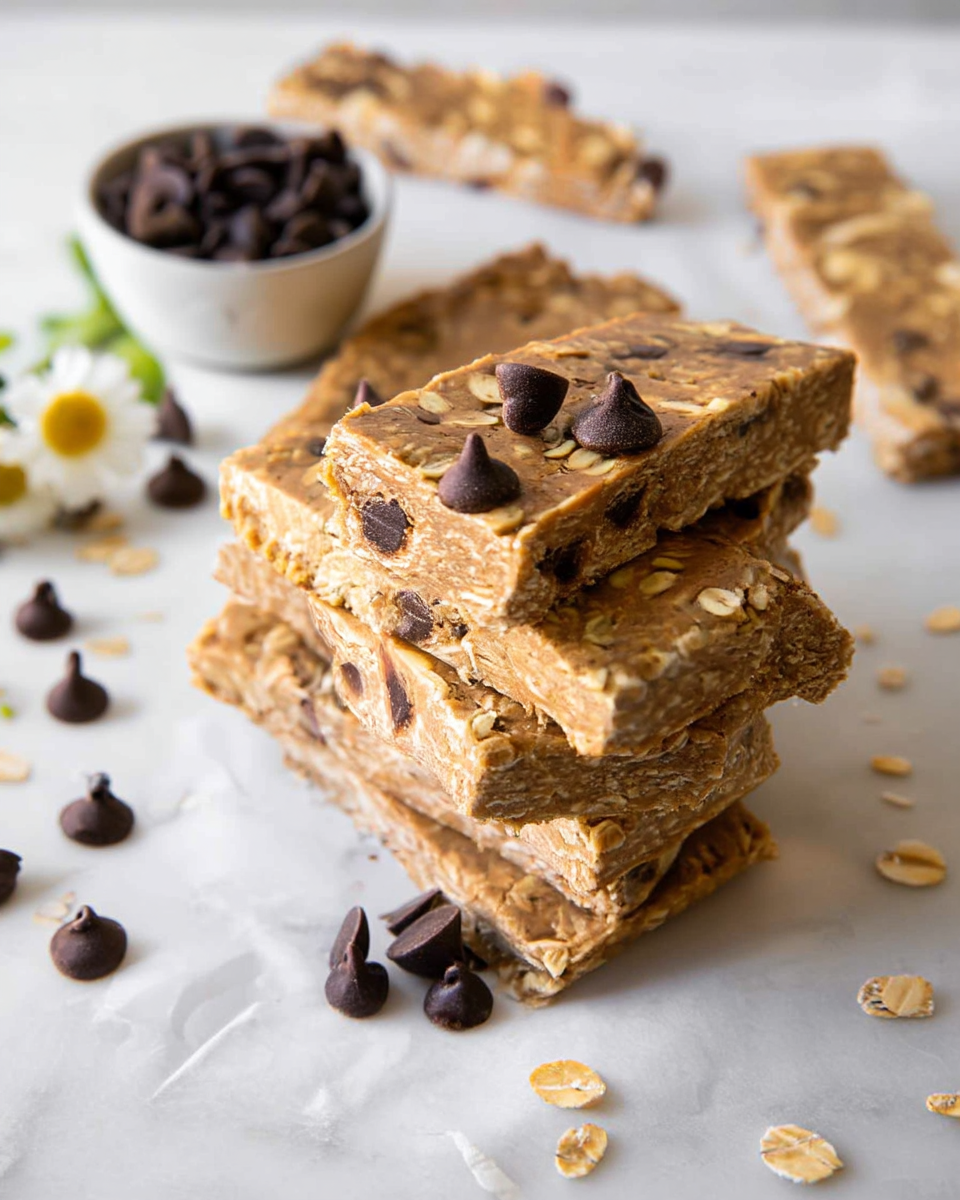
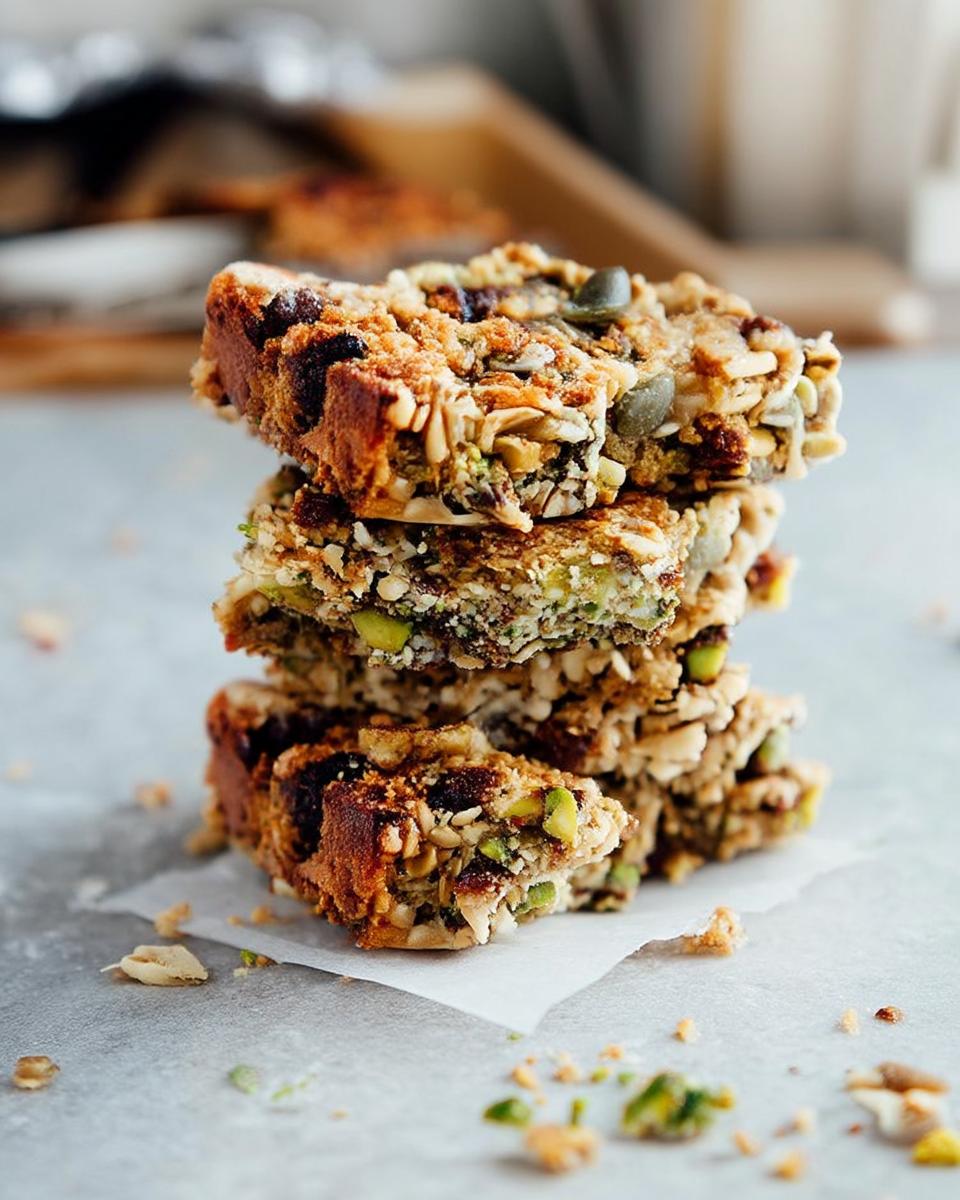
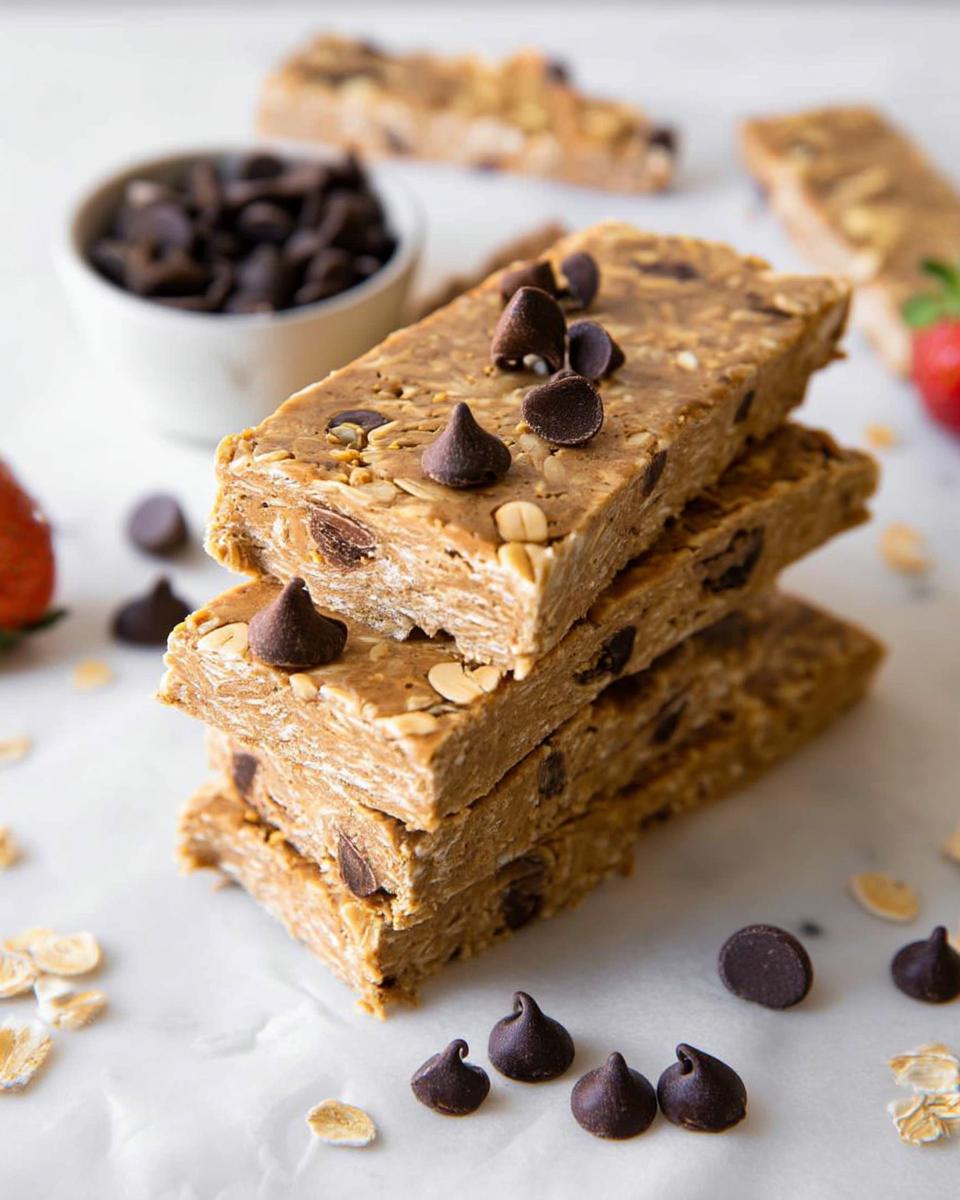
No Bake Oatmeal Protein Bars deliver a straightforward path to sustained energy through their blend of hearty oats and creamy peanut butter, creating a chewy texture that satisfies without any oven time required. These bars stand out for their customizable sweetness from maple syrup and bursts of chocolate that elevate the everyday snack into something truly enjoyable. With just minutes of prep, they fit seamlessly into a routine focused on balanced nutrition.
I appreciate how these bars reheat minimally since they’re served cold, making them ideal for packing in lunchboxes or stashing in the gym bag for a quick pick-me-up. Friends often comment on the nutty flavor that lingers, and the vanilla protein powder ensures each one contributes a solid protein hit to support active days. This recipe aligns well with goals for steady fuel, offering around 8-10 grams of protein per bar depending on your powder choice.

Why We Love This Recipe
- Quick Preparation: These no bake oatmeal protein bars come together in under 10 minutes of active time, ideal for fitting into a packed schedule.
- Nutrient-Dense Snack: Rolled oats and protein powder provide sustained energy with each bar offering about 8-10 grams of protein for muscle support.
- Customizable Flavors: Swap in different nut butters or add-ins like nuts to tailor the taste while keeping the chewy texture intact.
- Family-Friendly Option: The mini chocolate chips add a fun element that kids enjoy, turning a healthy treat into an easy win for shared snacks.
Ingredients to Make No Bake Oatmeal Protein Bars
The ingredients in these no bake oatmeal protein bars harmonize sweetness from maple syrup with the nutty richness of peanut butter, while rolled oats and protein powder form the hearty base for structure and nutrition. Opting for high-quality, natural components enhances both the flavor profile and overall wholesomeness, with the vanilla protein powder serving as the primary source for a protein boost. Each serving delivers roughly 8-10 grams of protein, varying by the powder selected.
- Maple syrup – Acts as a natural sweetener that binds the mixture without refined sugars, or substitute with honey for a floral note.
- Natural peanut butter – Provides creaminess and healthy fats for moisture, easily swapped with almond butter for a milder taste.
- Plant-based milk – Helps achieve a smooth consistency in the wet ingredients, using any dairy or non-dairy option as needed.
- Vanilla extract – Infuses aromatic depth that complements the chocolate elements.
- Rolled oats – Forms the chewy, fiber-rich foundation; choose certified gluten-free for dietary needs.
- Vanilla protein powder – Boosts the protein content and adds subtle sweetness to the dough-like base.
- Mini chocolate chips – Delivers pockets of melty sweetness for contrast against the oats.
- Ground cinnamon – Adds warm spice that enhances the overall nutty profile.
Each serving of these No Bake Oatmeal Protein Bars provides a balanced mix of carbs, fats, and protein for on-the-go energy.
Print
Easy No Bake Oatmeal Protein Bars Recipe
- Prep Time: 10 minutes
- Cook Time: 0 minutes
- Total Time: 1 hour 10 minutes
- Yield: 16 bars
- Category: Snacks
- Method: No Bake
- Cuisine: American
- Diet: Vegetarian
Description
Easy no-bake oatmeal protein bars packed with rolled oats, vanilla protein powder, peanut butter, and mini chocolate chips for a nutritious, grab-and-go snack.
Ingredients
- 1/2 cup maple syrup (or other liquid sweetener like honey or agave)
- 1/2 cup natural peanut butter (or other nut/seed butter)
- 2–3 tablespoons plant-based milk (or dairy milk)
- 1 teaspoon vanilla extract
- 1 cup rolled oats (certified gluten-free if needed)
- 1/2 cup vanilla protein powder (plant-based or whey)
- 1/3 cup mini chocolate chips
- 1 teaspoon ground cinnamon
Instructions
- Line an 8×8-inch baking pan with parchment paper, allowing some overhang on the sides, or grease it lightly.
- In a large mixing bowl, combine the maple syrup, peanut butter, milk, and vanilla extract. Whisk or stir until these wet ingredients are thoroughly smooth and integrated.
- Add the rolled oats, vanilla protein powder, chocolate chips, and ground cinnamon to the bowl. Mix everything together with a sturdy spatula until a thick, uniform dough-like mixture forms. If the mixture seems too dry, add an additional tablespoon of milk at a time until it holds together.
- Transfer the mixture to the prepared baking pan. Using slightly damp hands or a flat spatula, press the mixture down very firmly and evenly into the pan. This compression helps the bars hold their shape.
- Place the pan in the freezer for at least 1 hour (or in the refrigerator for 3-4 hours) until the bars are completely firm and set.
- Once set, lift the slab out of the pan using the parchment paper overhang. Place it on a cutting board and slice into individual bars or squares of your desired size.
- Store the no-bake oatmeal protein bars in an airtight container in the refrigerator for up to a week, or in the freezer for longer storage. Enjoy as a quick, nutritious snack or post-workout treat.
Notes
- Use certified gluten-free oats if needed for gluten-free diet.
- Opt for plant-based ingredients to make it vegan.
- Adjust milk quantity as needed for desired consistency.
How to Make No Bake Oatmeal Protein Bars
Step 1: Prepare the Pan
Line an 8×8-inch baking pan with parchment paper, leaving some overhang on the sides for easy removal, or lightly grease it to prevent sticking. This setup ensures the mixture sets evenly without adhering to the pan surfaces.
Step 2: Mix Wet Ingredients
In a large mixing bowl, combine the maple syrup, peanut butter, milk, and vanilla extract, then whisk or stir vigorously until the mixture becomes smooth and fully integrated. If the blend appears too thick, incorporate an extra tablespoon of milk to reach the desired fluidity before proceeding.
Step 3: Incorporate Dry Ingredients
Add the rolled oats, vanilla protein powder, mini chocolate chips, and ground cinnamon to the wet mixture, using a sturdy spatula to stir everything until a thick, uniform dough forms that holds together when pressed. Adjust with additional milk one tablespoon at a time if the consistency feels overly dry, ensuring all components distribute evenly for consistent flavor in each bar.
Step 4: Press into Pan
Transfer the dough-like mixture to the prepared pan, then use slightly damp hands or the back of a flat spatula to press it down firmly and evenly across the bottom. This firm compression is key to helping the bars maintain their shape during setting and slicing.
Step 5: Chill to Set
Place the pan in the freezer for at least one hour, or refrigerate for three to four hours, until the mixture firms up completely and holds its form when touched. The cold temperature solidifies the peanut butter and syrup binders for clean cuts later.
Step 6: Cut and Store
Lift the set slab from the pan using the parchment overhang, transfer it to a cutting board, and slice into 16 individual bars or squares as preferred. Store them right away in an airtight container to preserve freshness for snacking throughout the week.
Pro Tips for Success
- Firm Pressing: Use damp hands to pack the mixture tightly into the pan, preventing crumbly bars that fall apart when eaten.
- Consistency Check: Stir in milk gradually during mixing to avoid a sticky dough, aiming for a texture that molds easily without excess wetness.
- Protein Boost: Select a high-quality whey or plant-based powder to maximize the 8-10 grams per bar, supporting post-exercise recovery needs.
- Allergy Adjustments: Swap peanut butter for sunflower seed butter if nuts are an issue, maintaining the creamy bind while keeping it nut-free.
How to Serve No Bake Oatmeal Protein Bars
Garnishes
I like to finish these bars with a light dusting of flaky sea salt right after slicing, which cuts through the sweetness and highlights the chocolate chips. A sprinkle of chopped peanuts adds crunch without overpowering the oats, or try a few crushed pretzels for a savory twist that keeps the snack engaging.
Side Dishes
Pair the bars with a small bowl of fresh berries to balance the richness with juicy tartness, creating a complete mid-morning fuel-up. Greek yogurt alongside offers a creamy contrast that turns the simple bar into a more substantial treat, especially when swirled with a bit of honey.
Creative Ways to Present
Crumble a bar over overnight oats for added texture and protein in breakfast bowls, blending seamlessly with the cold base. Stack slices between layers of fruit salad for a portable dessert option that surprises with its chewy surprise inside.
Make Ahead and Storage
Storing Leftovers
I keep leftover no bake oatmeal protein bars in a single airtight container lined with parchment to avoid sticking, where they stay fresh in the refrigerator for up to one week. This method preserves the chewy texture while making it simple to grab one during the week.
Freezing
For longer keeping, wrap individual bars in plastic wrap and place them in a freezer-safe bag, allowing storage for up to three months without flavor loss. Thaw them on the counter for about 15 minutes before enjoying to regain the ideal firmness.
Reheating
Since these bars are best served chilled, I simply let them sit at room temperature briefly if needed, or microwave for 10 seconds to soften slightly without melting the chips. For a group, arrange on a plate covered with a damp paper towel in the microwave to gently warm and prevent any drying edges.